RADIUS SL 860 07.2019 en 17
6.2.1 General indications
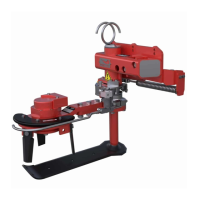
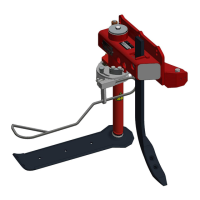
The swivelling range of the RADIUS blade share is infinitely variable between 0 and 90 degrees.
The blade share with sensor rod is available in sizes 370 mm (14.5”), 500 mm (20”) and 620 mm (24”).
The RADIUS units are available with electromagnetic manual control with pressure relief valve (optional for one-
sided manual control This enables to adjust the pressure of the blade share from 0-180 bar (0 – 2611 psi),
depending on the soil conditions. When the manual control is actuated, the system is depressurized and the
RADIUS blade share pivots in.
6.2.2 De-aeration
a) The units are vented with the oil flow is switched on. All valve levers connected to the RADIUS units should
be placed in the operating position for some time. Move the sensor rod and thus also the device by hand. Now
the system deareates automatically.
b) After the hydraulic system has been vented and filled with the hydraulic oil, it is necessary to check the oil level
of the tractor's hydraulic system and, if necessary, top up with oil.
6.2.3 Adjustment without hydraulic pressure to the unit
The devices are precisely adjusted and tested at the factory. If the setting should have changed in the
course of time, the device must be reset as follows:
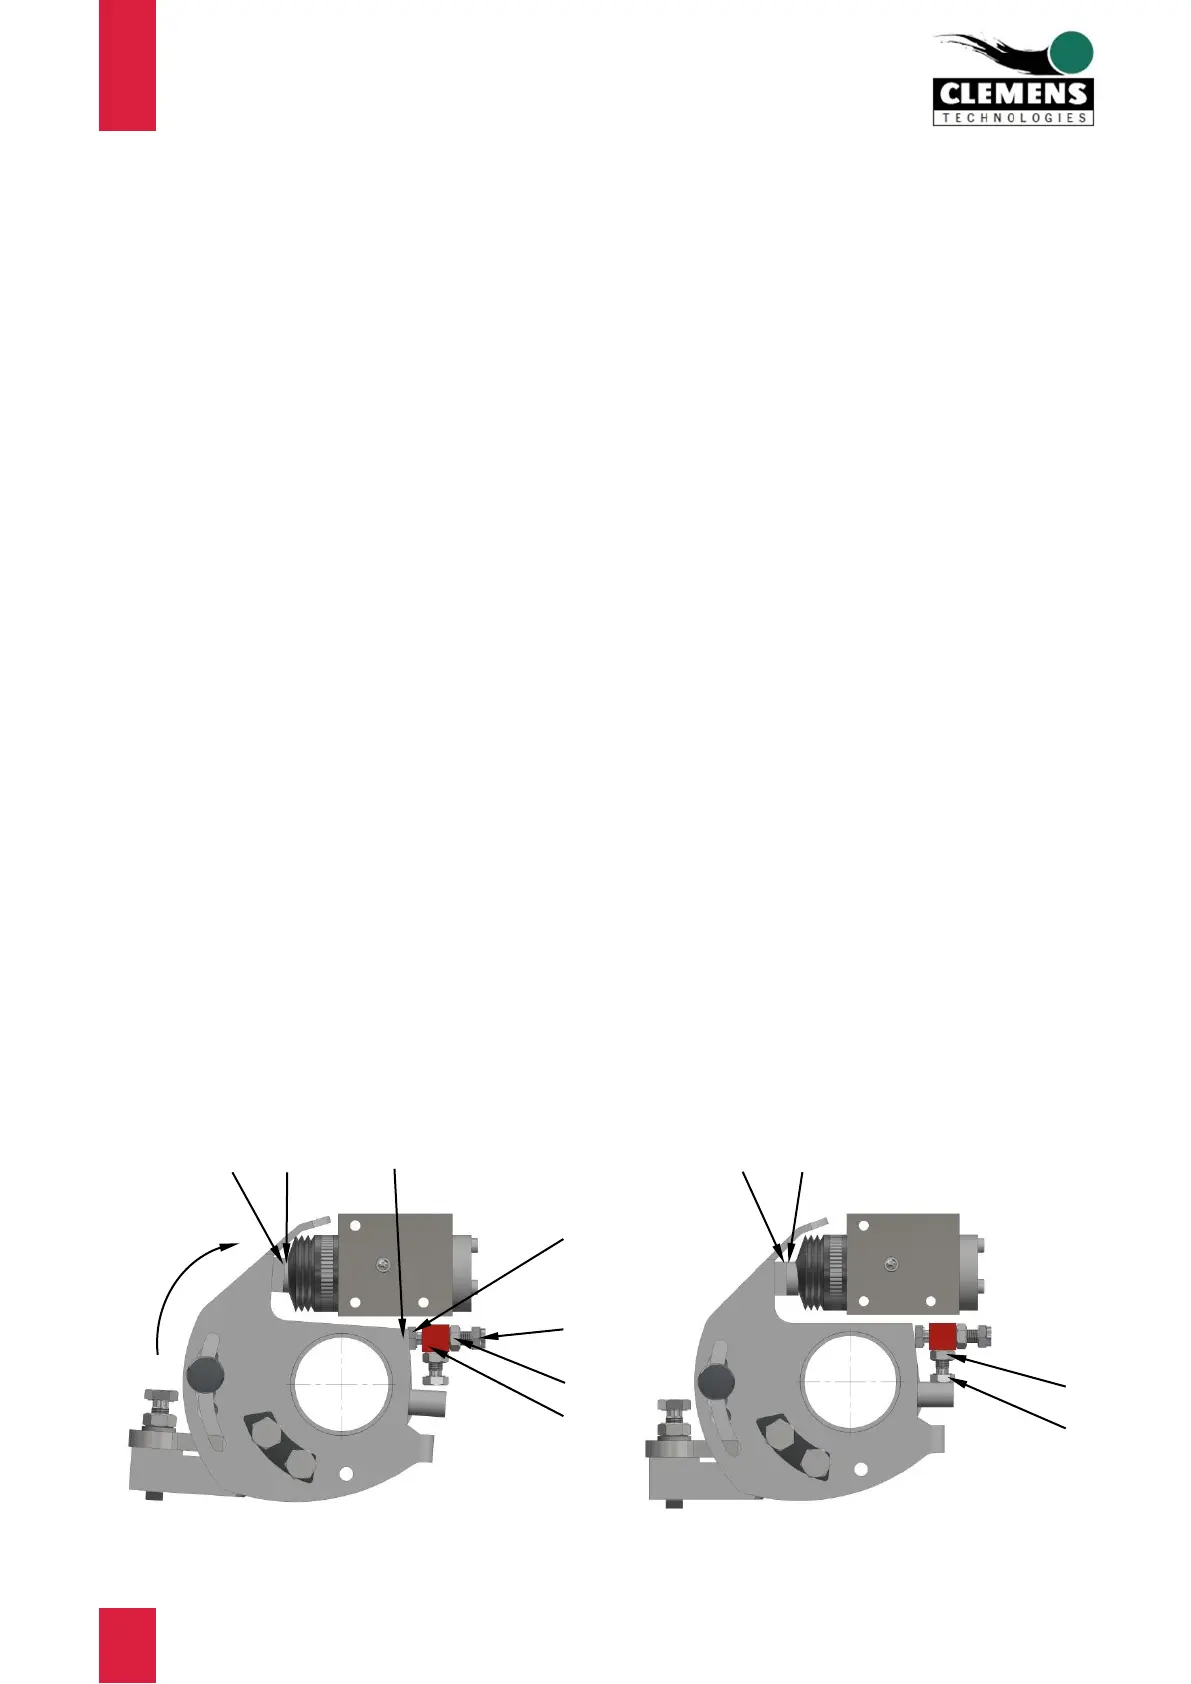
a) Sensor rod end stop inwards (Figure 11 and Figure 12):
The purpose of this setting is to prevent the valve piston from being pressed in too deeply, thereby damaging
the valve bottom. Refer to Figure 11 and Figure 12 and proceed as follows:
Loosen the counternut (item 1) and turn the screw (item 2) with its head towards the support (item 3); if you
now press the sensor rod unit inwards, the end stop (item 4) must not touch the screw head (item 2). Hold the
sensor rod unit pressed in firmly and turn the screw (item 2) in the direction of the end stop (item 4). When the
head of the screw (item 2) touches the end stop (item 4), turn it another half turn. This ensures that the piston
of the valve does not touch the valve bottom. Tighten the counternut (item 1) and fit the self-locking nut (item
5). It serves only as a holder for the tension spring which is used in strong weeds (section 6.2.6, Figure 13).
b) Sensor rod end stop outwards (Figure 12):
This setting is used to position the sensor unit so that the pressure section (item 6) just comes into contact
with the valve piston (item 7) in the rest position of the device. Loosen the counternut (item 8) and turn the
screw (item 9) inwards so that there is play between item 6 and item 7. Check whether the valve piston (item
7) is smooth-running and fully extended. Now turn the screw (item 9) back so that the play between item 6 and
item 7 is just eliminated.
 Loading...