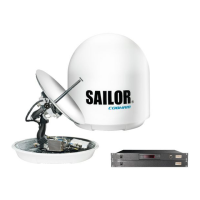
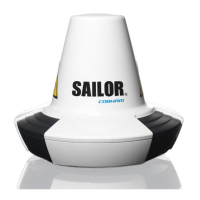
What’s in the box
98-175666-D Chapter 2: Installation 2-2
2.1.2 Initial inspection
Inspect the packing material immediately upon receipt for evidence of damage during
transport. If the shipping material is severely damaged or water stained, request that
the carrier's agent be present when opening the cartons and wooden box. Save all box
packing material for future use.
After unpacking the system, inspect the units thoroughly for hidden damage and loose
components or fittings. If the contents are incomplete, if there is mechanical damage
or defect, or if the system does not work properly, notify your dealer.
2.1.3 Tools needed
The following tools may be needed during the installation:
• Torx TX 30 to open the service hatch (if any)
• Torque wrench to fasten the mounting bolts for the ADU
• Torque wrench to fasten the N connector at the ADU
• HEX key (5mm) to take off the SAILOR 600 XTR GX-R2 radome
• PC and Internet browser
• Crimping tools for RF and RJ-45 connectors
• Ethernet cable
• RJ-45 connectors
2.1.4 Transport of the antenna
During transport the antenna must be able to move freely inside the radome. You must
follow the instructions below to keep a valid warranty:
WARNING! To avoid electric shock, do not apply power to the
system if there is any sign of shipping damage to any
part of the front or rear panel or the outer cover. Read
the safety summary at the front of this manual before
installing or operating the system.
CAUTION!
Do not strap parts of the antenna. This might cause damage to the
antenna.
Damage due to actions listed above will void the warranty.
 Loading...