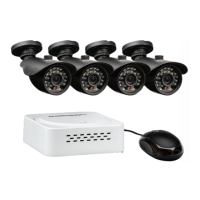
Using the DVR
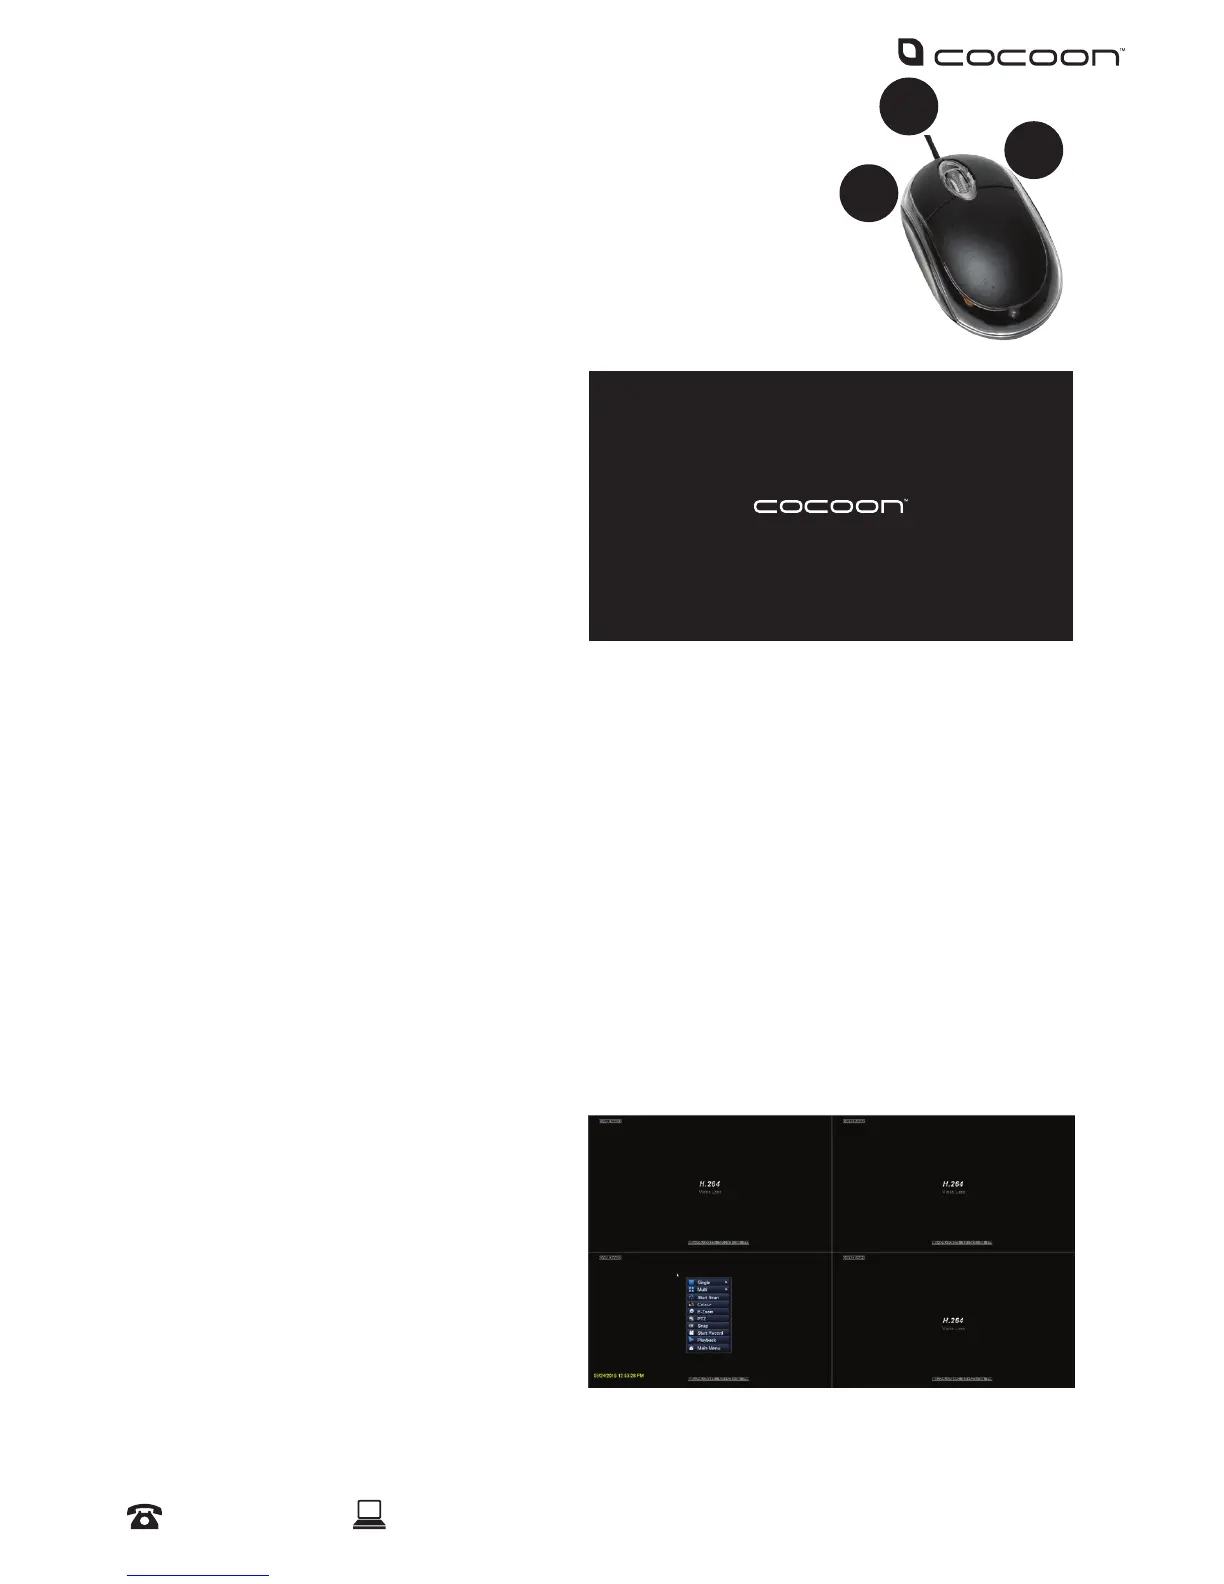
3.1 Mouse
1. USB Connection – connect cable to back of DVR unit
2. Left Mouse Button (LMB) – click to see main menu and make selections
3. Right Mouse Button (RMB) – click to return to previous screen or exit menu
3.2 Powering on the DVR unit
1. Connect the Power Adaptor to the back
of the DVR unit
2. Plug the Power Adaptor into a mains
power outlet and switch the outlet ON
3. Once Power Adaptor is connected to the
DVR unit, it will proceed through the
boot sequence
3.3 Setup Wizard
On the start-up screen, the Cocoon DVR System will run a setup wizard to assist in setting up some
key features of the unit. This includes:
• Time & Date
• Record Schedule
• Maintenance Settings
• HDD Overwrite
You can enable or disable the setup wizard to be shown on start-up screen. See pg. 14 for details
3.4 Main Screen
Once the DVR unit has nished the boot sequence, the main split screen display will appear. Each
camera will be labelled CH1 to CH4
TIP: Once you’re logged in, double clicking
a camera view with LMB will switch to
single full screen mode. Double click again
to go back to split screen mode
1
2
3