CR2 User’s Manual Draft_022803_AS - 20
CR2 User’s Manual Draft_022803_AS - 21
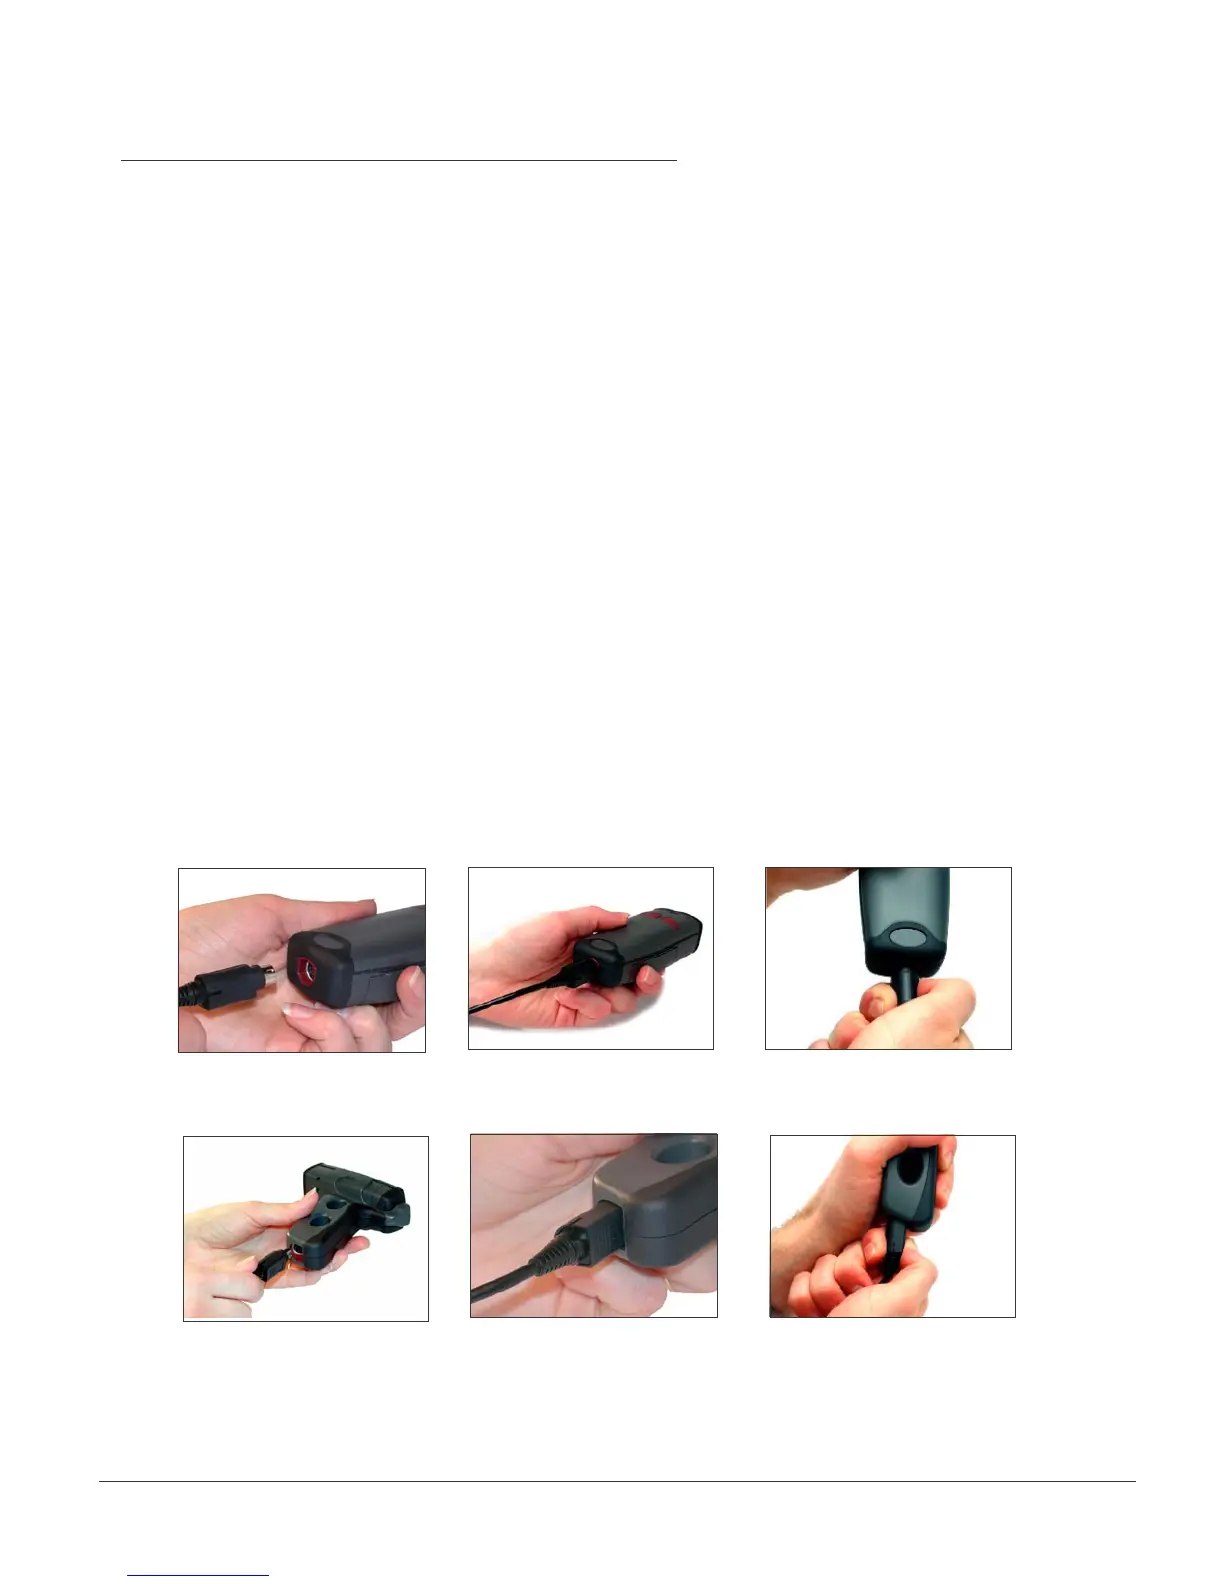
Attaching and Switching Cables
The CR2 is available with USB (standard) and RS-232 cables. All of the cables are connected to the
CR2 with a 8-pin DIN connector. Different cables may be required for different hosts.
Palm Held CR2
To install a cable on the standard palm-held unit, correctly line up the 8-pin DIN connector (gure 2.10)
into back end of the unit. The arrows on the connector should be facing down. When they are lined up,
rmly push the cable in (gure 2.11). To unattach, you must pinch the plastic on the 8-pin DIN and pull
back to disengage the connector (gure 2.12).
CR2 with Attachable Handle
If you purchased the attachable handle accessory (see section 2.3 for handle attaching instructions),
the 8-pin DIN connection is at the botton of the handle. Insert 8-Pin connector (gure 2.13) and rmly
push cable into the handle (gure 2.14). To unattach, you must pinch the plastic on the 8-pin DIN and
pull back to disengage the connector (gure 2.15).
2.3 - Attaching and Switching Cables
Figure 2.10
Figure 2.11
Figure 2.13 Figure 2.14
Figure 2.12
Figure 2.15