Chapter 2 Getting Started
© 2010 Colby Instruments. PDL-100A Operating and Programming Manual Page 3
Getting Started______________________
2.0.1 Using the PDL-100A for the First Time
After unpacking the instrument, carefully inspect it for any shipping damage.
Remove all standard accessories from the shipping carton.
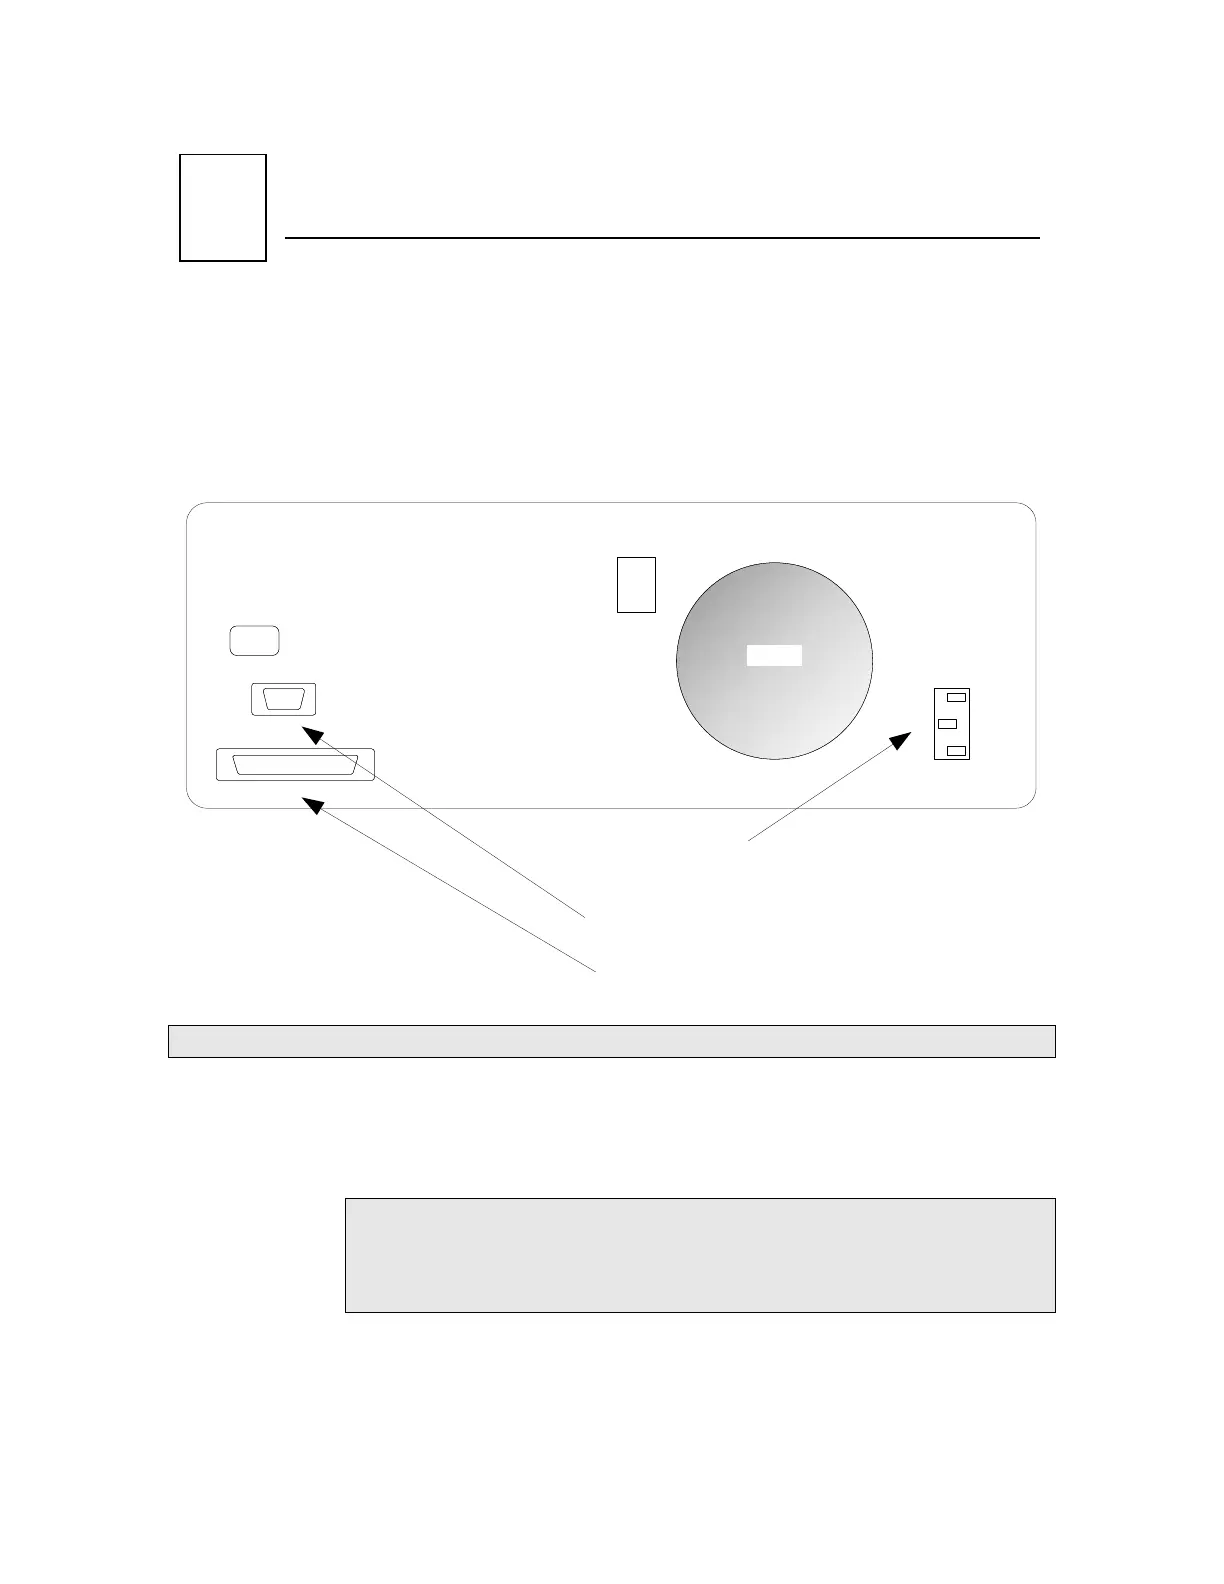
PDL-100A BACKPANEL
The PDL-100A accepts AC line input voltage from 85VAC to 240VAC.
Connecting to the PDL-100A:
1. Plug in the PDL-100A to a power source by inserting the AC power
cord into the 85 to 240 VAC power entry module located on the
backpanel.
Note: Models delivered to customers in North America include a
power cord. Customers outside of North America must supply
their own power cords. The power entry module uses a standard
IEC connector.
2. If you have the optional MT-100A Microterminal, connect the mated
cable to the PDL-100A and to the MT-100A Microterminal.
3. If you have a GPIB (IEEE488.2) interface cable, connect the cable into
the IEEE488.2 connector.
Artisan Technology Group - Quality Instrumentation ... Guaranteed | (888) 88-SOURCE | www.artisantg.com