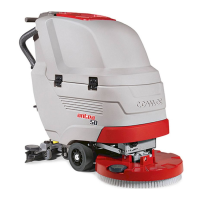
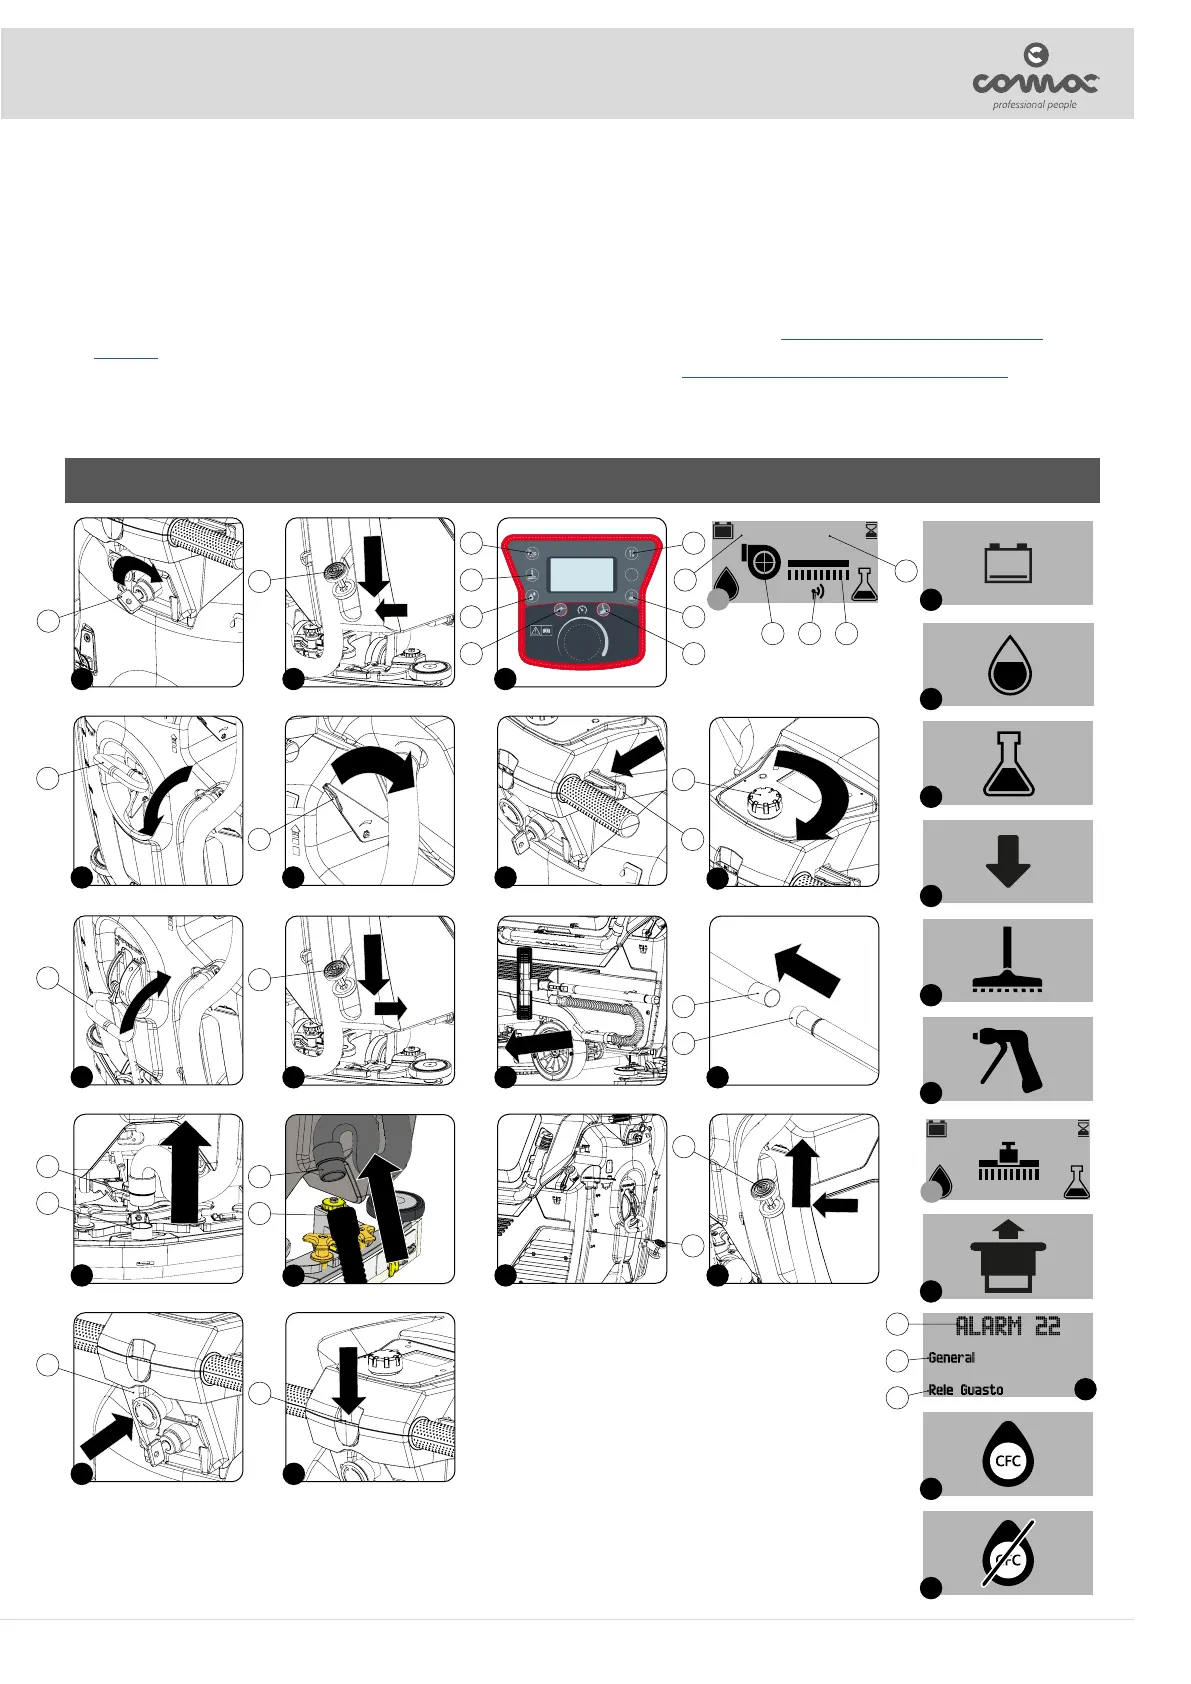
8. Grip the handle (3) on the right-hand side of the recovery tank and turn the tank until it reaches the work position.
9. Make sure the electronic brake is engaged. If it isn't, turn the lever (4) in the direction of the arrow. The traction gearmotor is located on the
rear right-hand side of the machine (Fig.4).
10. Check the water tap is fully open; turn the tap control lever (5) clockwise (Fig.5).
11. Check to make sure that the solution tank drainage cap (6) is closed. If this is not the case, close it (Fig.6).
12. Make sure the water system lter cap (7) is closed. If it isn't, close it (Fig.7).
13. Make sure the cap of the recovery tank drainage tube (8) is closed. If it isn't, close it (Fig.8).
14. Make sure the vacuum tube (9) is correctly connected to the sleeve (10) in the squeegee body. If it isn't, connect it (Fig.9).
15. Make sure the vacuum tube (9) is correctly inserted into the hole on the recovery tank. If it isn't, connect it (Fig.10).
16. Make sure the lter basin (11) is correctly connected and is clean (Fig.11). If it isn't, clean it (see “CLEANING THE RECOVERY TANK
FILTERS”).
17. Make sure the overll oat (12) is working correctly (Fig.11). If it isn't, clean it (see “CLEANING THE RECOVERY TANK FILTERS”).
STARTING WORK
19
100% 0000.00
23
2
14
3
75
12
18
8
16
2
2
3
13 14
21 20
12 15
8
5
5
18
17
9
16
17
1
15
6
7
1
100% 0000.00
ECO
11
6 28 4
4
10
17
24 27
18
23
27
19
20 22
22
24
25
26
2
9
10
11
13
19
21
25
28
29
26
 Loading...