32
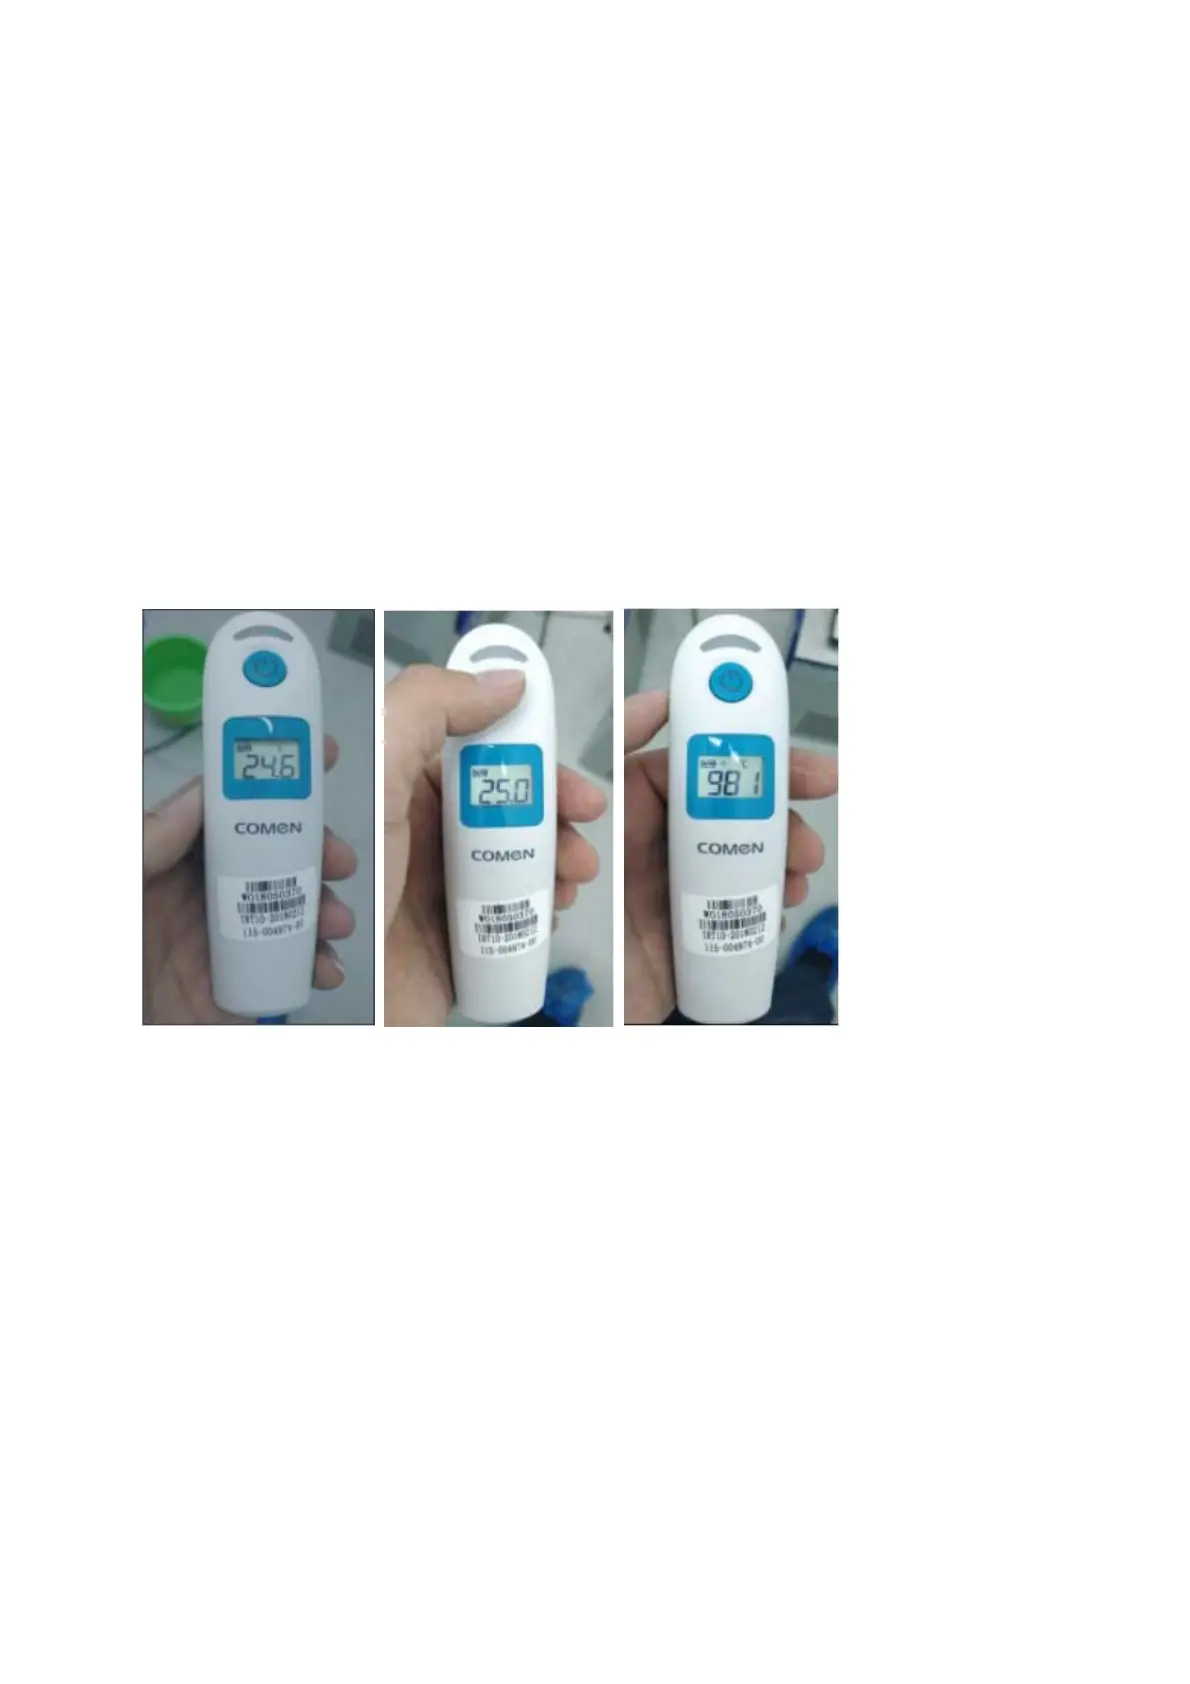
5. Press the measurement button, the screen will display 25.0 °C (as shown in Figure 2), then jump to an AD
value display (Figure 3), At this point, align the probe with the open cavity of the sink 1 (Figure 4). After the
AD value is stable (about 2-3 seconds), press the measurement button again to complete the 25°C
calibration.
6. After step 5, it will immediately display 37.0 °C (Fig 5), then jump to another AD value display (as shown
in Fig 6). At this time, align the probe with the black body open cavity of the sink 2, after the AD value is
stable (about 2 -3 seconds), press the measurement button again to complete the 37°C calibration. Then the
screen displays “OFF” to indicate that the calibration is successful (Figure 7), and the ear thermometer will
automatically shut down.
Fig 1 Fig 2 Fig 3