ComNav Marine 1420 Autopilot System
Installing the Mounting Clip And
Spacer
Head Mounting Clip and Spacer
The Mounting Clip is used for mounting
the Control Head. The design of the Clip
allows two methods of placing the Control
Head cable.
• Using the Clip and the Spacer, the
cable can run out loose from the
bottom of the clip.
• Using only the Clip, the cable can
be run straight back through a hole
in the mounting surface.
If the cable is brought through a hole in a
panel, you can store the excess cable
behind the panel. If you want to move the
Head to another position, you can pull the
cable out as needed (and you can buy
additional Clips for those other locations –
see page 9).
The usual mounting spot is on the
dashboard within easy reach when you
are steering your vessel.
The Clip is mounted using four # 10
(5 mm) fasteners (supplied by you: use a
corrosion-resistant type, and a style &
length suitable to the mounting surface).
Use the Clip as a template to mark the
holes.
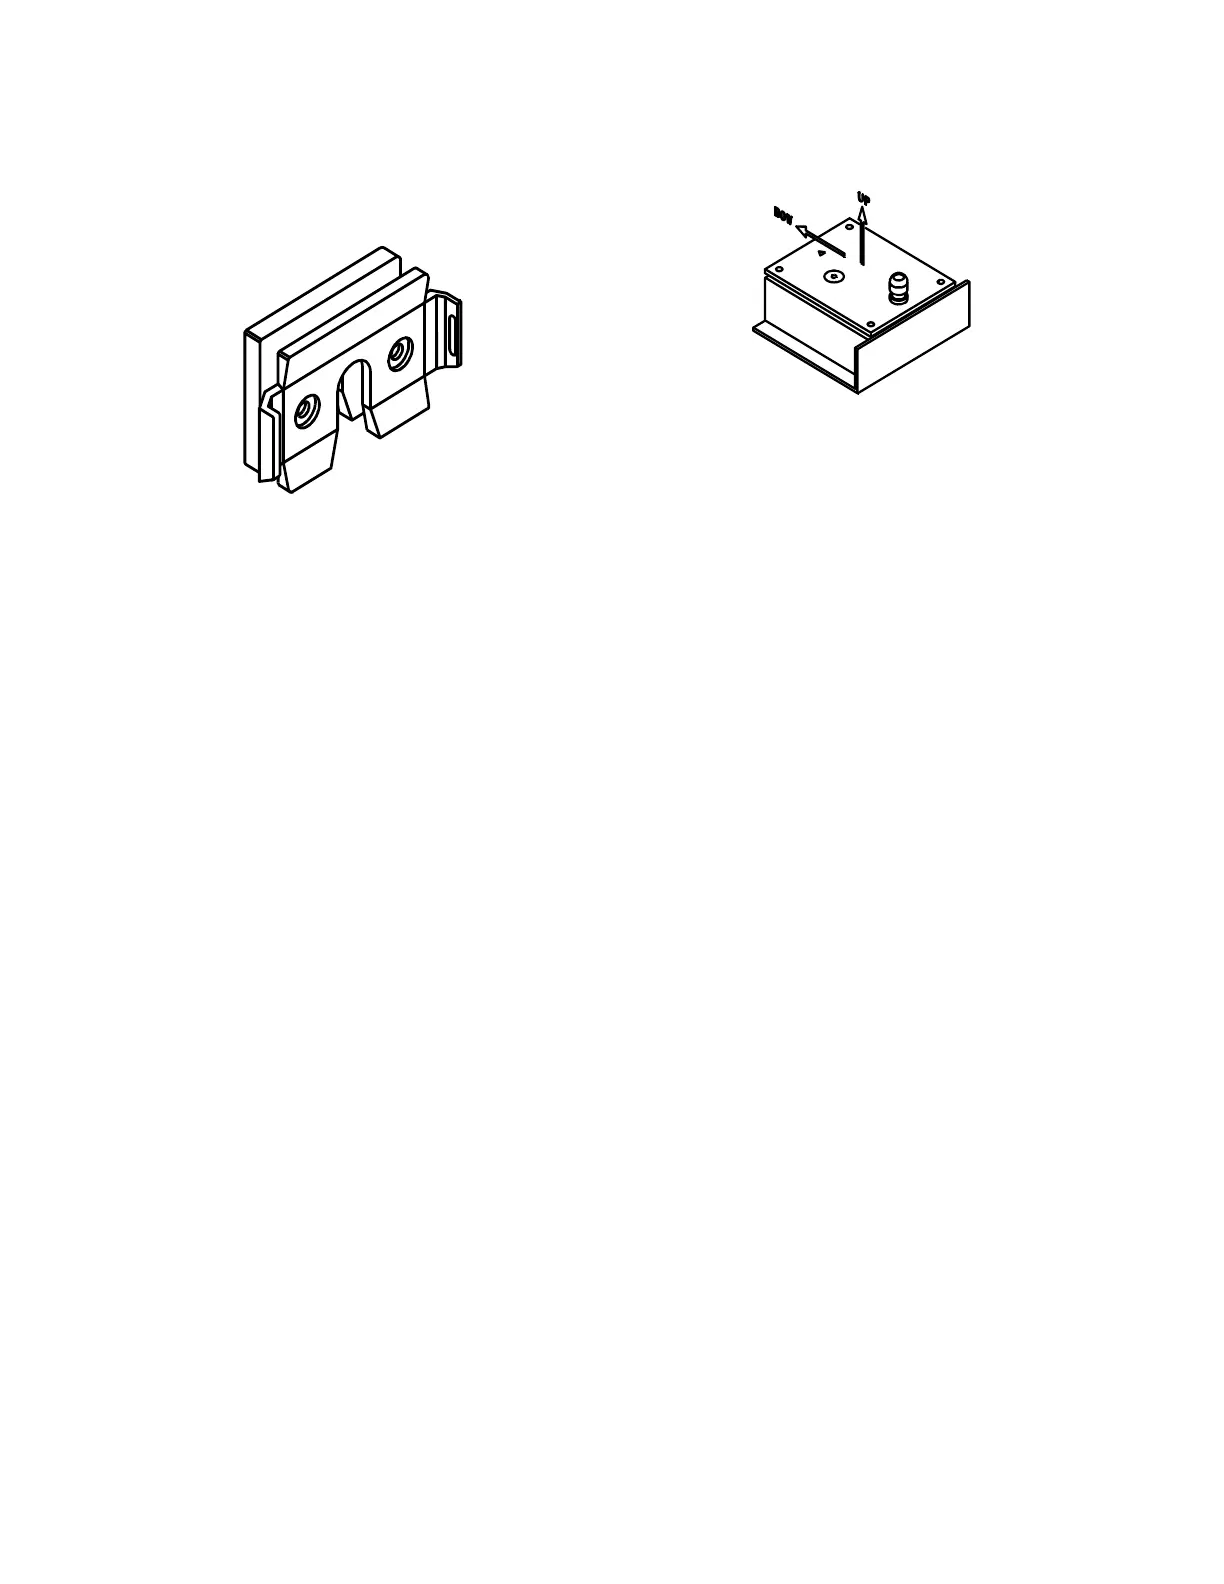
Fluxgate Compass Installation
Fluxgate Compass
The fluxgate compass must be correctly
positioned or it will not work.
To correctly position the Fluxgate
Compass, mount it so that the top surface
(with the cable gland) is up.
On the top surface there is an arrow
labelled "bow". The arrow must point in
the same direction as the bow of your
boat.
In cases where the compass is mounted
on a side wall, the bow line arrow will be
pointing to Port or Starboard. If so,
remove the four screws in the top of the
case, rotate the bottom part of the case ±
90 degrees, as needed so that the arrow
points to the bow; then re-fasten the top
to the bottom with the 4 screws.
Warning: This compass is designed
to be watertight. Be careful with seals
and “O” rings, if you remove the
case’s top to correct for a side-wall
mounting.
Initially, mount your Fluxgate Compass
using strong adhesive tape or some other
temporary, non-marking fastener. The
reason for this is that It may be necessary
to relocate your compass after you have
done the Setup Routine.
Once the compass setup is completed,
the compass’s case can be securely
fastened down with suitable fasteners.
Document PN 29010012 V1.3
15