Using Removable Inserts
The front panel inserts can be changed, if desired.
1. De-energize both AC and DC power.
2. Use a flathead or 3/33" hex key screwdriver to unscrew
the six front panel screws.
3. Pull the right side of the front panel out towards the left
(Figure 25).
Note: Various connecting wires will keep the panel attached
to the control.
Note: It is not necessary to disconnect any wires.
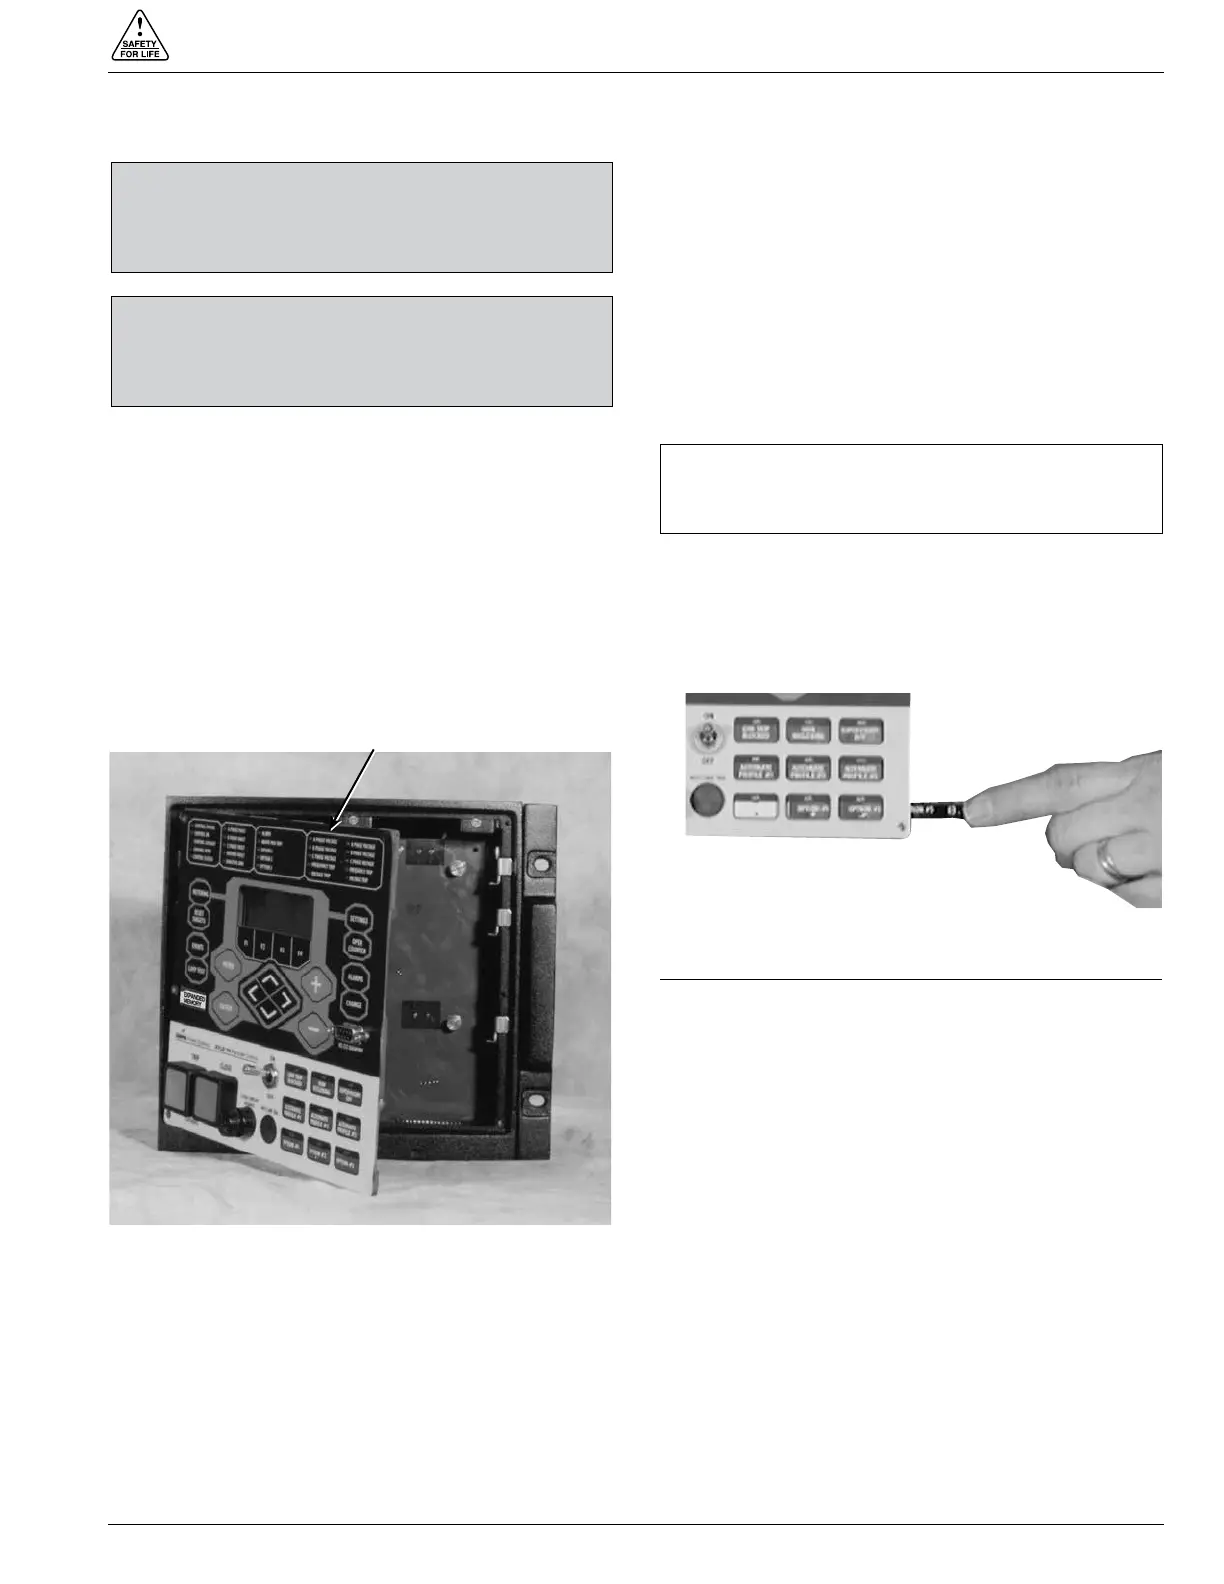
4. Use tweezers to gently pull out the removable insert.
Note: The insert will slide out of the right side of the
operating panel (Figure 26).
Note: The insert will slide out of the top of the programming
panel indicator section (Figure 25).
5. Change the existing label or slide in a new label with the
name of the programmed option.
An electronic label template is included on the ProView
application software CD and can be accessed through
the following default address:
C: \ Program Files \ Cooper \ ProviewXX \ Form 6 \
Form 6 Inserts.doc
6. Gently push the removable insert from right to left into
the right side of the operating panel (Figure 26) or down
into the programming panel LED indicator section
(Figure 25).
7. Place the front cover panel back onto the control.
Using a flathead screwdriver screw the screws into the
control and tighten all hardware completely.
S280-70-3
31
CAUTION: Equipment damage. Always wear a
grounding wrist strap to control static electricity before
handling circuit boards. Failure to use this strap may
result in circuit board damage. T253.1
CAUTION: Control damage. De-energize both AC and
DC power prior to removing or installing any internal
connections or circuit boards in the control. Failure to
comply can result in damage to the control. T241.1
Figure 26.
Labels are easily removed from and inserted into the
operating panel.
Figure 25.
Open front panel. Labels are easily removed from and
inserted into the top of the programming panel LED
status indicator section.
IMPORTANT: Laminate the removable inserts prior to
installing. This will seal the ink/toner and avoid damage
to the front panel.
Removable LED
Status Indicator Panel
 Loading...