Status Indicator LEDs
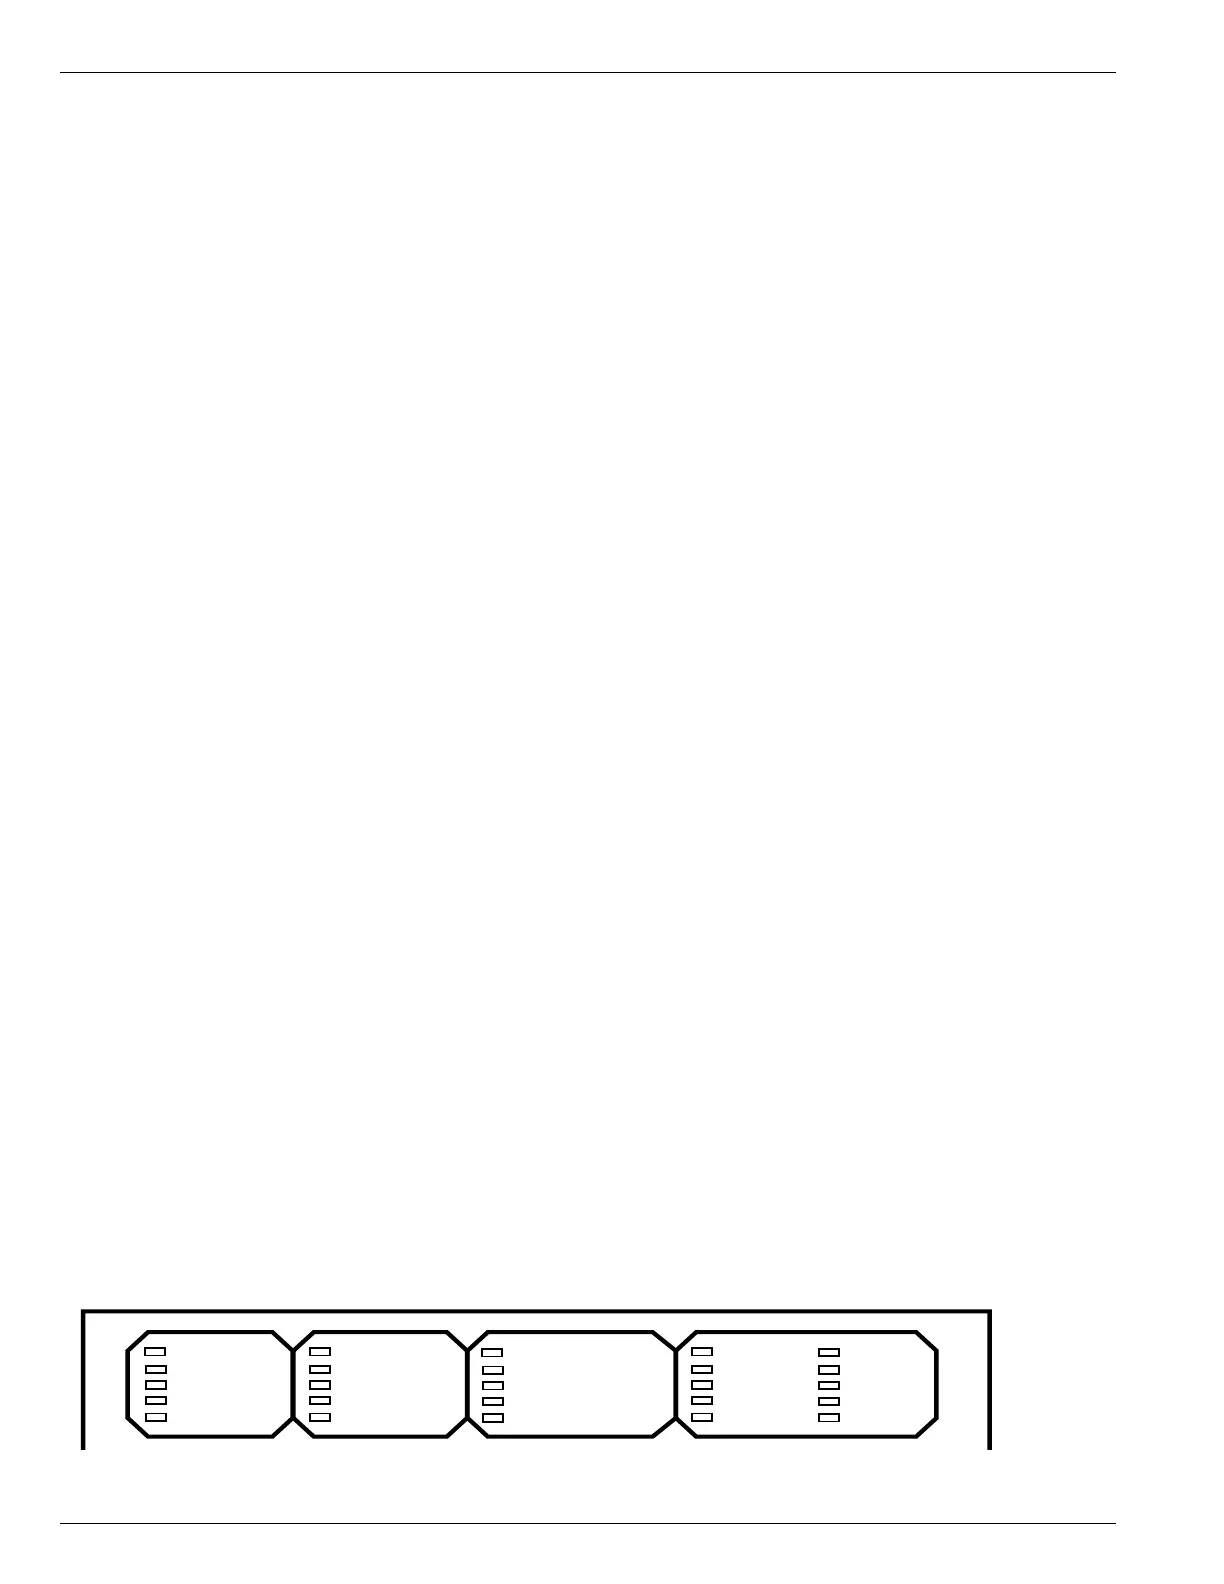
The status indicator LEDs (Figure 6) in the Programming
section of the Operator Panel give instant information on
the control and recloser status:
All of the default status indicators LEDs (except for
CONTROL OK, CONTROL POWER, and ALARM) can be
reconfigured via the Idea Workbench. Refer to Service
Information S280-70-4 (ProView 4.X.X) or S280-70-21
(ProView 5.X.X) Form 6 Control Programming Guide for
additional information.
The label inserts can be user-customized. Refer to Using
Removable Inserts section of this manual for additional
information.
CONTROL OK: The green LED indicates the control is
operating normally and not in an alarm state.
The CONTROL OK LED will not be illuminated during these
alarms (indicated by the red ALARM LED and displayed in
the alarm status log):
• Battery Alarm: This alarm indicates battery voltage is
low or the battery failed an operator-initiated manual
test.
• RAM Failure: This alarm indicates a failed RAM memo-
ry test.
• ROM Failure: This alarm indicates a failed ROM mem-
ory test.
• No AC Present: This alarm indicates AC power was
unavailable for 10 continuous seconds. This alarm
resets when AC power is restored.
• Power Supply Malf[unction]: This alarm indicates inter-
nal control operation power was outside of its operat-
ing tolerance for more than 20 seconds. This alarm
resets when the internal control operation power
returns to operation within its normal tolerances.
• RIF Comm Failure: This alarm indicates a loss of
communication from the RIF (Recloser Interface) circuit
board to the main CPU circuit board. This alarm resets
if communication is re-established.
CONTROL POWER: The green LED indicates there is
adequate VTC voltage to trip the recloser. This LED does
not indicate the presence of AC or battery power.
CONTROL LOCKOUT: The green LED indicates the control
is in a locked out state, i.e. a reclosing sequence is not in
progress. This LED does not indicate that the recloser is
open.
RECLOSER OPEN: The green LED indicates the recloser
is in the open position.
RECLOSER CLOSED: The red LED indicates the recloser
is in the closed position.
Note: There are several conditions that will cause the alternate
blinking of the CONTROL LOCKOUT, RECLOSER OPEN,
and RECLOSER CLOSED LEDs: Failure to Trip, Failure to
Close, Interrupter Malfunction, and 52a/b Disagreement.
The LED blinking pattern for these conditions is the
CONTROL LOCKOUT green LED and RECLOSER
CLOSED red LED alternating with the RECLOSER OPEN
green LED.
In addition to the above LED blinking pattern, the red
ALARM LED will also be illuminated for these alarms:
Failure to Trip, Failure to Close, and Interrupter
Malfunction.
A PHASE FAULT, B PHASE FAULT, C PHASE FAULT: The
red LEDs indicate A, B, and/or C phase current was either
the maximum phase current or within 20% of the maximum
when a trip signal was issued.
GROUND FAULT, SENSITIVE GROUND FAULT: The red
LEDs indicate that a Ground and/or Sensitive Earth Fault
tripping function was asserted at the time the trip signal
was asserted.
ALARM: The red LED indicates an alarm has been issued.
Review the alarm status and log on the LCD display for the
specific alarm.
ABOVE MINIMUM TRIP: The red LED indicates the current
exceeds the level set for minimum trip.
FREQUENCY TRIP: Indicates the recloser tripped due to
an under or over frequency condition.
VOLTAGE TRIP: Indicates the recloser tripped due to an
under or over voltage condition.
A PHASE VOLTAGE, B PHASE VOLTAGE, C PHASE
VOLTAGE: The red LED indicates a presence of voltage on
the respective phases. The Single-Phase Undervoltage
Pickup setting controls the voltage indication for the front
panel LEDs as defined in the Voltage setting dialog box for
the active setting profile. Refer to Settings - Voltage in the
Schemes section of S280-70-4 (ProView 4.X.X) or S280-
70-21 (ProView 5.X.X) Form 6 Control Programming
Guide.
INDICATOR 1, INDICATOR 2, INDICATOR 3, INDICATOR
4, INDICATOR 5, INDICATOR 6, INDICATOR 7, INDICATOR
8: Customizable LEDs that are used with functions
programmed through the Idea Workbench. The LED
indicators do not have active default values. The LEDs are
illuminated when the status configured via the Idea
Workbench is present.
Form 6 Microprocessor-Based Pole-mount Recloser Control Installation and Operation Instructions
8
CONTROL POWER
CONTROL OK
CONTROL LOCKOUT
RECLOSER OPEN
RECLOSER CLOSED
A PHASE FAULT
B PHASE FAULT
C PHASE FAULT
GROUND FAULT
SENSITIVE GND
ALARM
ABOVE MIN TRIP
INDICATOR 1
INDICATOR 2
INDICATOR 3
A PHASE VOLTAGE
B PHASE VOLTAGE
C PHASE VOLTAGE
FREQUENCY TRIP
VOLTAGE TRIP
INDICATOR 4
INDICATOR 5
INDICATOR 6
INDICATOR 7
INDICATOR 8
Figure 6.
Form 6 pole-mount control status indicator LEDs.

 Loading...