43
DC-ITD-PS7MAN01.A www.dodtec.com
JAN 2019 815-788-5200
*Be careful not to pinch the cables.
The following is the same as the procedure from step 6 onward in 9.2 Replacing the Sensor Unit.
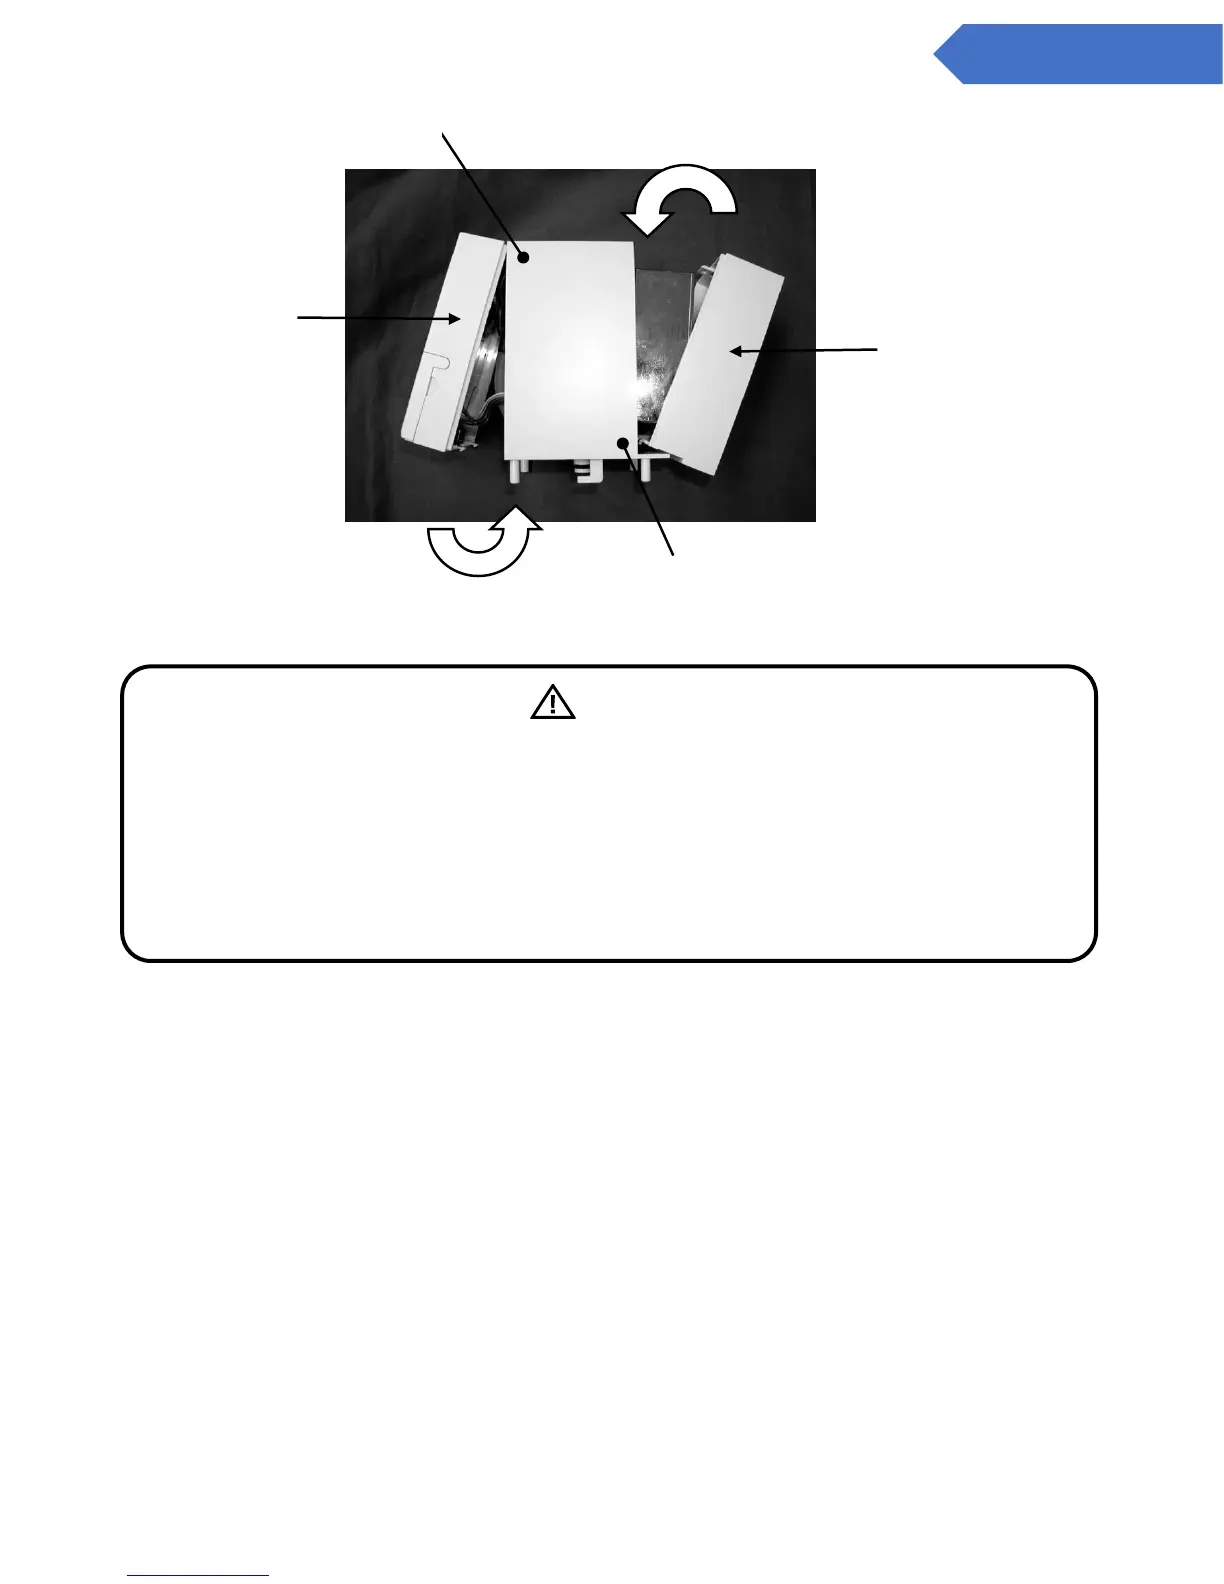
5. Pull back the latches on both the left and rights sides of the bottom of the base unit, and attach the
main unit inserting from the top side first.
6. Push both the latches on the left, and right-hand sides of the base unit back in until the
locked/unlocked line can be seen
NOTE: Please return used sampling units back to your authorized dealer.
Warning
If used when not inserted properly, the sensor unit will not be airtight, and will therefore not
detect gases properly. Be sure to attach it on as far as it will go
Also, when connecting the sampling unit with the front panel, be careful that the connector
cables are not pinched by the case.
Also, when attaching the front panel onto the sampling unit, be careful that the connector
cables are not pinched by the case.
 Loading...
