FIELD REPAIR/SERVICE MICRO-TEMP
®
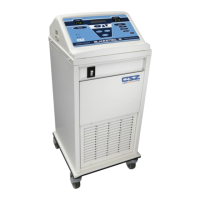
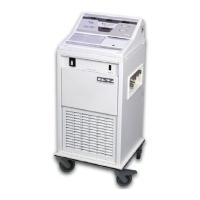
LT, Model 749
OPERATION AND TECHNICAL MANUAL
Page 44 of 75
5-2. ACCESS TO THE INTERIOR OF THE MICRO-TEMP
®
LT UNIT
All internal operating components are readily accessible by separating the front and rear enclosure.
NOTE: DRAIN THE RESERVOIR AND DISCONNECT THE POWER CORD
FROM THE POWER SOURCE BEFORE REMOVING ANY PART FROM THE
UNIT.
5-2.1. SEPARATING THE FRONT AND REAR ENCLOSURES
A. Using a 3 mm Hex Key (Allen) Wrench, remove the four screws from the back of the
unit.
B. Carefully pull the front and rear enclosure apart.
Note: Hose may need to slide through strain relief to provide ample room for
maintenance.
5-2.2. RECONNECTING THE FRONT AND REAR ENCLOSURES
A. Check all electrical and plumbing connections before reconnecting front and rear
enclosure.
B. Slide the front and rear enclosures together.
Note: Make sure no electrical wires are sticking out of the unit.
Note: Make sure the black rubber skirt around the reservoirs water fill opening is
resting on top of the front and rear enclosures when they are together.
C. Insert and screw in the four screws with a 3mm Hex Key (Allen) Wrench.
Always unplug the unit before accessing internal components during service. Failure to
unplug the unit could result in electric shock.
Always unplug the unit before accessing internal components during service. Failure to
unplug the unit could result in electric shock.
ALL ground wires must be connected. Improper grounding may result in electric
shock.