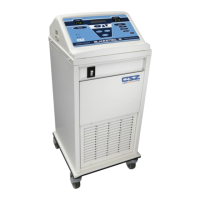
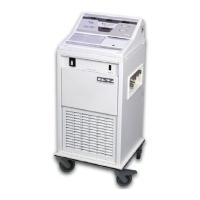
FIELD REPAIR/SERVICE MICRO-TEMP
®
LT, Model 749
OPERATION AND TECHNICAL MANUAL
Page 55 of 75
5-11. REPLACEMENT OF THE CONTROL BOARD AND/OR DISPLAY BOARD
AND/OR THE MEMBRANE CONTROL PANEL
REPLACEMENT OF THE CONTROL BOARD
A. Drain the reservoir as described in Section (4-2.1).
B. Separate the front and rear enclosure as described in Section (5-2.1).
C. Disconnect cables from the control board as described in Section (5-2.3).
D. Unscrew the seven 6-32” Phillips head screws that secure the board to the front
enclosure.
E. Remove control board and set aside.
F. Install new control board.
G. Secure board to front enclosure with seven 6-32” Phillips head screws.
Note: Insert the short screw into the hole at the bottom right of the control board (near the
J6 Position of the board).
H. Reattach cables to control board. Refer to Section (5-2.3).
I. Reconnect front and rear enclosure as described in Section (5-2.2).
J. Refill the reservoir as described in Section (4-2.2).
REPLACEMENT OF THE DISPLAY BOARD
A. Drain the reservoir as described in Section (4-2.1).
B. Separate the front and rear enclosure as described in Section (5-2.1).
C. Disconnect cables from control board as described in Section (5-2.3).
D. Unscrew the seven 6-32” Phillips head screws that secure the control board to the
front enclosure.
Always unplug the unit before accessing internal components during service. Failure to
unplug the unit could result in electric shock.
Working with electronic boards, plugs, and cables requires delicate handling. Proper
Electrostatic Discharge (ESD) procedures should be followed during replacement of any
electronic board. Failure to do so may result in damage to the board.