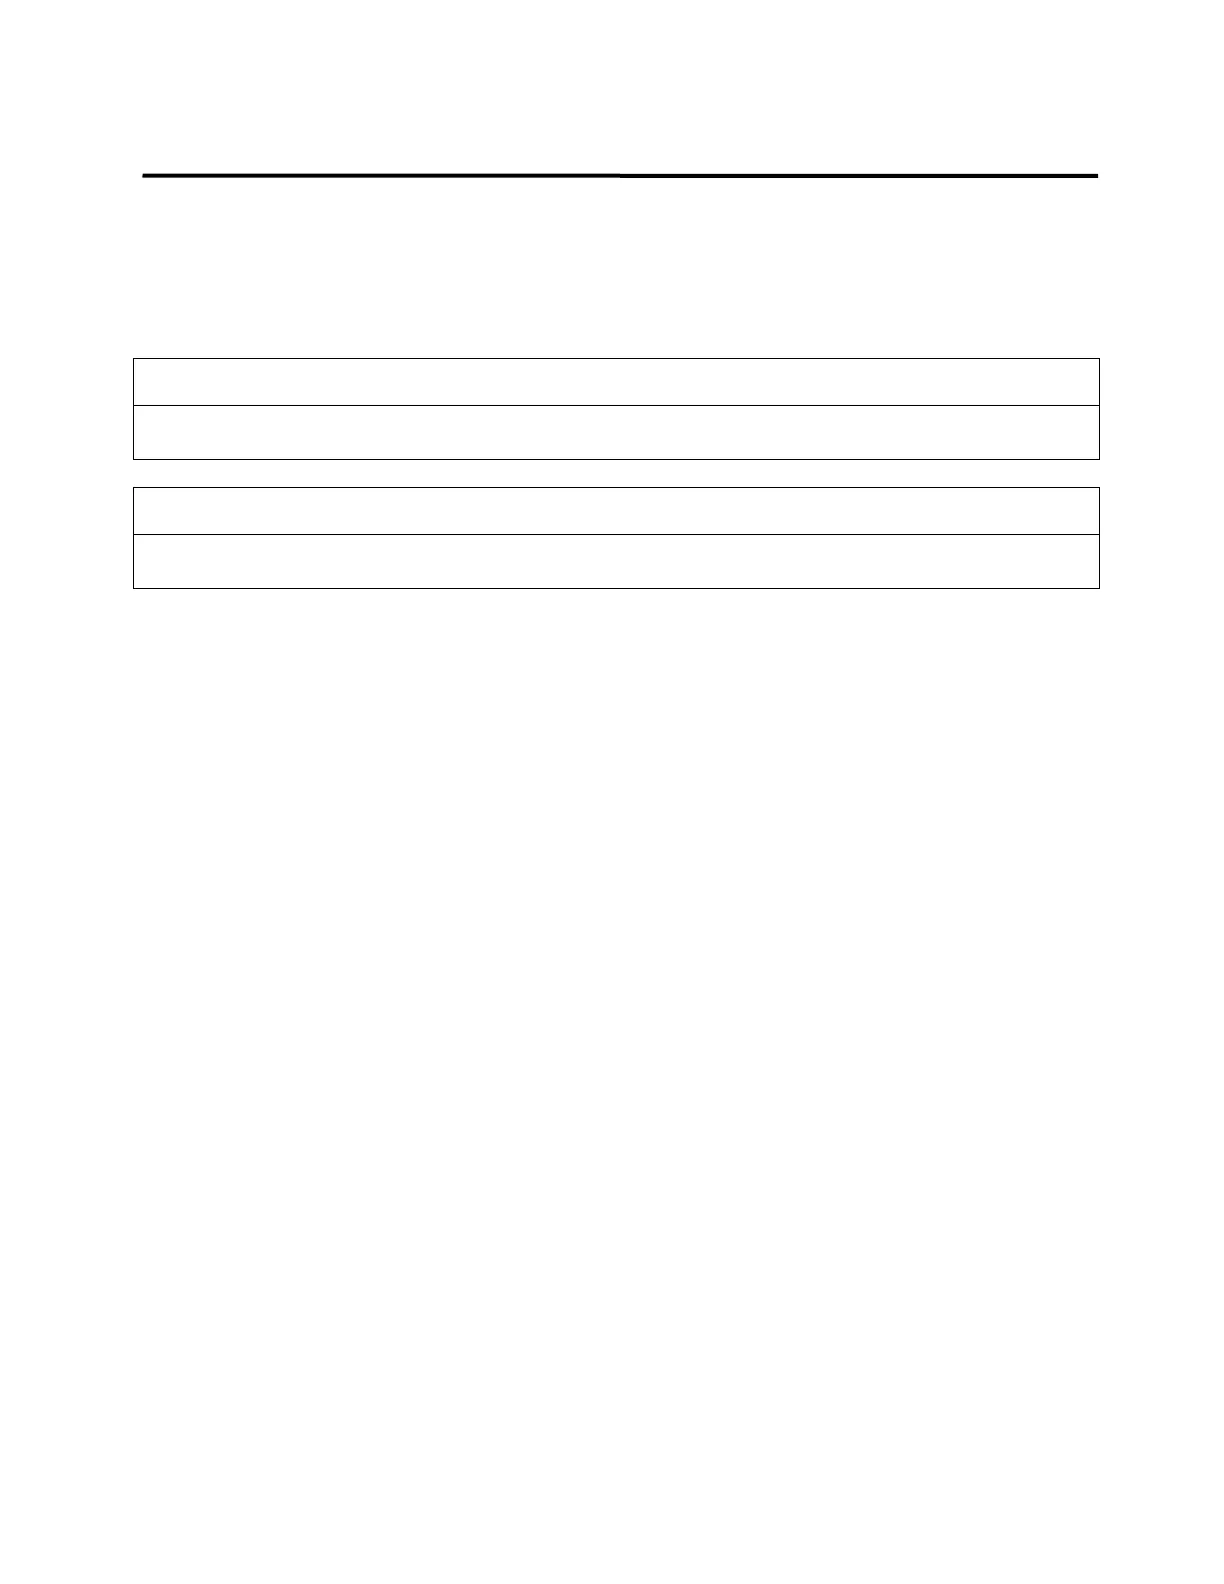
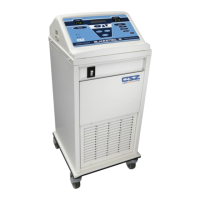
FIELD REPAIR/SERVICE MICRO-TEMP
®
LT, Model 749
OPERATION AND TECHNICAL MANUAL
Page 46 of 75
F. Where white ribbon cable attaches to display board, pull out the tabs on the side of the
connector.
G. Pull white ribbon cable out of connector.
5-3. REPLACEMENT OF THE HEATER
A. Drain the reservoir as described in Section (4-2.1).
B. Separate the front and rear enclosure as described in Section (5-2.1).
C. Using 5/16” nut driver or 5/16” socket, unscrew 6-32” nylon locknut from enclosure
bracket and remove all ground wires up to the kepnut on the bracket.
Note: The kepnut with power switch ground wire and star washer should remain
attached to enclosure bracket.
D. Disconnect the red 6-position connector from the control board (J7 position).
E. Locate the two white wires coming from the heater. Remove white wires from the 6-
position connector by using a pin pusher.
F. Loosen hose clamp from the connecting hose that is attached to the reservoir.
G. Remove reservoir from unit.
H. Twist off heater plate cap on reservoir and remove the heater mounting plate.
I. Locate the heater inserted at the center of the heater mounting plate.
J. Remove the nut securing the heater to the heater mounting plate.
K. Remove heater by twisting in counterclockwise direction.
L. Insert and tighten the replacement heater on the heater plate with washer on the
inside of the plate. Secure with nut using ¾” slotted socket.
M. Reposition heater mounting plate on reservoir. Align Water Sensor Screw on Heater
Plate with top of reservoir . Secure by twisting on the heater cap.
Always unplug the unit before accessing internal components during service. Failure to
unplug the unit could result in electric shock.
Always drain the MICRO-TEMP
®
LT unit to a sanitary drain because bio-contaminants may be
present in the unit’s water supply.