Kohler Enclosed CVT Addendum
65
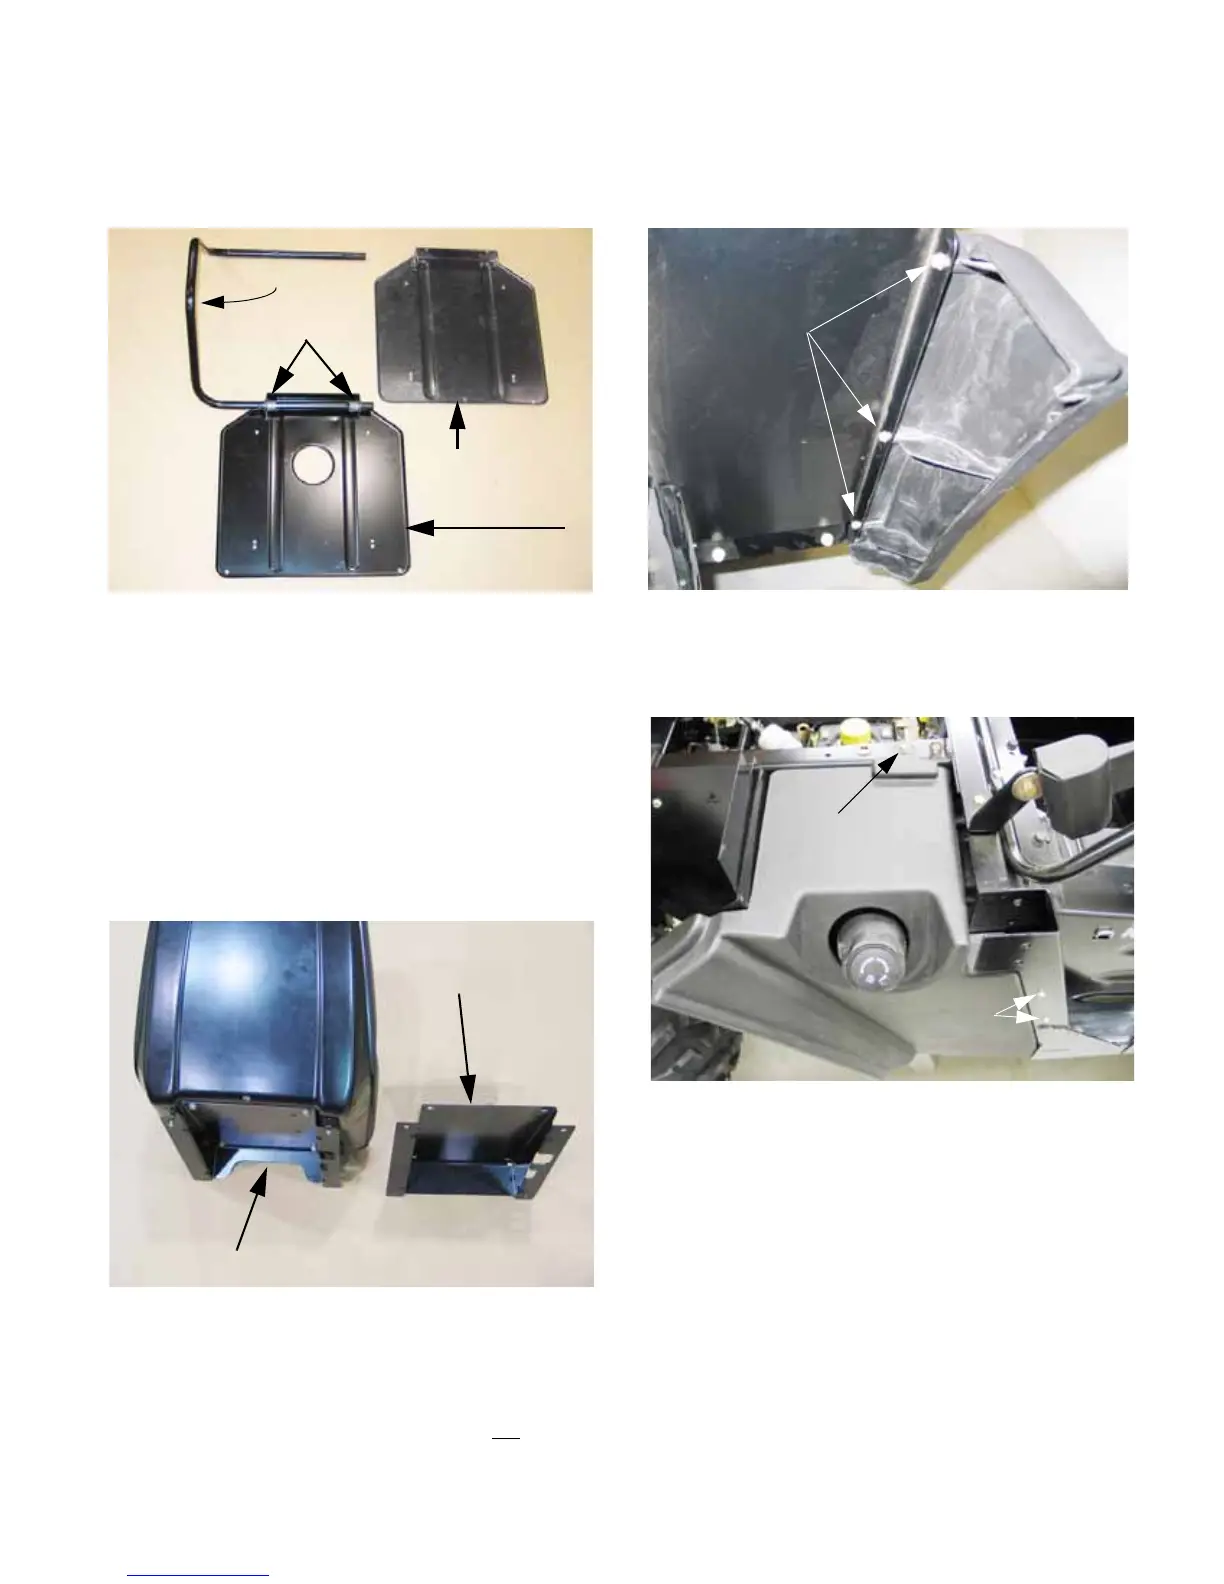
2h. Remove the original seat plate from the
grab handle, and replace it with the seat
plate from the kit. See Figure 2a.3.
NOTE: The flange bearings that the seat pivots
on fit through the holes in the seat plate with the
shoulders to the outside, so that the bolts hold-
ing the grab handle to the vehicle trap the bear-
ings in position.
2i. Replace the original seat bracket with the
seat bracket contained in the kit. Position
the rear set of seat bracket mounting bolts
in the bracket before bolting the seat to
the bracket. See Figure 2a.4.
NOTE: The opening in the front of the new seat
bracket is vital. This opening allows cooling air
to enter the CVT enclosure. If the supply of
cooling air is restricted, the CVT belt will
over-
heat and fail.
Figure 2a.3
Old seat plate
New seat plate
Grab bar
Flange brgs.
Figure 2a.4
Old seat
bracket
New seat bracket
2j. Remove the three screws that hold the
right rear fender to the splash shield using
a 5/16” wrench. See Figure 2a.5.
2k. Remove the remaining fasteners that hold
the fender to the vehicle: See Figure 2a.6.
• Remove the two screws that hold the front edge
of the fender to the upright that the rear tube of
the OPS mounts to using a 5/16” wrench.
• Remove the single screw that holds the top of
the fender to the frame using a 1/2” wrench.
• Remove the gas cap.
Figure 2a.5
Fender to
splash shield
screws
Figure 2a.6
Front edge
screws
Top screw
 Loading...