Cutting Decks And Lift Shaft
145
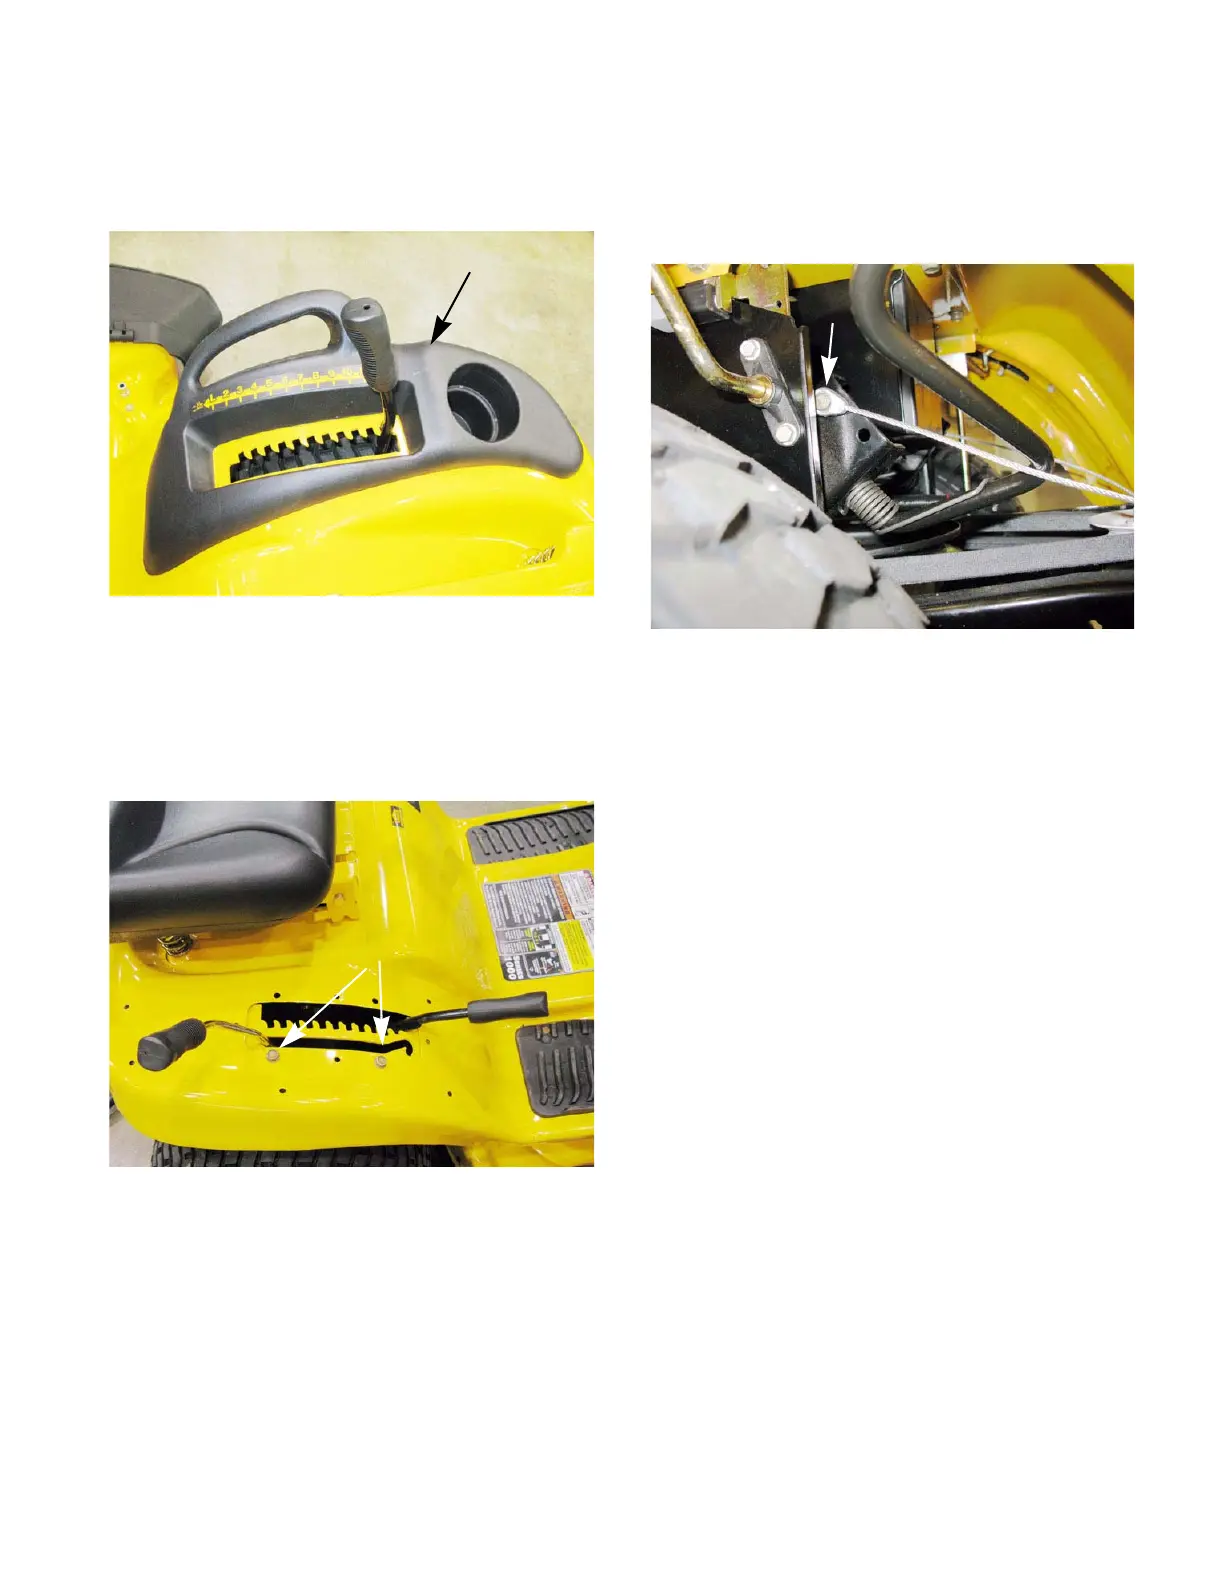
2. Remove the four screws the fasten that right
side fender trim to the fender using a 3/8”
wrench. See Figure 8.37.
NOTE: The screws are accessed from the
underside of the fender.
3. Remove the two screws that secure the deck lift
arm indexing plate using a 1/2” wrench.
See Figure 8.38.
Figure 8.37
Fender trim
Screws are on the underside
Figure 8.38
Remove these
screws
4. Push the deck lift arm as far forward as it will go.
5. Remove the hair pin clip that secures the lift
cable to the lift shaft then slide the clevis pin out
of the cable. See Figure 8.39.
NOTE: With the indexing bracket loose, there
should be enough clearance to slide the clevis
pin out past the frame.
6. Disconnect the lift cable from the lift link by
removing the cotter pin.
7. Lift the cable off of the cable pulley.
8. Install the lift link cable by following the previous
steps in reverse order.
9. Test run the tractor in a safe area before return-
ing it to service.
Figure 8.39
Remove this pin
 Loading...