3 Getting Started
3.1 First Power Up
If connecting Touch 5 to an existing CZone network, ensure the display has been added to the CZone
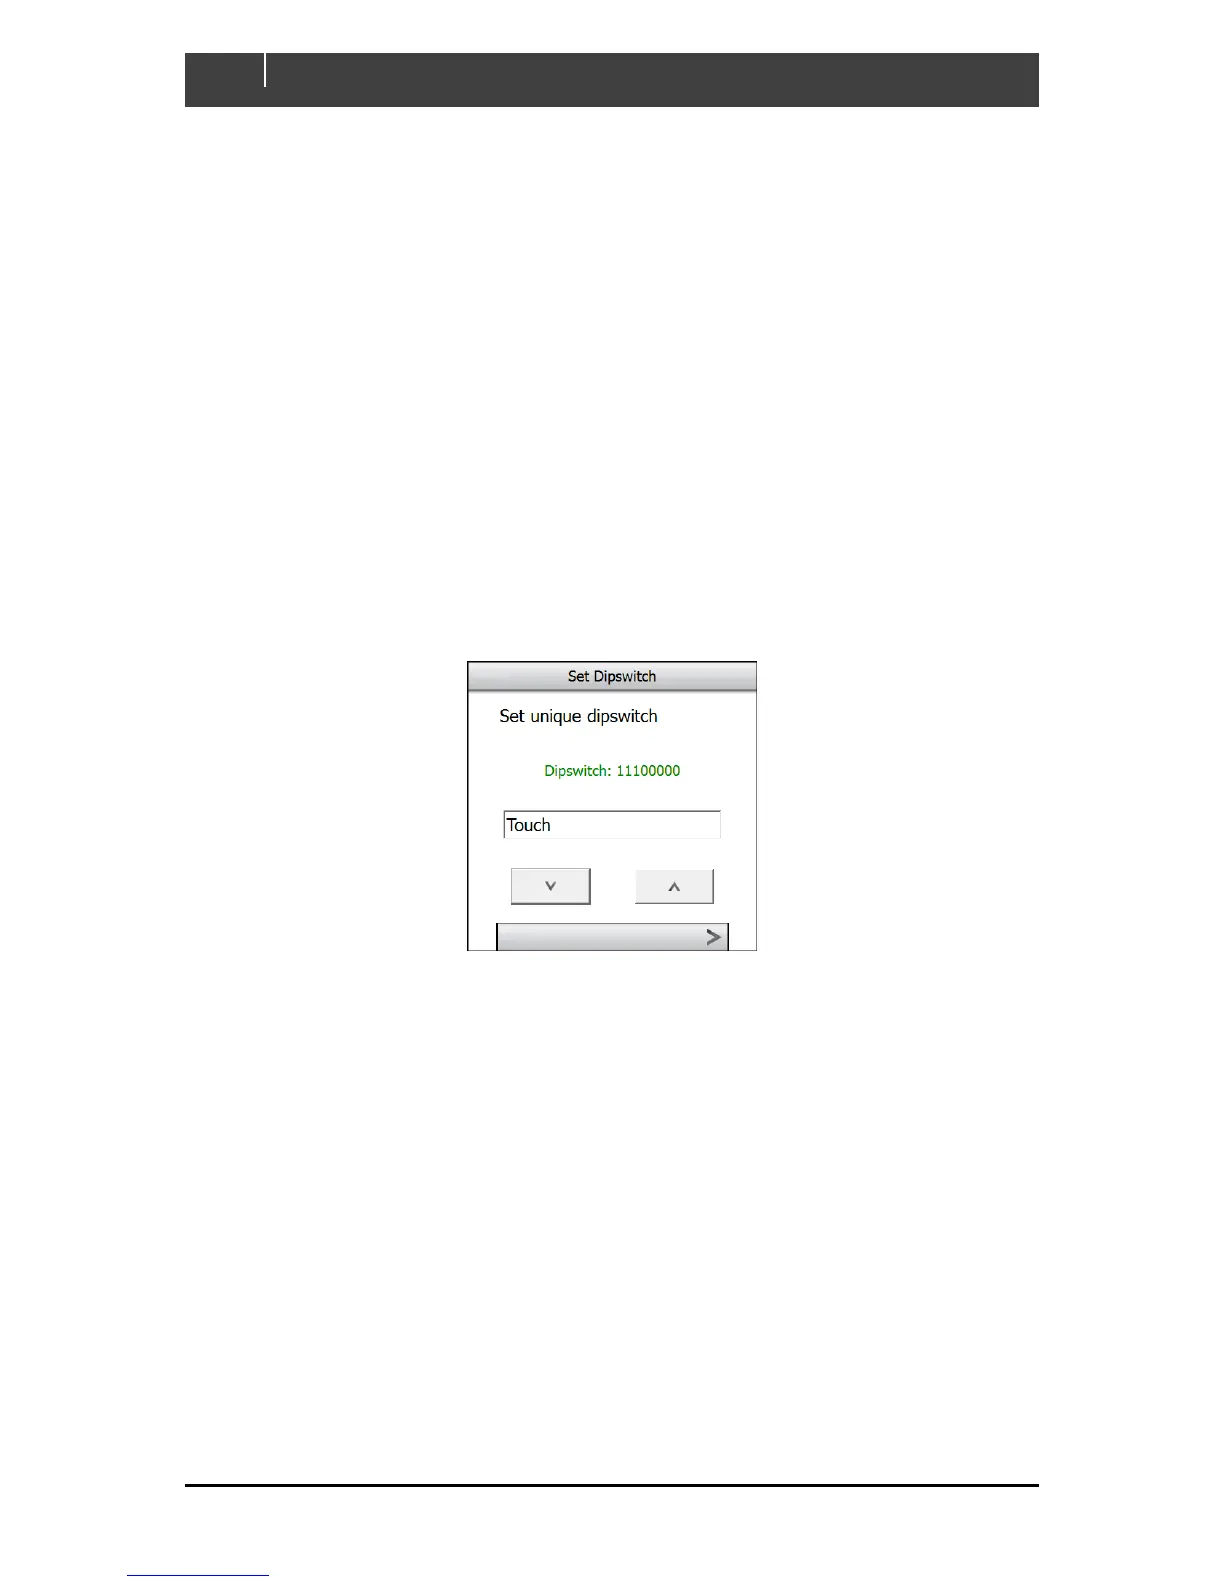
configuration file and assigned a dipswitch. Every CZone device on a network requires a unique
dipswitch to operate correctly, and the Touch 5 has a virtual dipswitch. Refer to the CZone
Configuration Tool manual for this process.
1. Turn on the circuit breaker or switch supplying power to the Touch 5.
2. The CZone splash-screen will appear for about 10 seconds then the text ‘Starting
Configuration Claim’. Touch 5 will now read the CZone configuration file from the network.
3. When configuration has been successfully read the text ‘Configuration Successful’ will
appear. It is also possible to write the configuration to the network at a later date for new
installations.
4. Select the virtual dipswitch from the list of configured CZone devices, for new installations the
dipswitch can be set by selecting Dipswitch from the Settings > System page.