6Installation
Installerreferenceguide
19
AZQS100~140B8V1B+AZQS100~140B7Y1B
Splitsystemairconditioners
4P3855291–2014.08
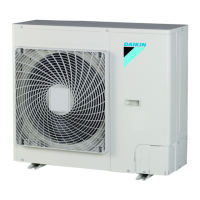
a Switchbox
b Stopvalveattachmentplate
c Earth
d Cabletie
e Interconnectioncable
f Powersupplycable
4 Fixthecables(powersupplyandinterconnectioncable)witha
cabletietothestopvalveattachmentplate.
5 Routethewiringthroughtheframeandconnectittoit.
Routingthrough
theframe
Chooseoneofthe3possibilities:
aPowersupplycable
bInterconnectioncable
Connectingtothe
frame
Whencablesareroutedfromtheunit,a
protectionsleevefortheconduits(PG
insertions)canbeinsertedattheknockout
hole.
Whenyoudonotuseawireconduit,
protectthewireswithvinyltubesto
preventtheedgeoftheknockoutholefrom
cuttingthewires.
AInsideoftheoutdoorunit
BOutsideoftheoutdoorunit
aWire
bBush
cNut
dFrame
eHose
6 Reattach the service cover. See "6.8.2 To close the outdoor
unit"onpage20.
7 Connectanearthleakagecircuitbreakerandfusetothepower
supplyline.
6.8 Finishingtheoutdoorunit
installation
6.8.1 Tofinishtheoutdoorunitinstallation
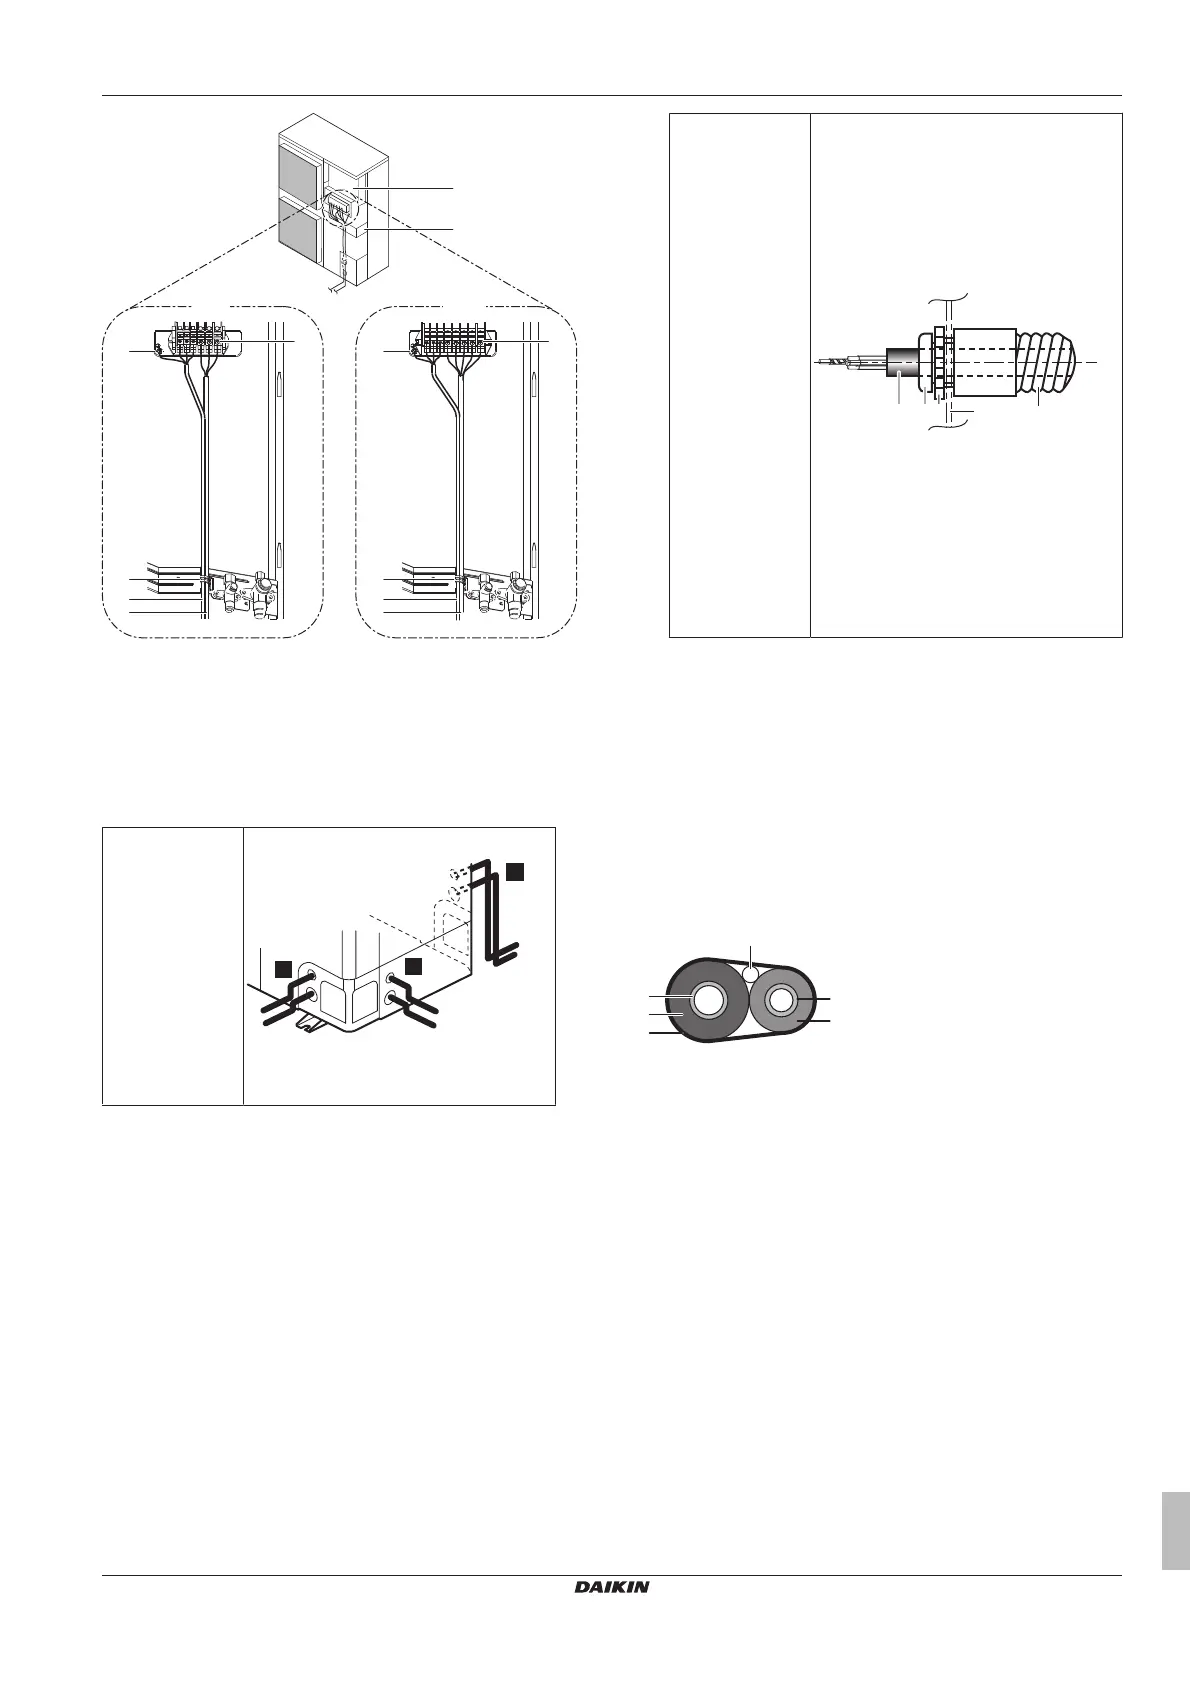
1 Insulateandfixtherefrigerantpipingandinterconnectioncable
asfollows:
a Gaspipe
b Gaspipeinsulation
c Interconnectioncable
d Liquidpipe
e Liquidpipeinsulation
f Finishingtape
2 Installtheservicecover.