24
Calibrate the Presenter Sensor:
After calibration is complete the presenter sensor will be disabled. You must re-enable the presenter
before use.
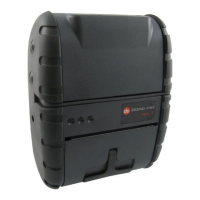
1) Install the media in the printer
and route the liner through the
peeler door, see section 2.3.1.
It is recommended to use 4” x
4” media since the printer will
rewind (~ 2 to 3 inches) of
label media to read the
reflectivity sensor values.
When the FEED key is pressed,
the label will be peeled and
presented for the operator.
2) Click on the ‘Sensor Calibration’
printer component.
3) Click the ‘Presenter Sensor’
button to start the calibration
process.
Follow the instructions on the
following screen.
4) Type the number 6 as the
Advance Distance after
QMark/Gap. Click the ‘OK’
button.
This value may vary if
Datamax-O’Neil media is not
used.
5) The following screen will be
shown. Click the ‘OK’ button to
start the process.
After the calibration is
performed successfully, the
following confirmation screen
will be shown. If the sensor
calibration fails, repeat the
process.
312
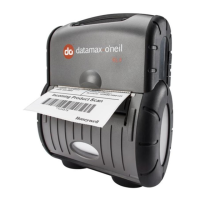
Media Backing
Peeler Door
Note: To test the proper operation of the printer, press the Feed button. The label is separated from the
liner and a message “REMOVE LABEL” is shown in the LCD. After the label is removed, the printer will
print the next label.