2: Installation
2-10 PRC1099A-MSOP
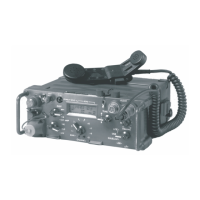
Connecting Audio Accessories
Plug the audio accessories into the following audio connectors.
The following steps apply to the handsets and headset.
1. Set the POWER knob to HI or LO (low power reduces battery drain).
2. Set the MODE knob to USB. You should hear a background noise in the
handset.
3. Turn the CHANNEL knob to the desired position (refer to "Tuning the
Antenna" on page 3-5 to set a new frequency).
4. Turn the VOLUME knob to the desired sound level.
5. Transmit by pressing the PTT switch on the handset and speaking into the
microphone.
Note: The H-250/U handset has a noise cancelling microphone. There is
almost no output when speaking more than 1/2 inch from the microphone.
6. To receive, release PTT.
7. Eliminate background noise by turning the MODE knob to SQUELCH.
This also reduces the receiver current drain.
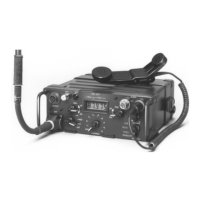
Battery Charger Installation
This section covers the installation and use of the PRC1099A with the
following accessories:
• PRC-PS Power supply/battery charger
• PRC-BC4 Multiple battery charger
• PRC-HC-30 Hand crank generator
• PRC-SPU-10 Solar power generator
Accessory Left Right
H-250/U Handset X X
MHS Handset X X
H3M Headset boom microphone X X
KYR CW Key X X