PRC1099A-MSOP 4-1
CHAPTER 4
RADIO PROGRAMMING
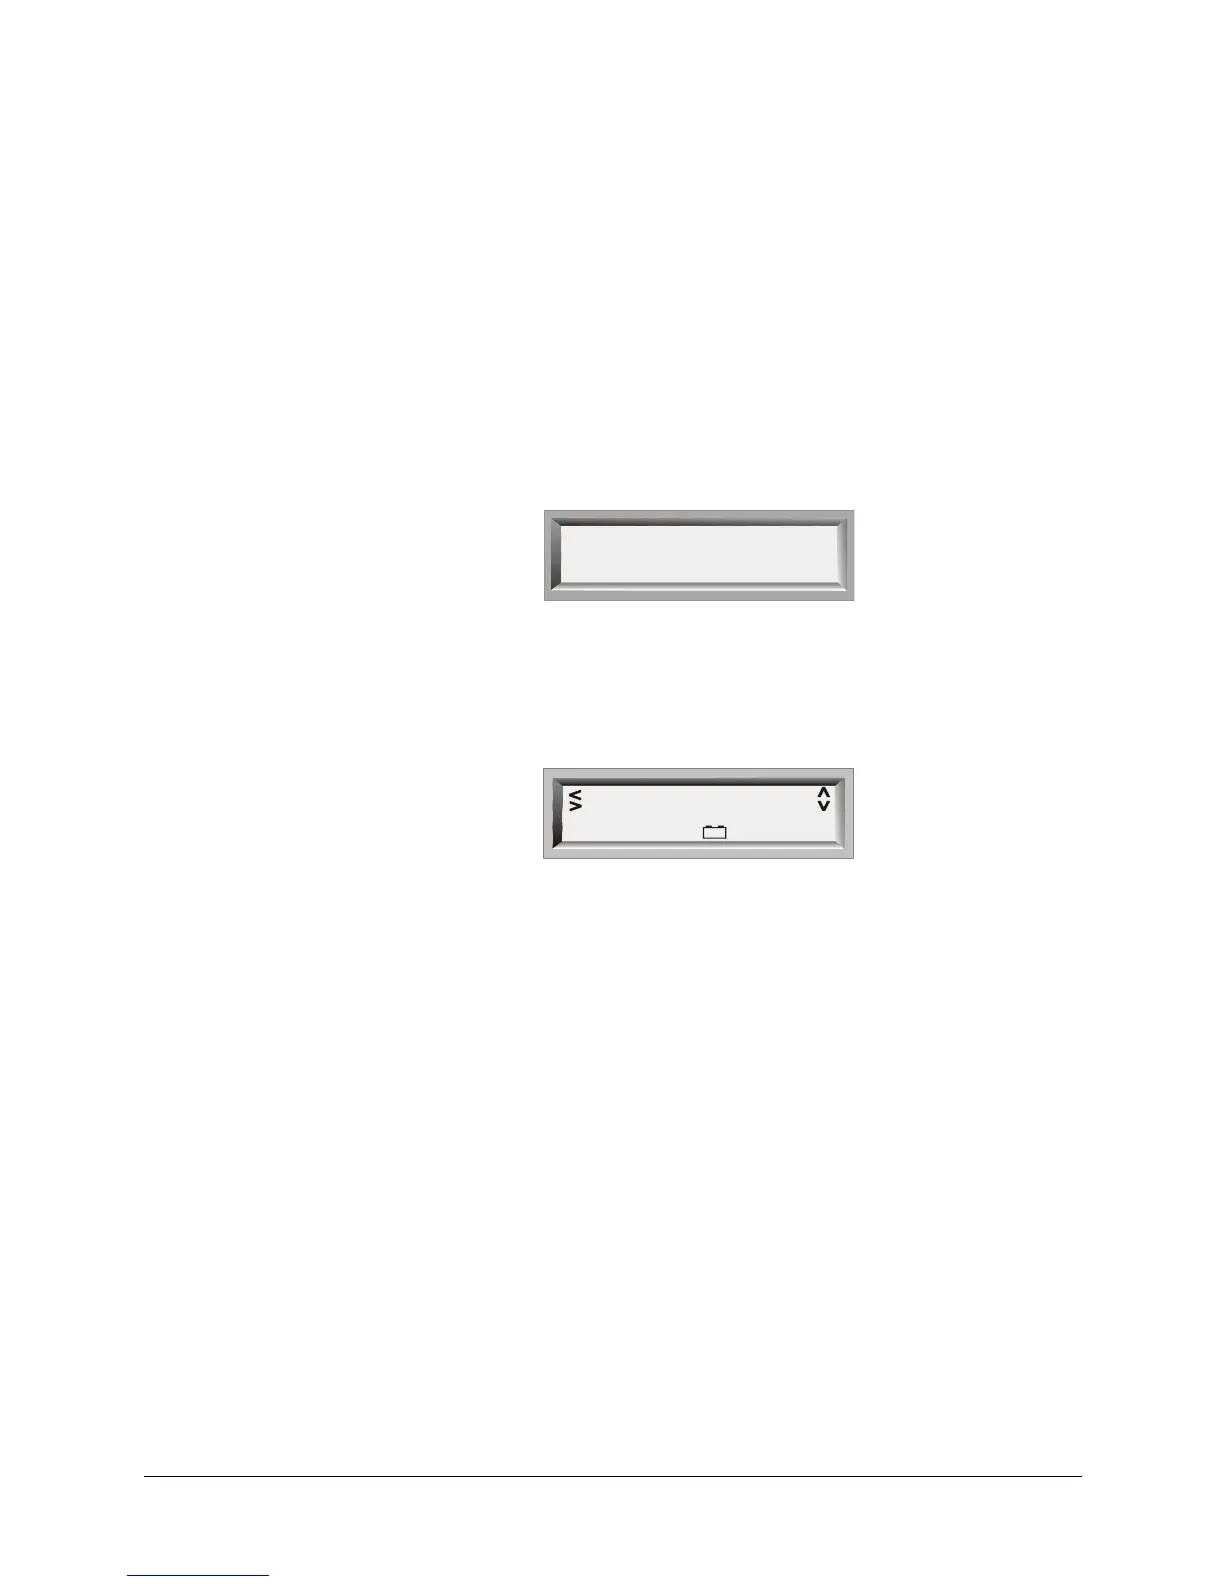
Display Area
When the PRC1099A is first powered on, the display area briefly shows the
version of the installed software and then the channel number assigned to the
current position of the Channel knob. It also indicates what menus are available.
In the example above, the Channel knob is set to channel 5 and the OPT, SCAN,
DATA, CALL, MSG and ALE menus are available to access.
To work within the display area:
1. Toggle the Digit knob up once to display the channel’s current frequency.
2. Continue toggling the Digit knob up and the pointer moves from left to
right through the digits of the frequency and eventually to and through the
available menu icons. Press the Digit knob down to move from right to left.
When a digit or icon flashes, it is selected.
At this point you can either modify a frequency digit or access a menu.
3. To change a frequency, refer to "Setting Channels and Frequencies" on
page 4-3. To access a menu, refer to “Menu Navigation” below.
Menu Navigation
Menus further facilitate radio programming. Some menus come standard, and
others are added when you request to have internal options installed. Icons on
the display area represent the available menus.
Menus that come standard with the radio are:
• SCAN (Scan settings)
• DATA (Data settings)
• OPT (Option settings)
CHAN 05
OPT
SCAN
CALL
DATA
MSG ALE
30.000000
OPT
SCAN
CALL
DATA
MSG
ALE
- +