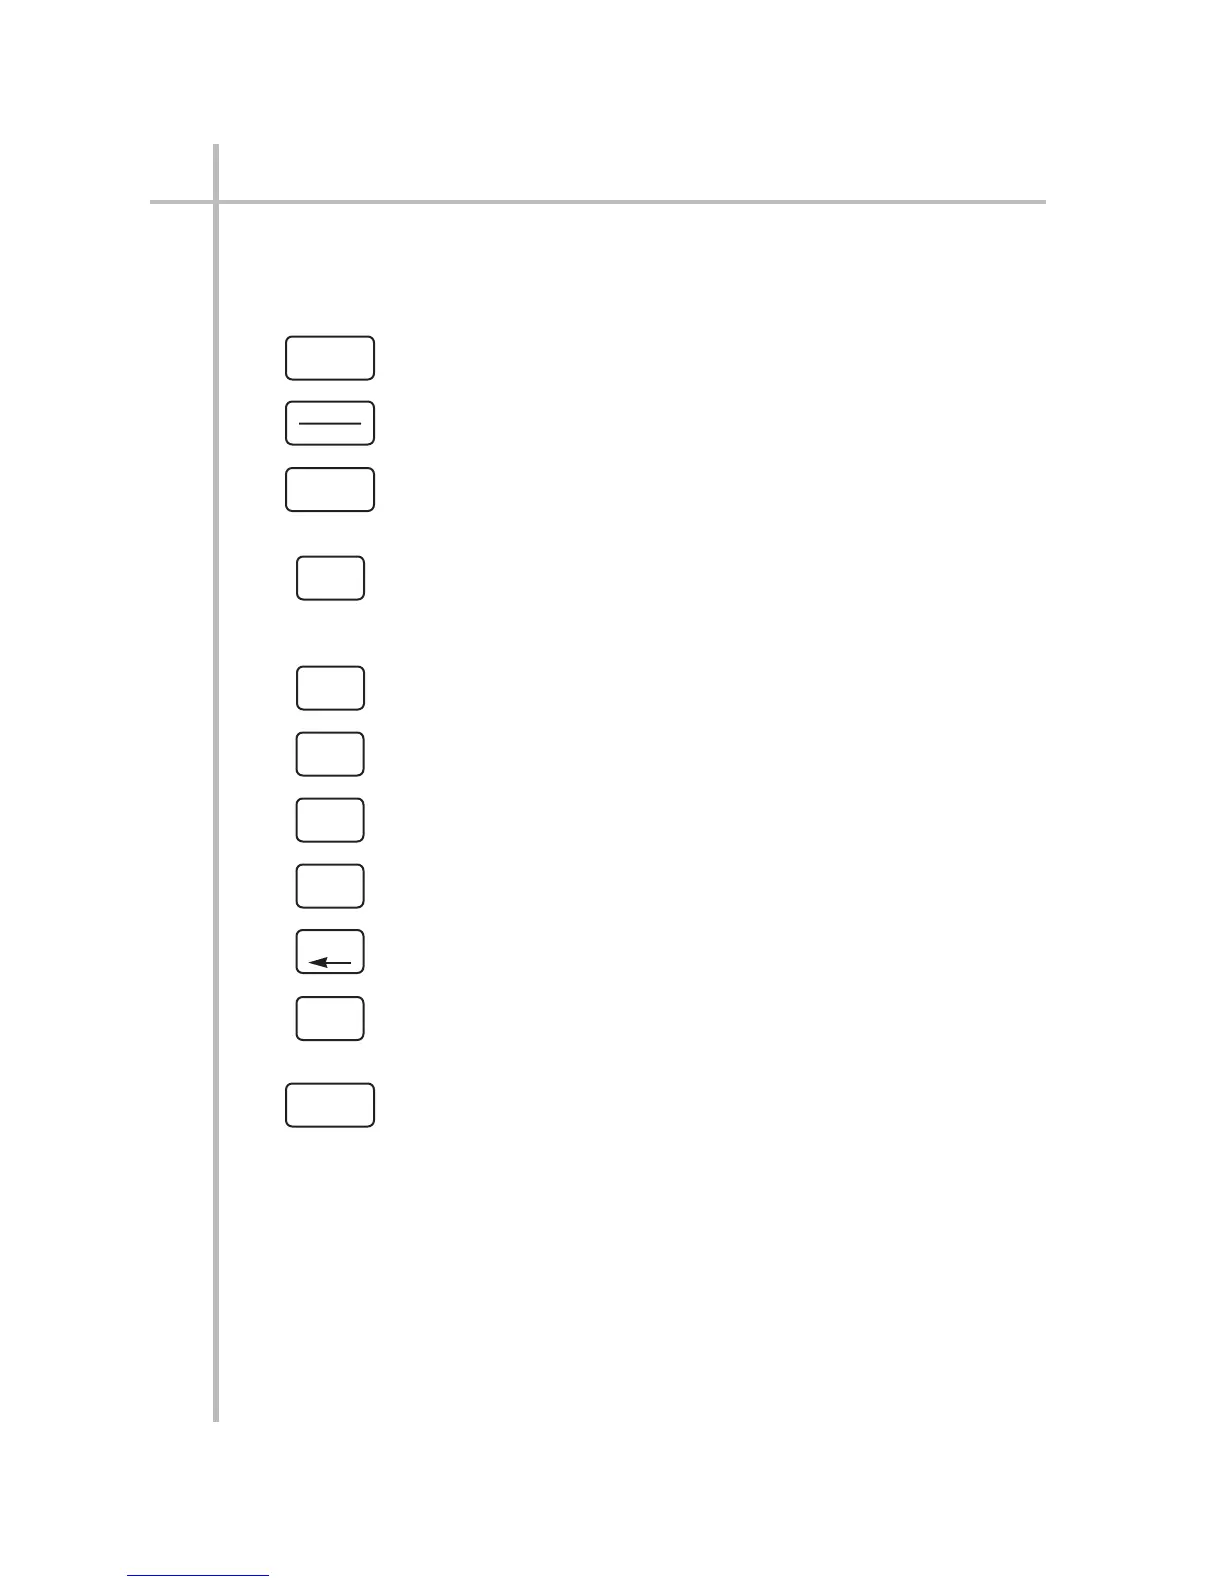
1.e SUMMARY OF SETUP BUTTON FUNCTIONS
The use of the SETUP buttons is explained in detail in Sections 3.a and 4.a. The
following table summarizes the relevant functions:
Button Button Function (in SETUP MODE):
Used to exit current setup procedure ("COM," "RANGE," "CAL,"
etc.) or to exit SETUP MODE.
Used to enter a value into the TARE REGISTER.
Used to enter desired PRINT AND OUTPUT PARAMETERS:
printing interval; node-number "echo" (ON/OFF); and limit-sta-
tus indication (ON/OFF).
Used to enter desired COMMUNICATIONS PARAMETERS:
baud rate; number of data bits; number of stop bits; parity;
node number; INPUT TERMINATOR character; and OUTPUT
TERMINATOR character(s).
Used to enter desired INPUT RANGE or SCALE, plus other
parameters, where applicable (EXCITATION, SENSITIVITY, etc.)
Used for CALIBRATION of the analog input ("Two-Point," "Lin-
earization," or "Calculated").
Used to set the ANALOG and DIGITAL FILTERS.
Used to scale the ANALOG OUTPUT.
Used to change DECIMAL-POINT LOCATION for certain setup
values.
Used to enter LIMIT PARAMETERS: high limit; high hysteresis;
high latch (ON/OFF); low limit; low hysteresis; low latch
(ON/OFF).
Used to display the "existing value" of a setup parameter and
to finalize entry of a modified value.
In addition to the above SETUP buttons, the instrument provides two NUMERIC
BUTTONS for each displayed character of the LCD display, plus a polarity "sign"
button. These buttons let you change the value of a displayed number or step
forwards or backwards through a displayed series of allowed setup values. In
general, to increase by "1" the numeric value of a displayed digit (up to a maxi-
mum of "9"), press the TOP LCD SEGMENT of that digit, whether or not it is lit. To
decrease by "1" the numeric value of a displayed digit (down to a minimum of "0"),
press the BOTTOM LCD SEGMENT of that digit, whether or not it is lit. To change
the polarity of the displayed number, press the "minus-sign" segment at the
extreme left of the display (whether or not it is lit). The NUMERIC BUTTONS are
only active when the instrument is in SETUP MODE.
1.7
INTRODUCTION
1
1.e SUMMARY OF SETUP BUTTON FUNCTIONS
COM
RANGE
CAL
FILTER
ANO
TARE
RESET
PRINT
SET UP
DEC
LIMIT
ENTER
 Loading...
