been changed since the reset can be recovered through the RS-232/485 Inter-
face (see the LIN command, Section 4.d).
You should reset the linearization table when you are linearizing your 3500 instru-
ment for the first time, or whenever you want to relinearize it by the "FORCE" pro-
cedure described in Section 4.c.4(c), below. If you only want to view the existing
table, or to edit one or more existing line-segment definitions, YOU SHOULD NOT
RESET THE TABLE.
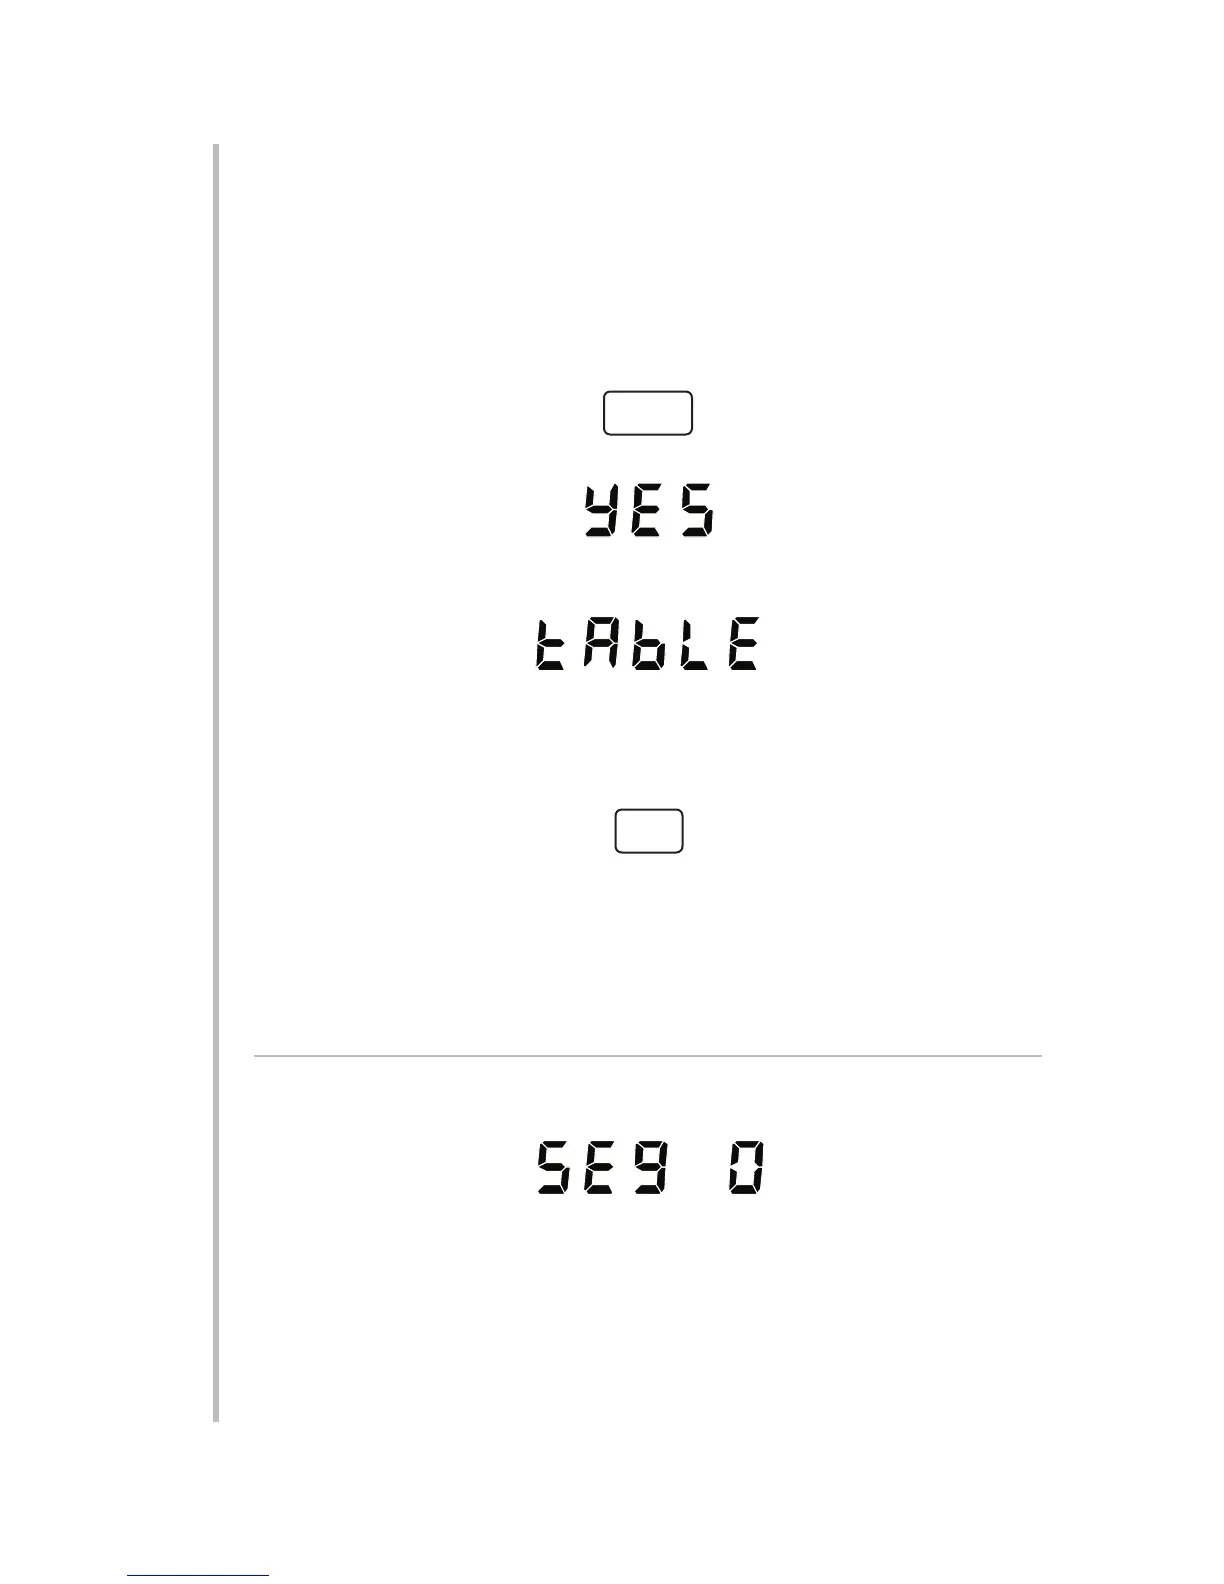
To reset the linearization table, press
following the display of "RESET." The word "YES" will appear:
Confirm your intention to reset by again pressing ENTER. You will now see the
word "TABLE":
If your knowledge of the desired input/output relationship allows, you can use the
procedure given in Section 4.c.4(b), below, to load points directly into the table.
Press ENTER once more and proceed to that section. If, however, you prefer not
to enter input values directly, but to "force" existing "live" inputs to desired output
values, press the
button and proceed to Section 4.c.4(c).
To view the existing linearization table without resetting it, or to select linearization
"by force," press ANY KEY OTHER THAN ENTER, following the display of "RESET."
The word "TABLE" will appear. To view the existing table, press ENTER again, and
proceed to the following section.
4.c.4.b BY “TABLE”
1. Once you have pressed ENTER, following the display of "TABLE," the unit will
display "SEG[MENT] 0":
If you have reset the linearization table or are linearizing your 3500 instrument
for the first time, "SEG 0" will be displayed, telling you that you are now going
to enter the "zero" point "z" of the linearization curve (see Fig. 21). Proceed to
Step 2, below.
If you have NOT reset the existing linearization table, "SEG 0" will still be dis-
played, but you can now advance to any line segment in the table in order to
view—and, if desired, to change—that segment's current definition. Follow the
procedure given in Step 11, below, for editing an already defined and active
segment.
4.13
SETUP: INSTRUMENT CALIBRATION
4
4.c CALIBRATING THROUGH THE FRONT PANEL
ENTER
CAL
 Loading...
