IN ORDER TO REGISTER THE CHANGE. IF YOU ONLY PRESS SETUP AFTER
CHANGING A SETUP VALUE, YOU WILL RETURN TO THE "SETUP" DISPLAY
WITHOUT HAVING ACTUALLY "ENTERED" THE CHANGE.
ALSO PLEASE NOTE: IF YOU ATTEMPT TO ENTER AN OUT-OF-RANGE OR OTH-
ERWISE UNACCEPTABLE VALUE FOR A GIVEN SETUP PARAMETER, THE UNIT
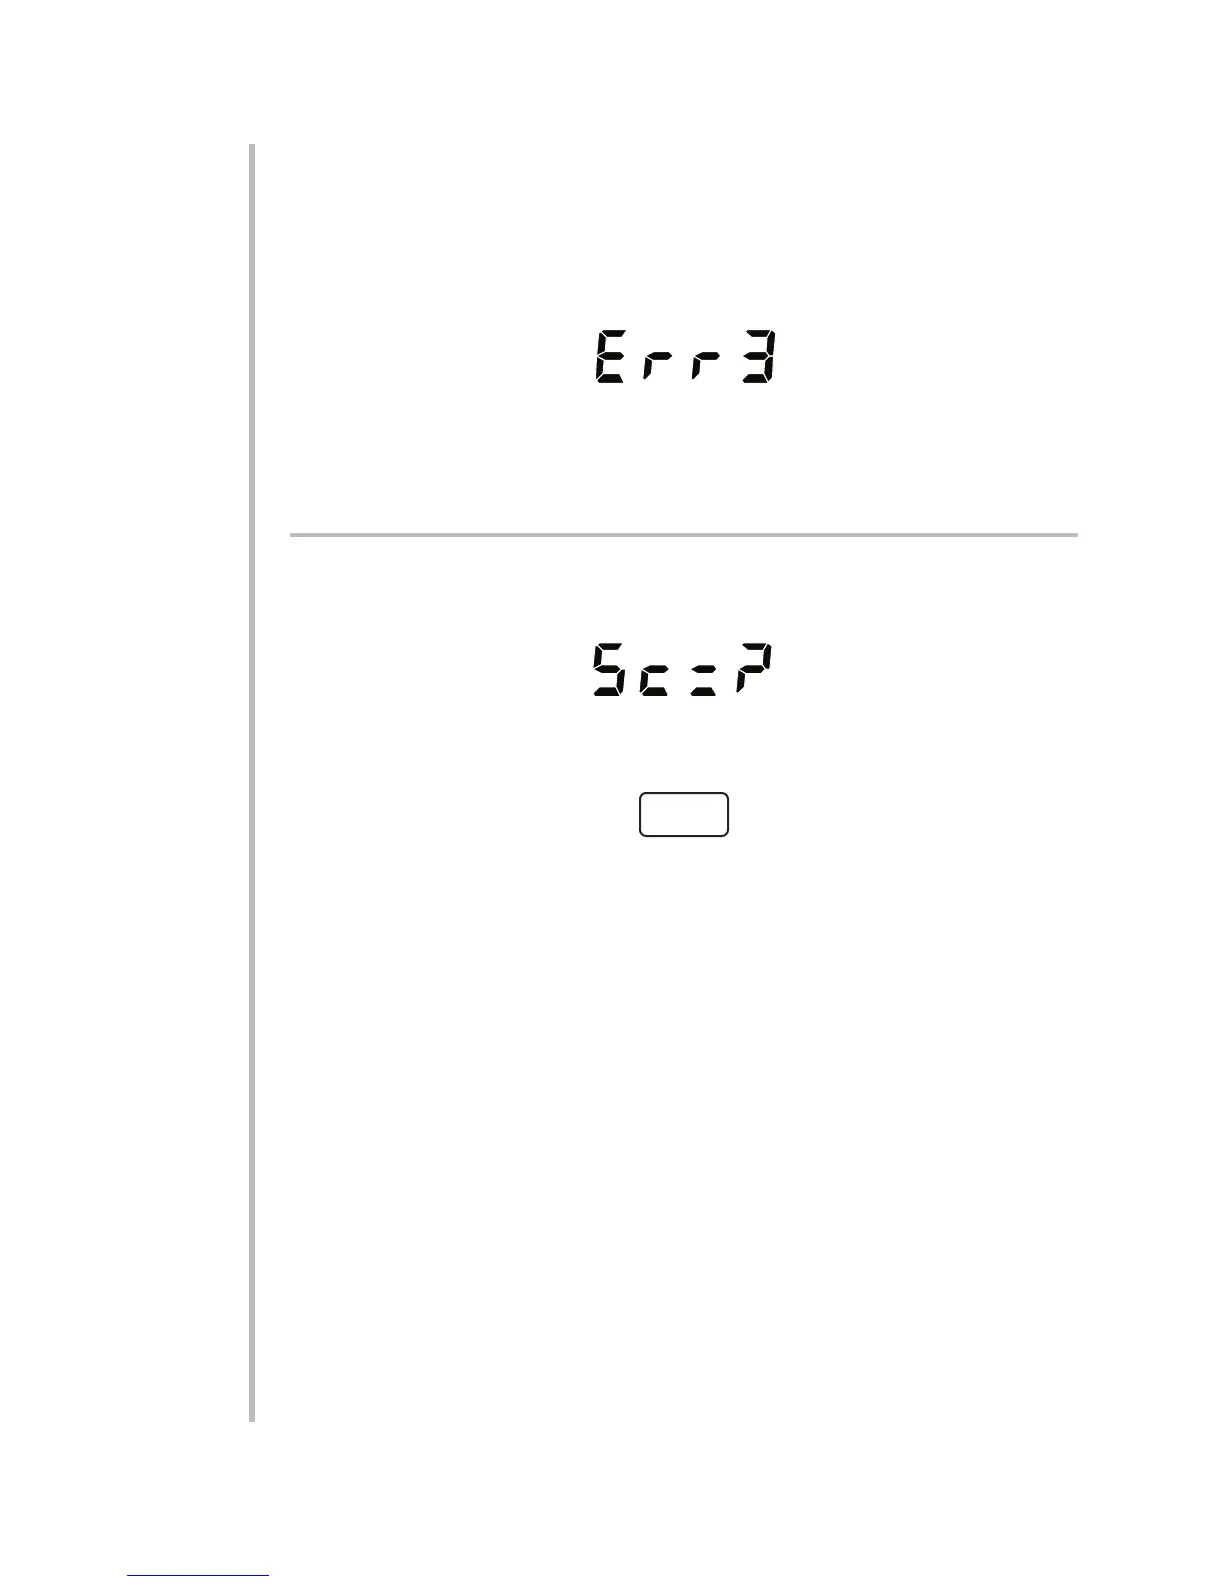
WILL DISPLAY AN ERROR NUMBER, SUCH AS
If this occurs, refer to the ERROR-CODE TABLE in Appendix C. Note that the
ERROR-NUMBER will remain on display until you press the ENTER or SETUP but-
ton.
3.a.2 SECURITY CODE
If a nonzero SECURITY CODE has not already been entered, the operator will be
given the chance to do so as soon as the SETUP key is pressed. The unit will
ask:
If you do not want to enter a nonzero code at this time, just press SETUP again
and the "Setup" display (Fig. 1(b)) will appear. To enter a new code,
a. Press
The current security code will be displayed (INITIALLY, THIS IS "0" FOR "NO
CODE").
b. Use the NUMERIC BUTTONS as discussed in Section 1.e, above, to display
any integral number from 1 through 98.
WARNING!
BE SURE TO WRITE DOWN THE NUMBER YOU SELECT AS YOUR SECURITY
CODE, SO THAT YOU DON'T FORGET IT. ONCE YOU PRESS ENTER, THERE IS
NO WAY TO INTERROGATE THE 3500 INSTRUMENT FOR THIS NUMBER,
EXCEPT BY A SECURITY CODE (SCD) COMMAND APPLIED THROUGH THE RS-
232/485 INTERFACE PORT (see Section 3.b, below). NOTE, HOWEVER, THAT
THE PROPER COMMUNICATIONS PROTOCOL MUST ALREADY BE ESTAB-
LISHED IN ORDER FOR THE UNIT TO RECOGNIZE AND RESPOND TO THIS COM-
MAND. UNTIL SUCH COMMUNICATIONS HAVE BEEN SET UP, THE ONLY
ACCESS YOU WILL HAVE TO THE EFFECTIVE SECURITY CODE WILL BE YOUR
OWN MEMORY—AND WITHOUT THIS CODE, YOU ARE PROHIBITED FROM MAK-
ING ANY SETUP CHANGES VIA THE FRONT PANEL, INCLUDING COMMUNICA-
TIONS PROTOCOL!
c. Press ENTER once again. The "Setup" display (Fig. 1(b)) will appear. From
now on, you will have to enter the number that has just been specified in order
to enter SETUP MODE. Once in SETUP MODE, however, you can easily
change the existing code, as explained below.
3.2
3
SETUP: INSTRUMENT CONFIGURATION
3.a CONFIGURING THROUGH THE FRONT PANEL
ENTER
 Loading...
