Steps
1. Place the palm-rest assembly on a clean and flat surface with keyboard facing up, disconnect the power-button board cable.
2. Turn the palm-rest assembly over.
NOTE: Ensure that the power-button board cable is disconnected before removing the system board.
3. Open the latch and disconnect the audio daughter-board cable from the system board.
4. Open the latch and disconnect the touchpad cable from the system board.
5. Open the latch and disconnect the keyboard-controller cable from the system board.
6. Using the pull tab, disconnect the card-reader board cable from the system board.
7. Disconnect the coin-cell battery cable from the system board.
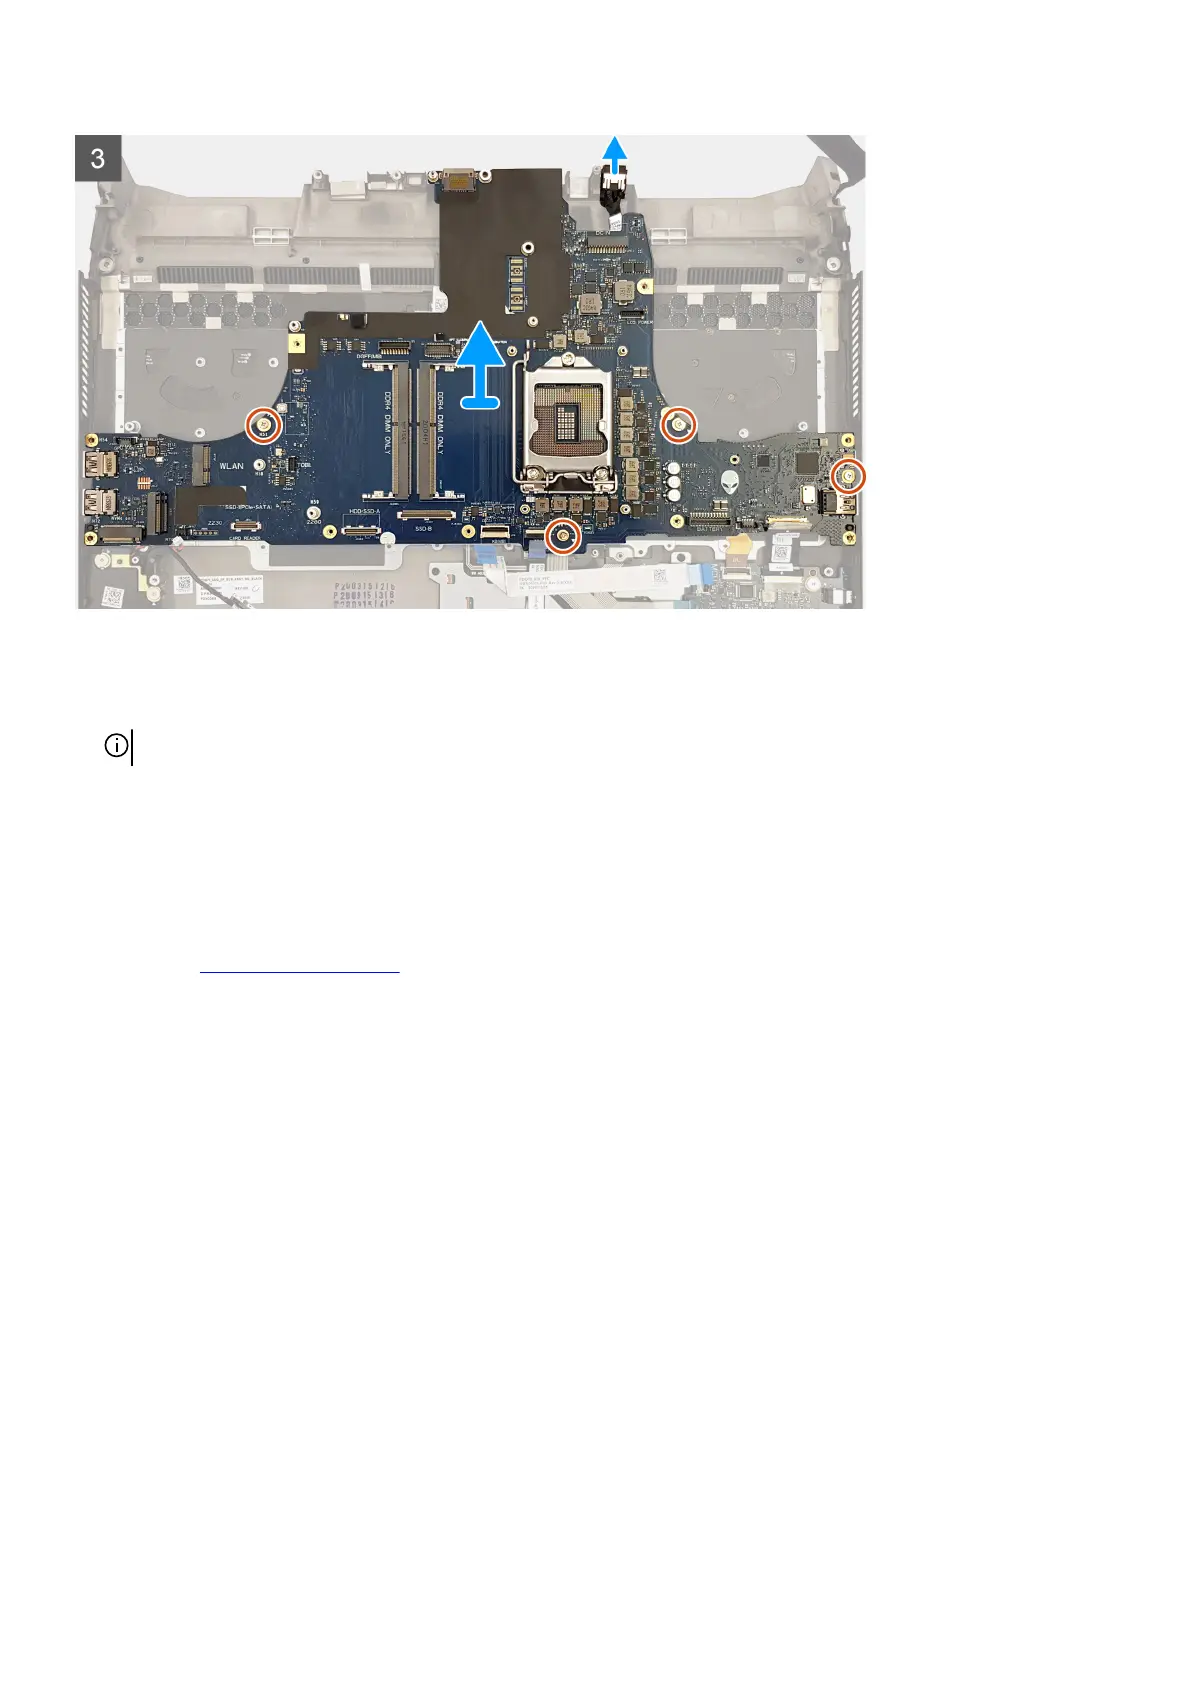
8. Remove the four screws (M2.5x5) that secure the system board to the palm-rest assembly.
9. Lift the system board off the palm-rest assembly along with the right power-adapter port.
10.Remove the
right power-adapter port.
11. After performing all the above steps, you are left with the system board.
Installing the system board
Prerequisites
If you are replacing a component, remove the existing component before performing the installation procedure.
About this task
The following image indicates the connectors on the bottom side of your system board.
68