• M.2 512 GB PCIe NVMe Solid State DriveClass 40
• M.2 1 TB PCIe NVMe Solid State Drive Class 40
Identifying the hard drive in Windows 10
1
Click All Settings on the Windows 10 Charms Bar.
2 Click Control Panel, select Device Manager, and expand Disk drives.
The hard drive is listed under Disk drives.
Entering BIOS setup
1 Turn on or restart your laptop.
2 When the Dell logo appears, perform one of the following actions to enter the BIOS setup program:
• With keyboard — Tap F2 until the Entering BIOS setup message appears. To enter the Boot selection menu, tap F12.
Hard drive is listed under the System Information under the General group.
Memory congurations
The supported memory congurations for are as follows:
• 2GB DDR4, 2400MHz, (1 x 2GB)- Linux operating system only
• 4GB DDR4, 2400MHz, (1 x 4GB)
• 8GB DDR4, 2400MHz, (1 x 8GB)
• 8GB DDR4, 2400MHz, (2 x 4GB)
• 16GB DDR4, 2400MHz, (2 x 8GB)
• 32GB DDR4, 2400MHz, (2 x 16GB)
NOTE
: If this computer is purchased with Intel 6th Generation CPUs, the maximum MHz the computer can achieve is 2133.
Verifying system memory in Windows 10 and Windows 7
Windows 10
1 Click the Windows button and select All Settings > System.
2 Under System, click About.
Windows 7
• Click Start → Control Panel → System.
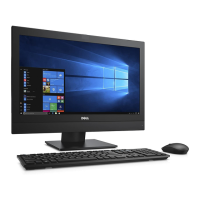
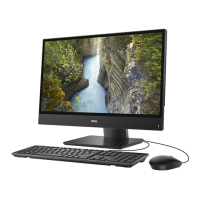
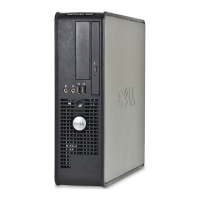
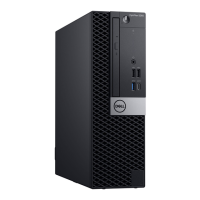
Technology and components
43