Installing the 2.5-inch drive into the bracket
NOTE: To install a secondary hard drive, the grommets will be shipped separately.
1. Align and insert the pins (secured by grommets) on the drive bracket with the slots on the sides of the drive.
2. Install the:
a. 2.5-inch drive assembly
b. cover
3. Follow the procedure in After Working Inside Your Computer.
Installing the 2.5-inch drive assembly
1. Insert the drive assembly into the slot on the computer.
2. Connect the power cable to the slot on the drive bracket.
3. Install the:
a. cover
4. Follow the procedure in After working inside your computer.
Optical drive
Removing the optical drive
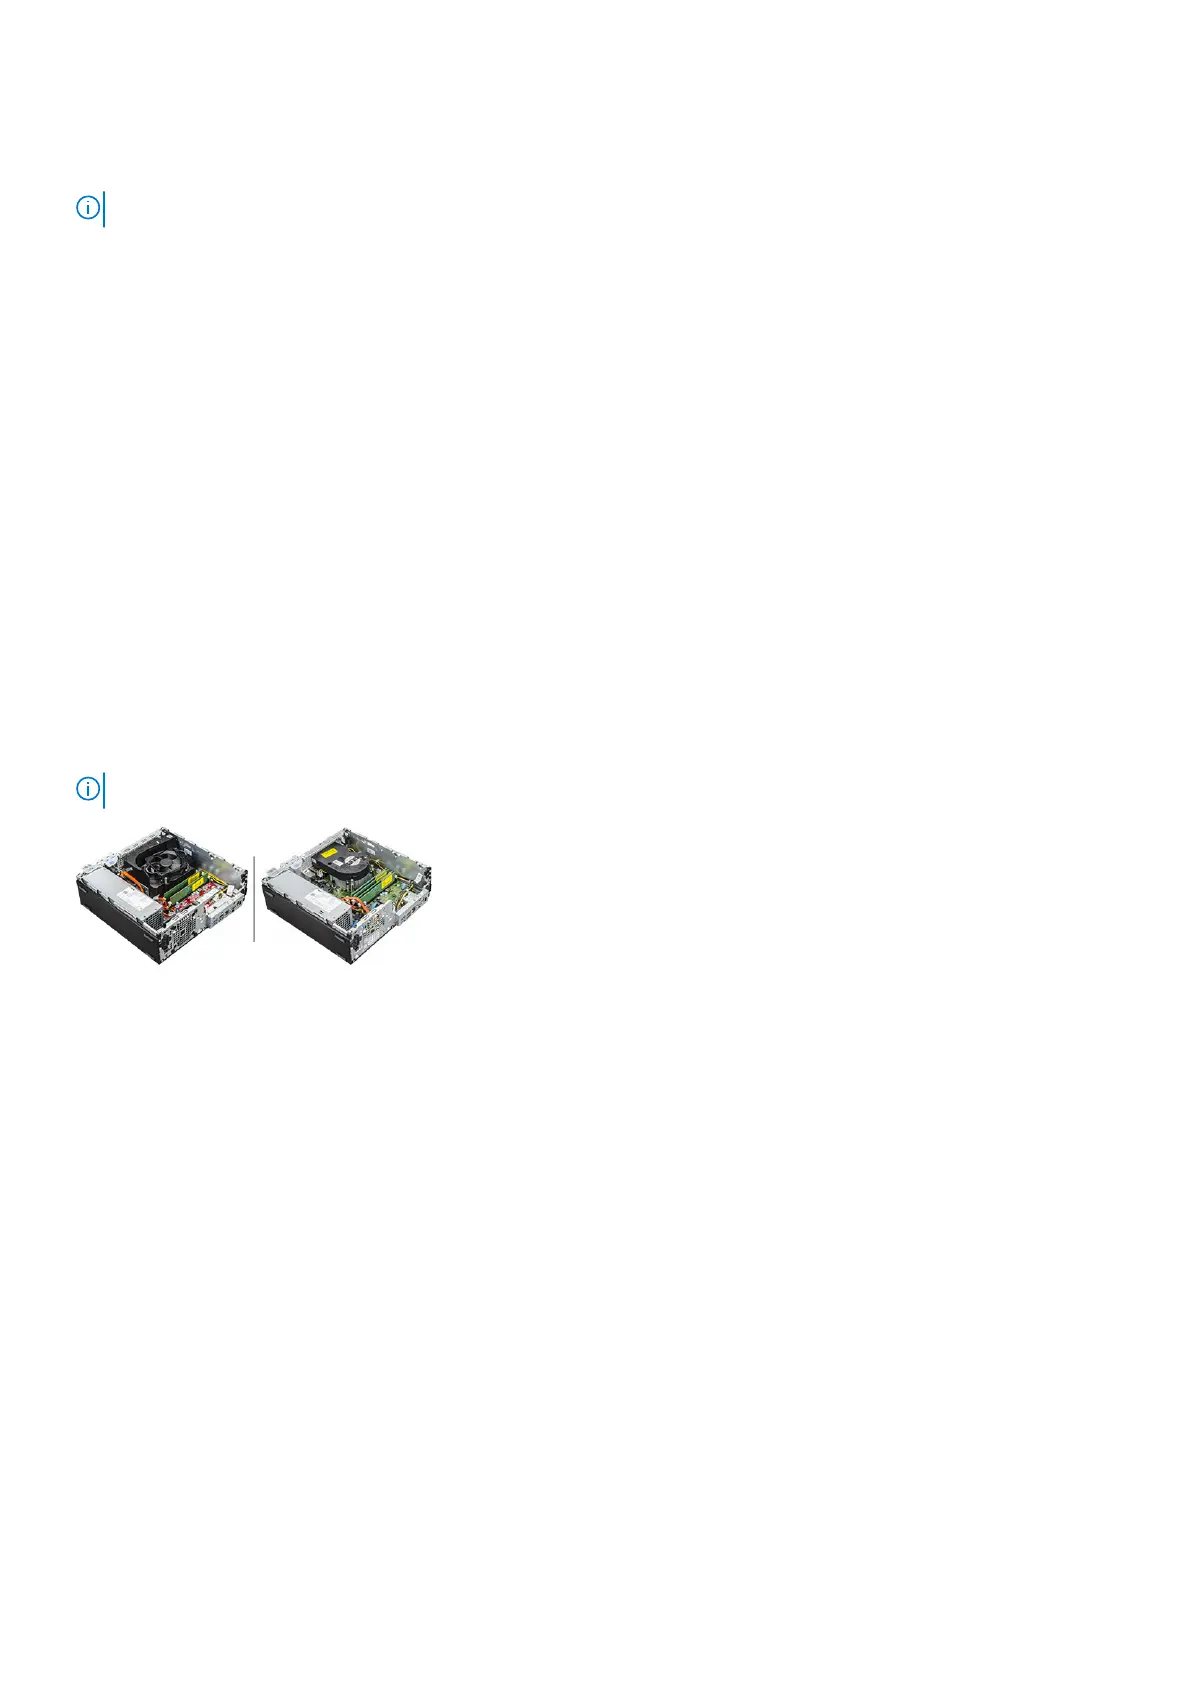
NOTE: Depending on the configuration you order, you may see either of the heat sinks as shown in the image below.
1. Follow the procedure in Before working inside your computer.
2. Remove the:
a. cover
b. bezel
c. 2.5–inch drive assembly
3. To release the optical drive module:
a. Unthread the cables through the retention clip [1].
b. Pull the blue tab to unlock the optical drive module [2].
Disassembly and reassembly
19