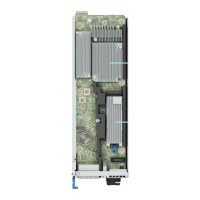
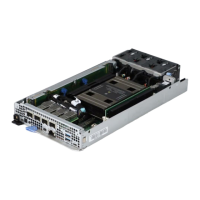
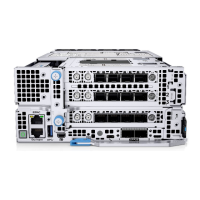
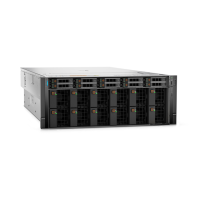
Figure 46. Removing the system board
Next steps
Install the system board.
Installing system board
Prerequisites
NOTE:
Before replacing the system board, replace the old iDRAC MAC address label in the Information tag with the iDRAC
MAC address label of the replacement system board.
1. Follow the safety guidelines listed in the Safety instructions.
2. Follow the procedure listed in the Before working inside your system.
3. If you are replacing the system board, remove all the components that are listed in the removing the system board section.
Steps
1. Unpack the new system board assembly.
2. Holding the system board by the edges, lower the witness sled system board it into the system.
3. Align the connectors on the witness sled system board with the slots on the front of the system until the connectors are
firmly seated in the slots.
54
Installing and removing system components

 Loading...


