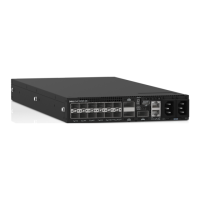
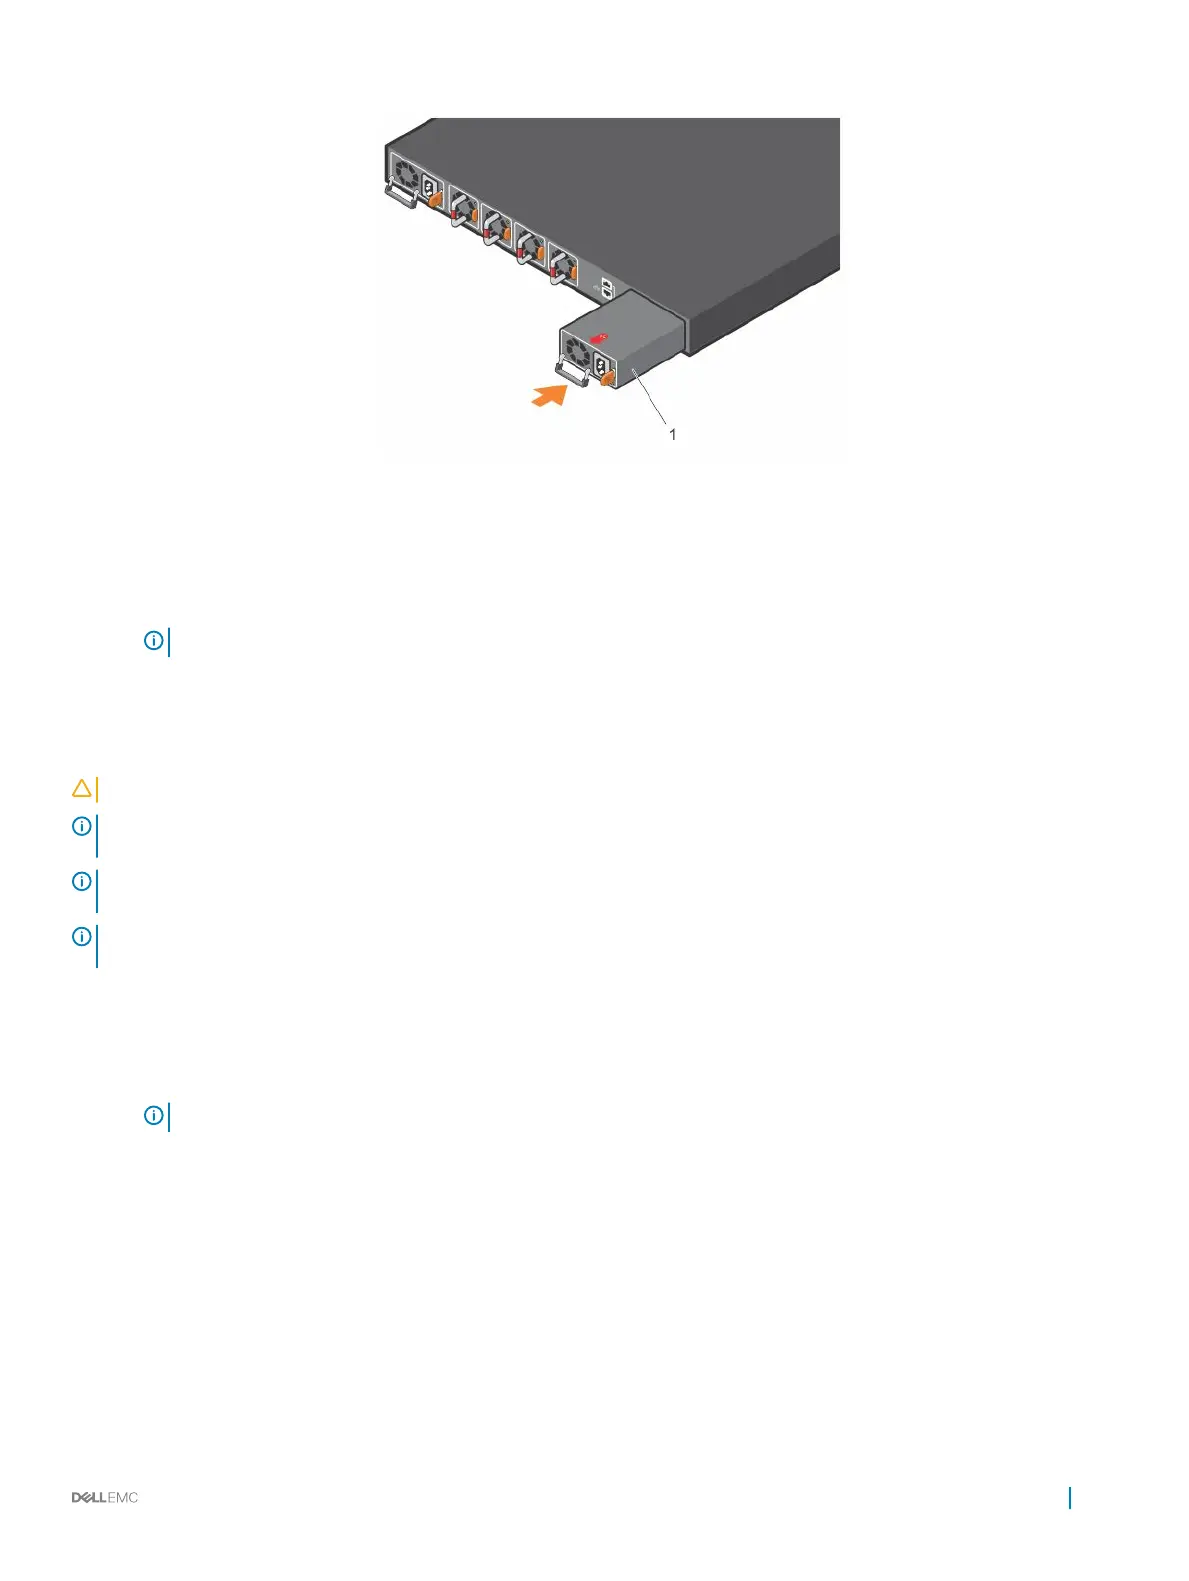
Figure 17. PSU installation
1 Left PSU is PSU1 and right PSU is PSU2.
4 Plug in the appropriate AC 3-prongs cord from the switch PSU to the external power source.
5 Repeat steps 1 through 4 if you have a redundant PSU slot.
NOTE: The switch powers up when you connect the cables between the power supply and the power source.
AC or DC power supply replacement
CAUTION
: Disconnect the power cord before removing the power supplies. Also, disconnect all power cords before servicing.
NOTE: The PSU slides into the slot smoothly. Do not force a PSU into a slot as this action may damage the PSU or the S4100–
ON Series switch.
NOTE: If a PSU fails, you must replace the entire unit. There are no eld serviceable components in the PSU. To request a
hardware replacement, see Dell EMC support.
NOTE: If you use a single PSU, install a blank plate in the other PSU slot. If you are only using one power supply, Dell EMC
recommends installing the power supply in the rst slot, PSU1. Install a blank plate in the second slot, PSU2.
1 Disconnect the power cable from the PSU.
2 Use the grab handle to slide the PSU out of the power supply bay.
3 Use the grab handle on the replacement PSU to slide it into the power supply bay.
4 Attach the power cord to the replacement PSU.
NOTE
: The switch powers up when the cables are connected between the power supply and the power source.
DC power supply connection
Each DC PSU kit, sold separately, comes with a connector cable.
Power supplies
31
 Loading...