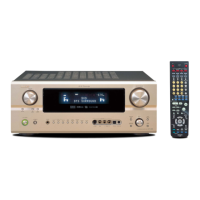
ENGLISH
29
5
q Select the various
parameters.
(Remote control unit)
6
Press the “SURR. PARA” button to complete the setting.
(Remote control unit)
w Adjust the parameter
settings.
(Remote control unit)
NOTE:
• When “Default” is selected and the jog stick is moved to the left, “CINEMA EQ.” and “D.COMP.” are
automatically turned off, “SB CH OUT” is reset, “CHANNEL LEVEL” and the tone is set to the default
value.
Surround parameters e
CINEMA EQ. (Cinema Equalizer):
The Cinema EQ function gently decreases the level of the extreme high frequencies, compensating for
overly-bright sounding motion picture soundtracks. Select this function if the sound from the front speakers
is too bright.
This function only works in the Dolby Pro Logic, Dolby Digital, DTS Surround and Wide Screen modes.
D.COMP. (Dynamic Range Compression):
Motion picture soundtracks have tremendous dynamic range (the contrast between very soft and very loud
sounds). For listening late at night, or whenever the maximum sound level is lower than usual, the Dynamic
Range Compression allows you to hear all of the sounds in the soundtrack (but with reduced dynamic range).
(This only works when playing program sources recorded in Dolby Digital or DTS.) Select one of the four
parameters (“OFF”, “LOW”, “MID” (middle) or “HI” (high)). Set to OFF for normal listening.
This parameter is displayed only when playing compatible sources in DTS mode.
LFE (Low frequency Effect):
This sets the level of the LFE (Low Frequency Effect) sounds included in the source when playing program
sources recorded in Dolby Digital or DTS.
If the sound produced from the subwoofer sounds distorted due to the LFE signals when playing Dolby Digital
or DTS sources when the peak limiter is turned off with the subwoofer peak limit level setting (system setup
menu), adjust the level as necessary.
Program source and adjustment range
1. Dolby Digital:–10 dB to 0 dB
2. DTS Surround:–10 dB to 0 dB
When DTS encoded movie software is played, it is recommended that the LFE LEVEL be set to 0
dB for correct DTS playback.
When DTS encoded music software is played, it is recommended that the LFE LEVEL be set to –10
dB for correct DTS playback.
TONE:
This adjusts the tone control. (See page 33.)
2 Dialogue Normalization
The dialogue normalization function is activated automatically when playing Dolby Digital program sources.
Dialogue normalization is a basic function of Dolby Digital which automatically normalizes the dialog level
(standard level) of the signals which are recorded at different levels for different program sources, such as DVD,
DTV and other future formats that will use Dolby Digital.
When this function is activated, the following message appears on the main unit’s display:
The number indicates the normalization level when the currently playing
program is normalized to the standard level.
(Main unit) (Remote control unit)
r Play a program source (DVD, etc.).
2
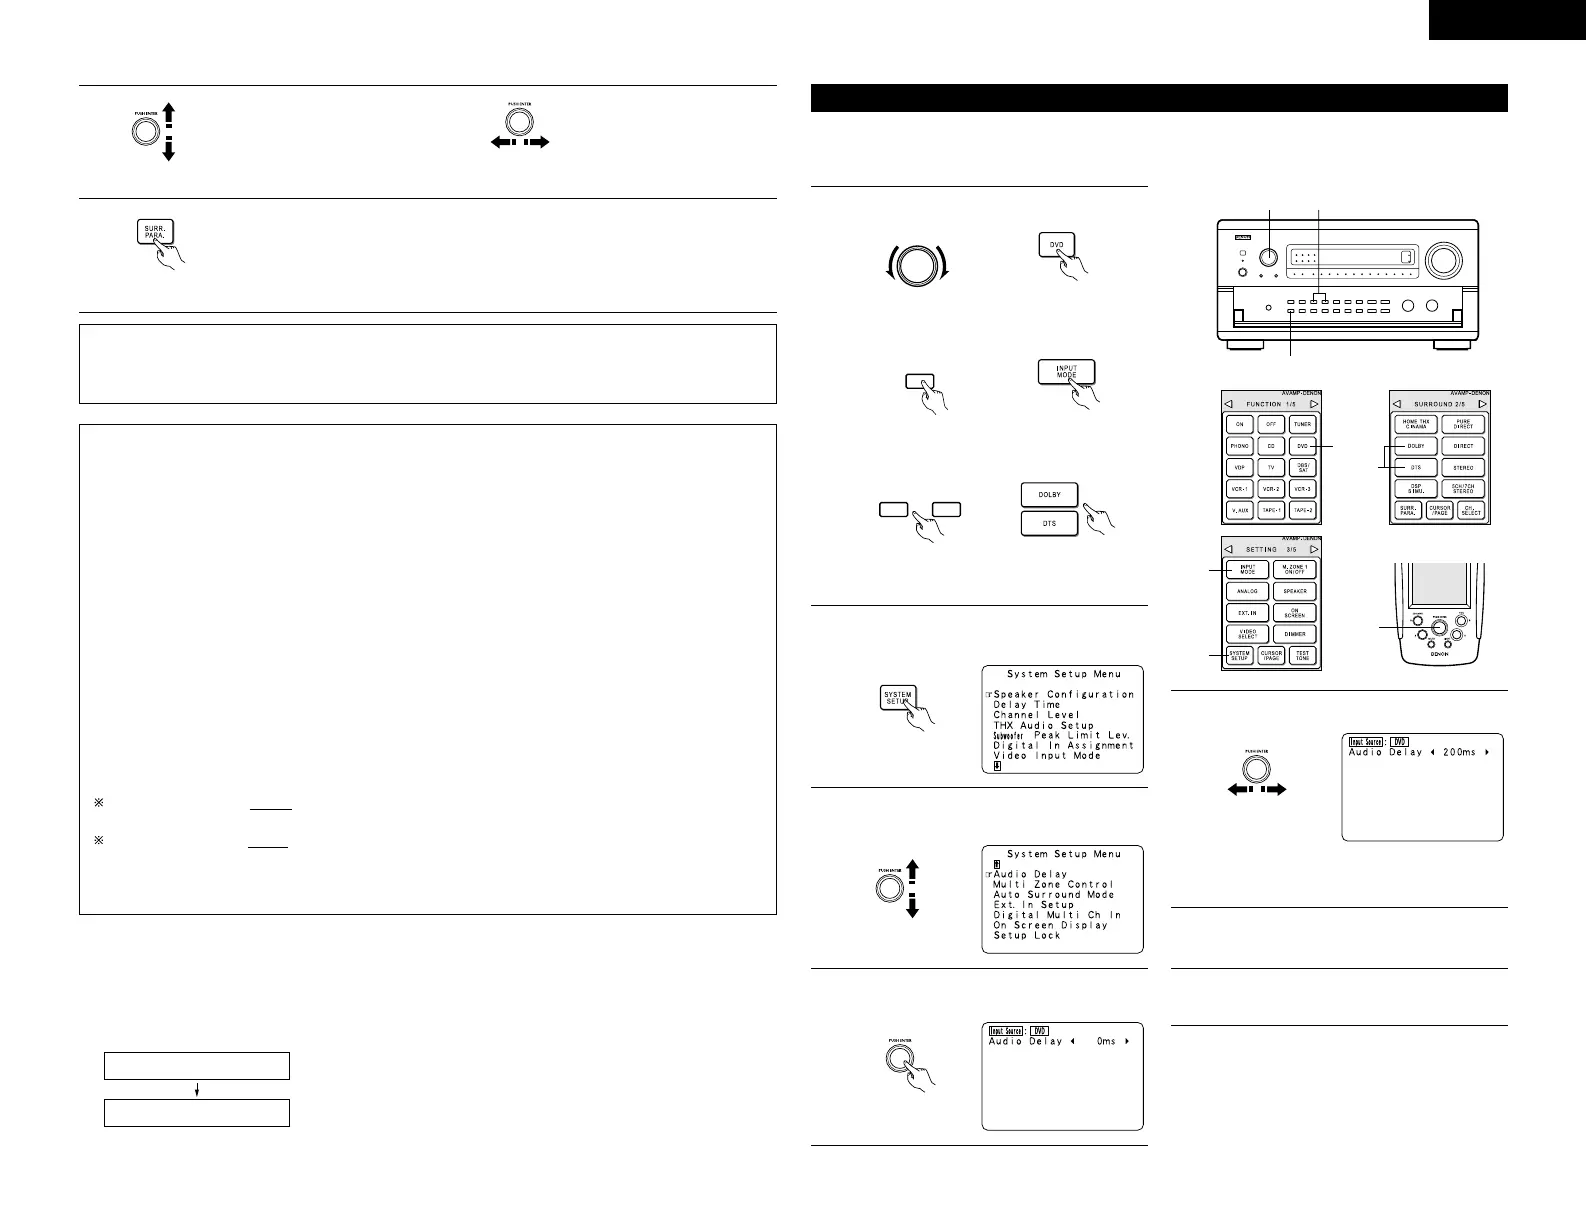
Press the SYSTEM SETUP button and display
the System Setup Menu screen.
(Remote control unit)
3
Select “Audio Delay” on the System Setup
Menu screen.
(Remote control unit)
4
Press jog stick “ENTER” to switch to the Audio
Delay adjustment screen.
(Remote control unit)
5
Set the delay time. (0 ms ~ 200 ms)
(Remote control unit)
With a movie source, for example, adjust so
that the movement of the actors’ lips is
synchronized with the sound.
6
Press jog stick “ENTER” to return to the
System Setup Menu screen.
7
Press the SYSTEM SETUP button to complete
the setting.
NOTE:
The audio delay setting does not apply when playing
in the EXT. IN mode or in the analog input direct mode
or stereo mode (only when the crossover frequency is
set to “FIXED - THX” or front speaker is set to
“Large”).
 Loading...