Ports that are unchecked will be hidden from ELOG. Ports are listed and searched in the order
shown. The order can be changed by selecting a port and moving it up or down.
Every time ELOG connects to a logger, its port is moved to the top of this list.
4) Check the Use Legacy Logger interface checkbox to enable legacy menu items for customers using
legacy products (ELITEpros ). The default is unchecked, and the ELOG only displays features and
menu items relevant to the current software release.
5) Click Save Changes.
For more information on the other
ELOG PC Setup options see the
Tools Menu content in Section II.
6) Select Logger > Communication >
Direct Connect to connect the
computer to the ELITEpro XC.
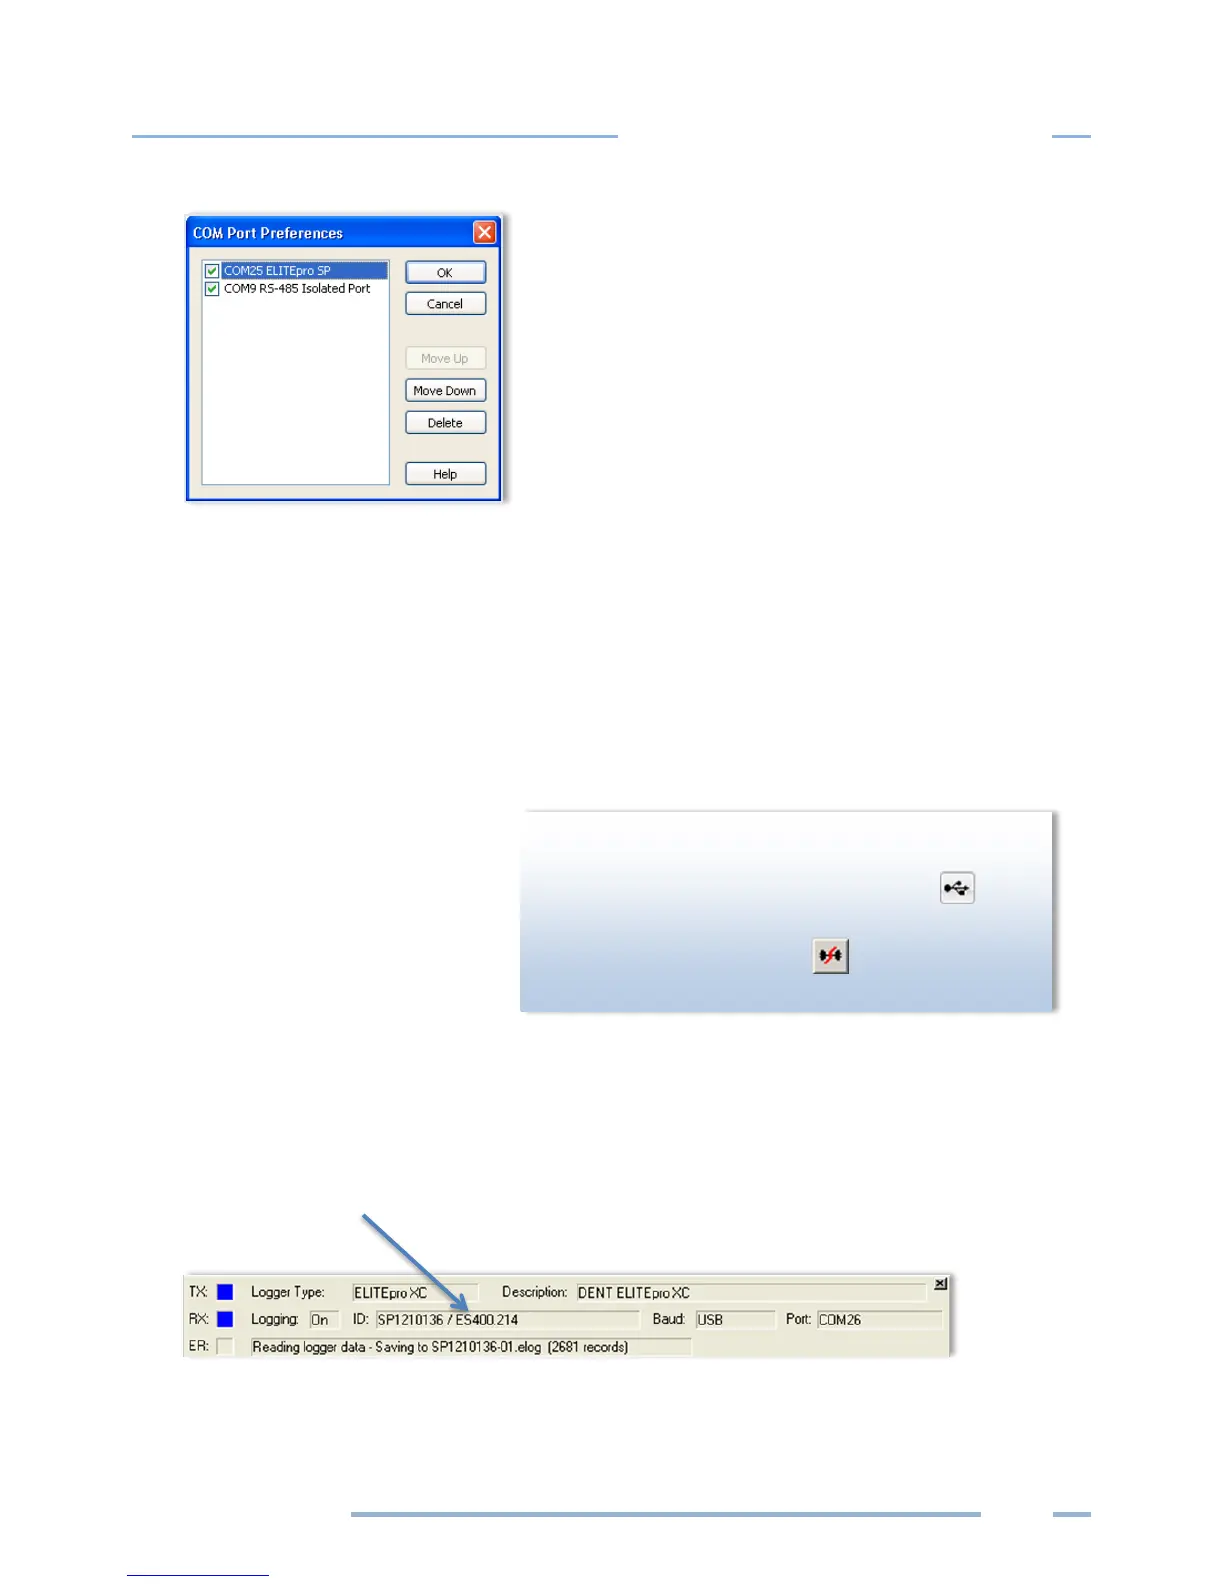
The Logger Connection information
displays along the bottom of the window, providing a status message as the computer connects to
the ELITEpro XC. Simultaneously, the logger’s COMM LED will begin to flash.
ELOG fills the information fields of the Logger Connection
window when the computer establishes communication
with the ELITEpro XC. For more information on using ELOG,
see Using the ELOG Software.
DID YOU KNOW? You can quickly make a USB or