Communicating with the ELITEpro XC
1) Plug the USB cable into the logger and the PC. ELOG 15 should auto-launch and connect to the
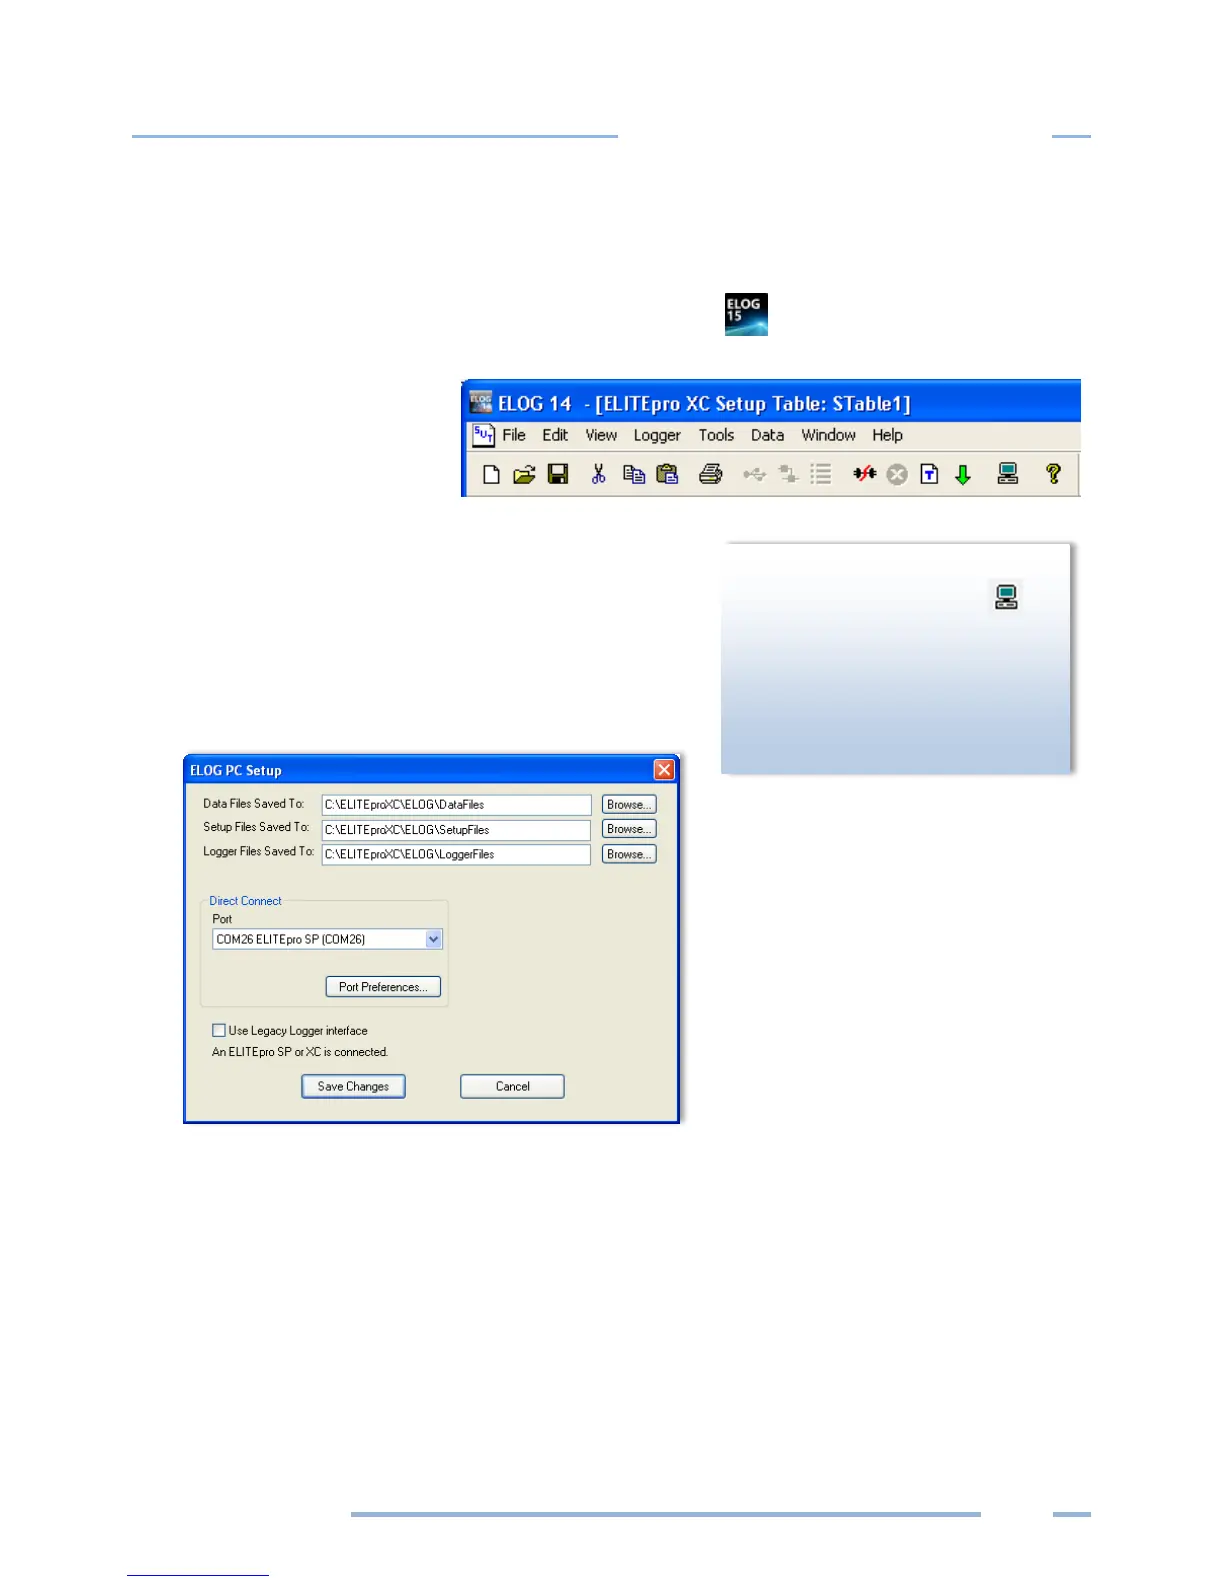
ELITEpro XC automatically. If not, double-click the ELOG icon on the PC desktop.
The ELOG window opens,
displaying the menus and a
row of speed buttons to
quickly access frequently
used ELOG functions.
The ELITEpro XC and ELOG 15 software should connect
automatically. If not, proceed with Step 2 below. If the
automatic connection is made, proceed with Step 6
below.
2) Select Tools > PC Setup to open the ELOG PC Setup dialog
box.
3) In the middle section of the dialog box labeled Direct Connect, select the Port from the menu that
corresponds to the computer’s COM port where the USB cable is connected.
Port Preferences: This option is used to hide COM Ports from ELOG, to change the order of COM
Ports as they appear in the drop-down control, and the order they are searched when ELOG can't
connect to a logger on the desired port.
Setup speed button. ELOG
provides the user with “Friendly
Ports™” in the Port drop-down list
as a convenient way to identify