TB-1022
10
Parts Replacement/
Maintenance
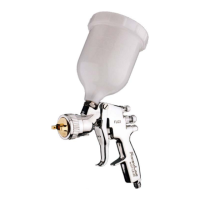
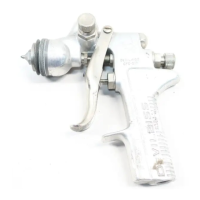
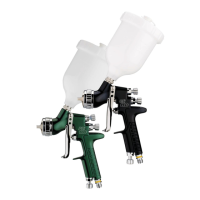
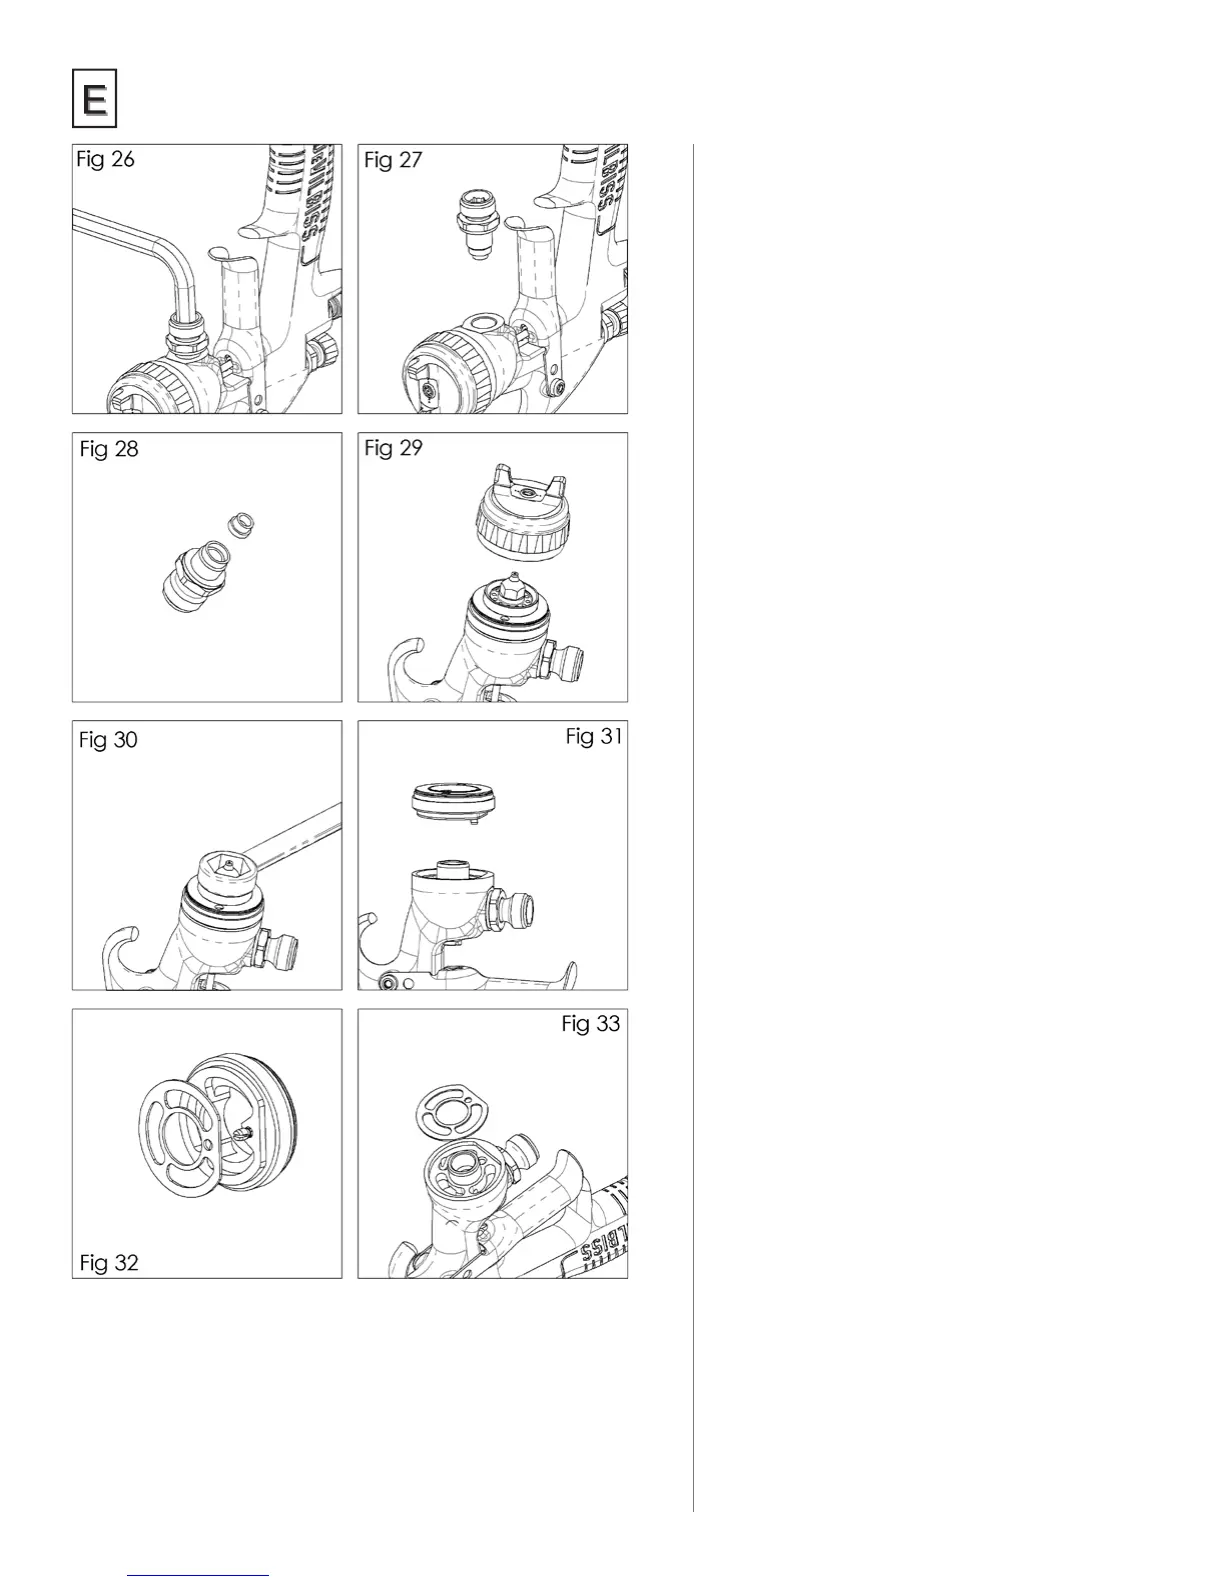
SPRAY HEAD SEAL
REPLACEMENT
1. Remove air cap and retaining ring (6).
(See g 29).
2. Remove uid adjusting knob (28), spring (25),
and spring pad (26). (See g 4, p7).
3. Remove uid needle (24) from gun body. (See
g 5, p7).
4. Remove uid nozzle using a 10mm wrench.
(See g 30).
5. Remove spray head (9) and seal (10)
(See g 31).
6. Remove seal (10) from spray head.
(See g 32).
7. Clean front of gun if required, using a soft
brush, as well as the uid nozzle, air cap, and
retaining ring.
8. Place a new seal (10) into the front of the gun,
making sure the at of the seal is aligned to
the at in the gun. (See g 33).
9. Fit the spray head (9), making sure the pin is
engaged into the hole in the gunbody.
(See g 31).
10. Fit uid nozzle (8), air cap and retaining Ring
(6). Torque the uid nozzle to 18–20 Nm
(13–15 ft-lbs). Do not over torque the uid
nozzle. (See gs 30, and 29)
11. Reassemble remaining parts in reverse order
— uid needle ( 24), needle spring and pad
(29), and uid adjusting knob (28).
12. Trigger gun fully and screw in uid adjusting
knob (28) until it stops. Back it off 1/2 turn
and gun will have full needle travel.
13. Trigger gun several times to verify correct
operation.