Maintenance Manual LS8
Issued: December 2009
Copyright DG Flugzeugbau GmbH - any copy or publishing prohibited
Manual valid with the up-to-date cover page only
4-21
4.7 Removal and installation of the C.G. hook
Tools: 3/4" drive ratchet, 8 and 10 mm sockets, 8 and 10 mm ring- or open
end spanners.
General hints: Note length of bolts and positioning of washers for all
assembly positions.
Keep fixing bolts with plane during hook overhaul.
Removal of C.G. hook
(1) Take canopy off from fuselage according to Flight Manual section 4.3
with a helper after pulling emergency canopy release.
(2) Disassemble seat according to section 4.3.
(3) Under seat, disconnect C.G. release cable from pulley, watch for spacer.
(4) Disassemble C.G. hook from brackets at landing gear fork.
(5) Pull hook downward.
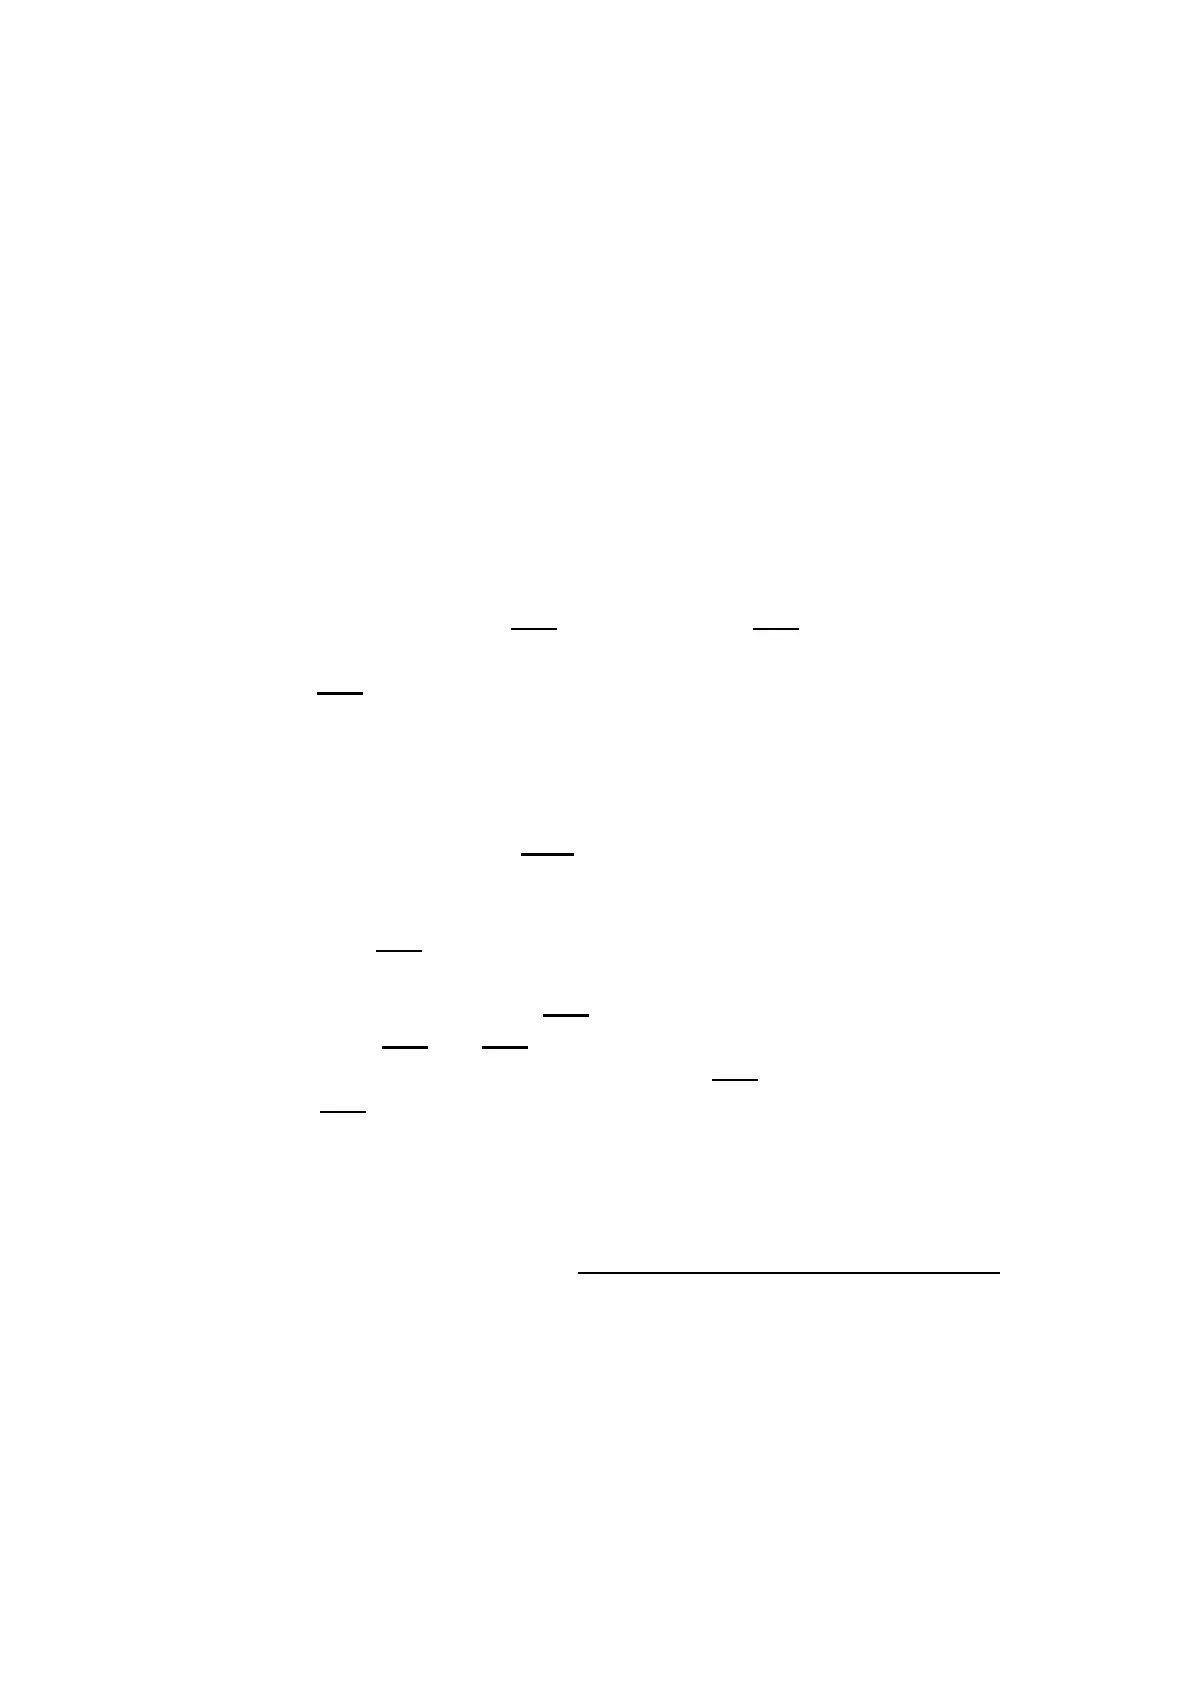
(6) Open screwed joints >2<
below cable and >3< at lower end of drive
lever for about 4 mm <0.16 in>, expand lever arms and remove cable
end >1<
.
Installation of C.G. hook
Proceed in reverse order of removal, watch out especially for the following:
(1) Exchange cable, when wear is considerable, see also section 11.3.
(2) Cable must be routed over
cross member of landing gear fork.
(3) For position of drive lever at circular segment and fixing bores see
sketch below.
(4) Bushing >7<
between lever arms and below cable end avoids clamping
of connector.
(5) Grease cable connector >1<
, set into bores at drive lever end and
tighten at >2<
and >3< .
(6) Connect earth cable from control stick >4<
together with forward fixing
bolt >5< .
(7) Connect cable to pulley under seat (spacer!) and check function of C.G.
hook.
(8) For proper overcenter of hook system, 5 mm <0.2 in> of free cable
travel must be available at cockpit T-shaped handle.
(9) Before installation of seat, check for absence of foreign matter
.