Changing the Lens Mount
The D16 has an interchangeable lens mount system that allows
you to natively use a variety of popular mounts like EF, PL,
Micro 4/3, and C-Mount turret on your camera. The process of
changing mounts is easy and fast, you only need a screwdriver.
Before you change the mount
If you would like to use lenses for a different mount system
other than the default C-mount, you will rst need to power
down the camera, remove any lens you have attached to the
mount, and make sure the mount cap is in place.
Make sure you have a safe place to store screws and the
C-mount so that you can use it again in the future.
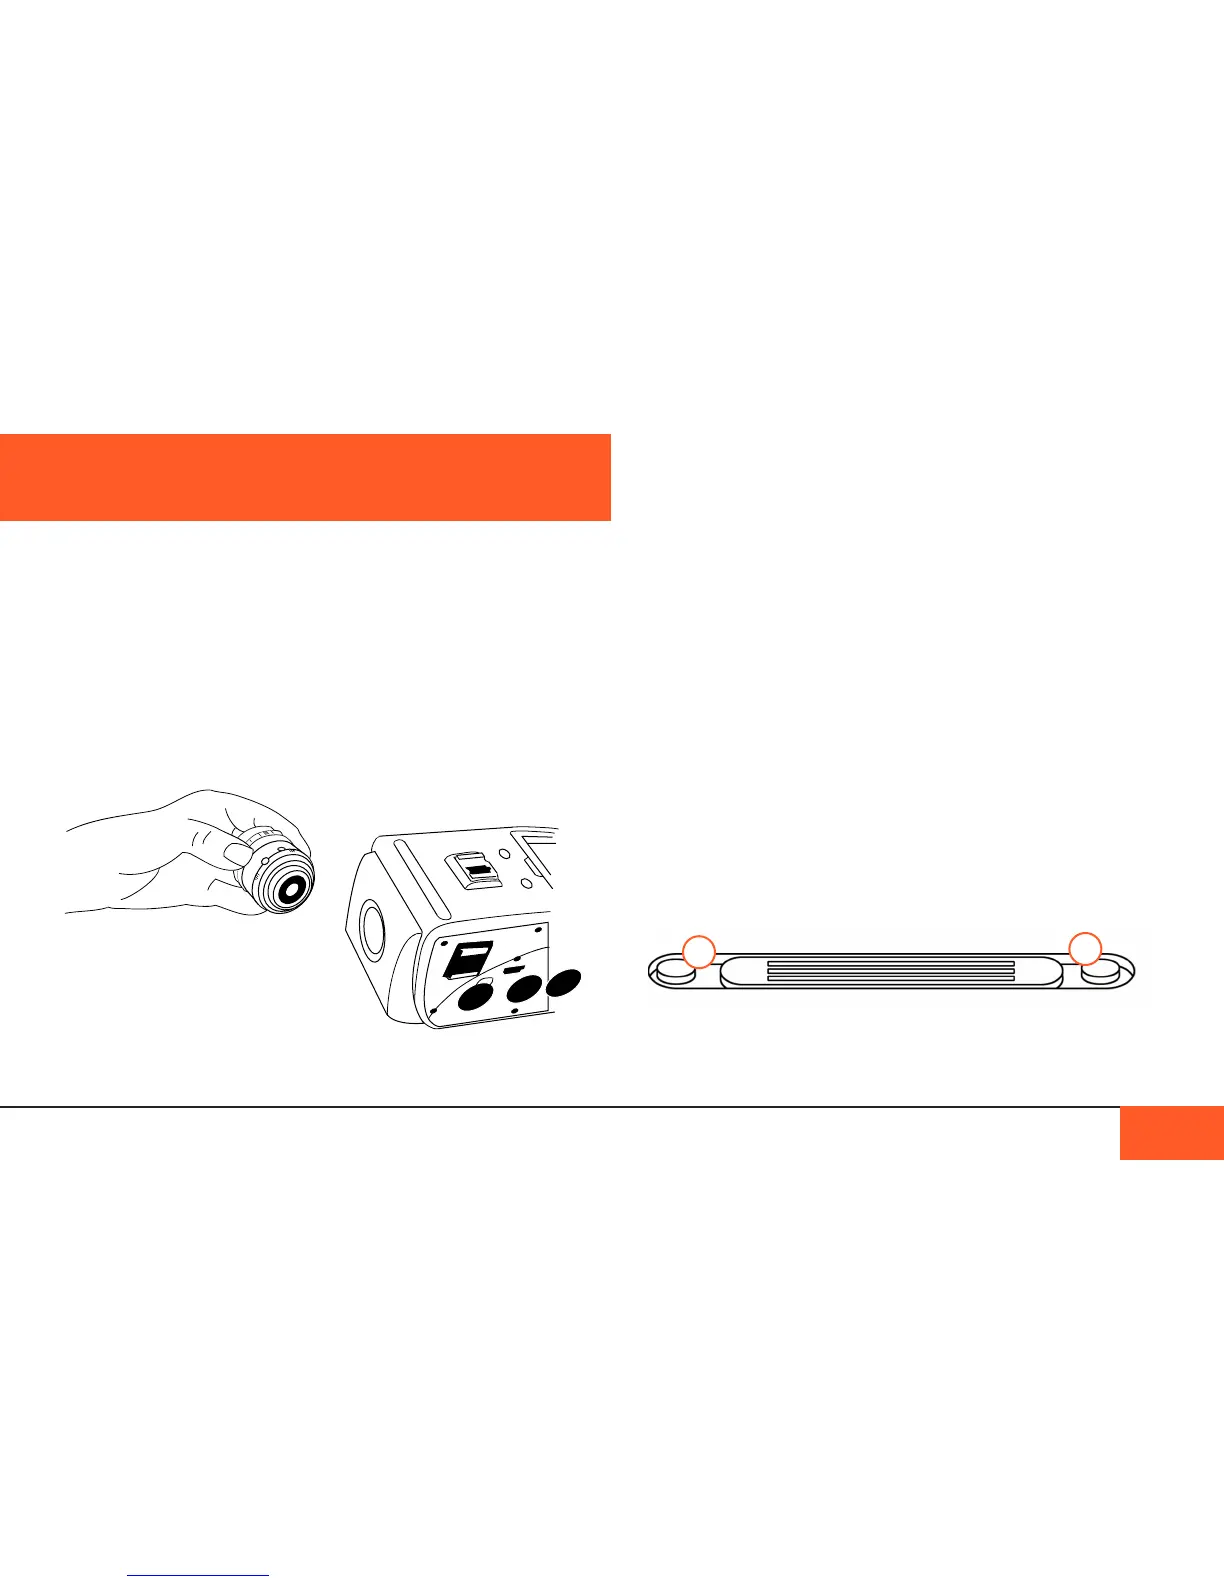
Removing the C-Mount
There are 3 outer screws on the outside of the C-mount, two on
the top of the camera (A), one on either side of the fan vents,
and one on the underside of the lens mount (B).
With a Philips-head screwdriver, carefully remove the 3 screws
and store them in a safe place.
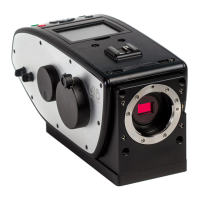
Your D16 comes with a C-mount, the same mount used on
16mm Bolex lm cameras, allowing you to use legacy 16mm
and Super 16mm lenses right out of the box with no crop factor.
Attaching a Lens
To attach a lens to your C-mount camera, unscrew the mount
cap on your camera, unscrew the protective cap at the bottom
of your lens, and attach the lens to the camera via the screw
threading on the front of the lens mount.
Note: Only C-mount lenses are compatible with the C-mount.
THE INTERCHANGEABLE LENS MOUNT
THE INTERCHANGEABLE LENS MOUNT 14
A
A