Audio Metering
When microphones are plugged in and turned on, the audio
meters on the display will become active. It’s important to
monitor your audio levels while you record to avoid audio that’s
too loud or too quiet.
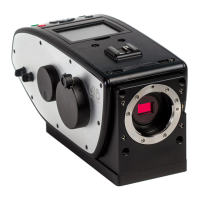
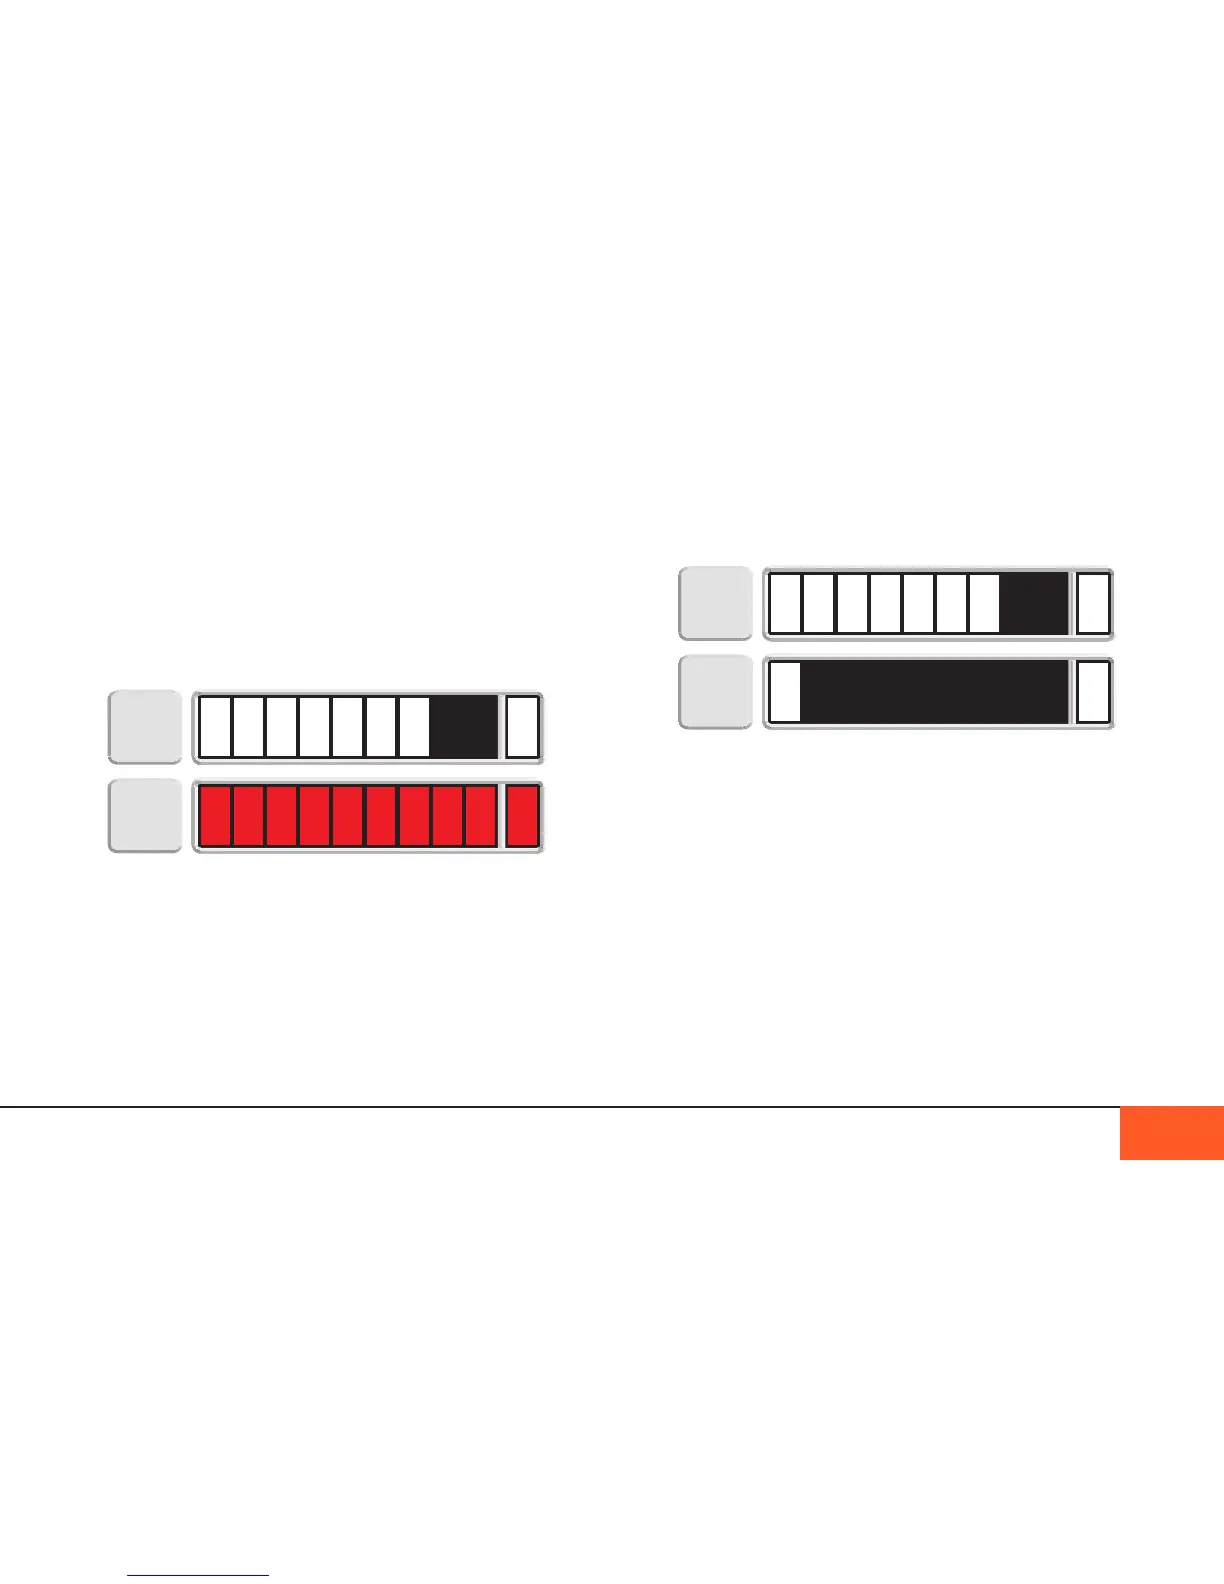
Make sure your audio is recorded as loudly as possible without
crossing into the red. Crossing into the red means your audio is
too loud or “peaking,” and the volume should be adjusted lower
to avoid any recording problems or distortion.
Note: If the audio meter is displayed but no level bars appear
when a mic is plugged in, no sound is being captured. The
audio levels may be too low, or the microphone may not be
powered properly. Check to make sure your phantom power
settings are correct, if battery-powered mics are charged, and
that your line/mic levels are correctly dialed for the volume of
the audio you are recording.
RECORDING AUDIO 33
Line/Mic Levels
To adjust Line/Mic levels, use the knobs on the right side of the
camera. You will see your changes in the audio meters on the
camera display, and hear the changes in your headphones.
Adjusting the headphone volume
Headphone volume is distinct from the line/mic volume of your
audio channels, and must be adjusted separately. To adjust the
headphone volume, use the menu to navigate to the SOUND
submenu, then select the HP VOL setting. Use the up/down
arrows to change the headphone volume.
Alternatively, you may navigate to the CRANK submenu and
activate the HP VOL setting on the rear crank. This way you can
adjust the headphone volume without returning to the menu.
Warning: Line/mic knobs do not adjust headphone volume.
Adjusting these knobs will change the recording levels of the
audio, which may result in clipping.
Display auDio MeteRs. coRRect MeteR on the top, peakeD on the bottoM.