page 31
Digital Projection E-Vision Laser 4K Series
Operating Guide
USING THE MENUS
Rev A June 2017
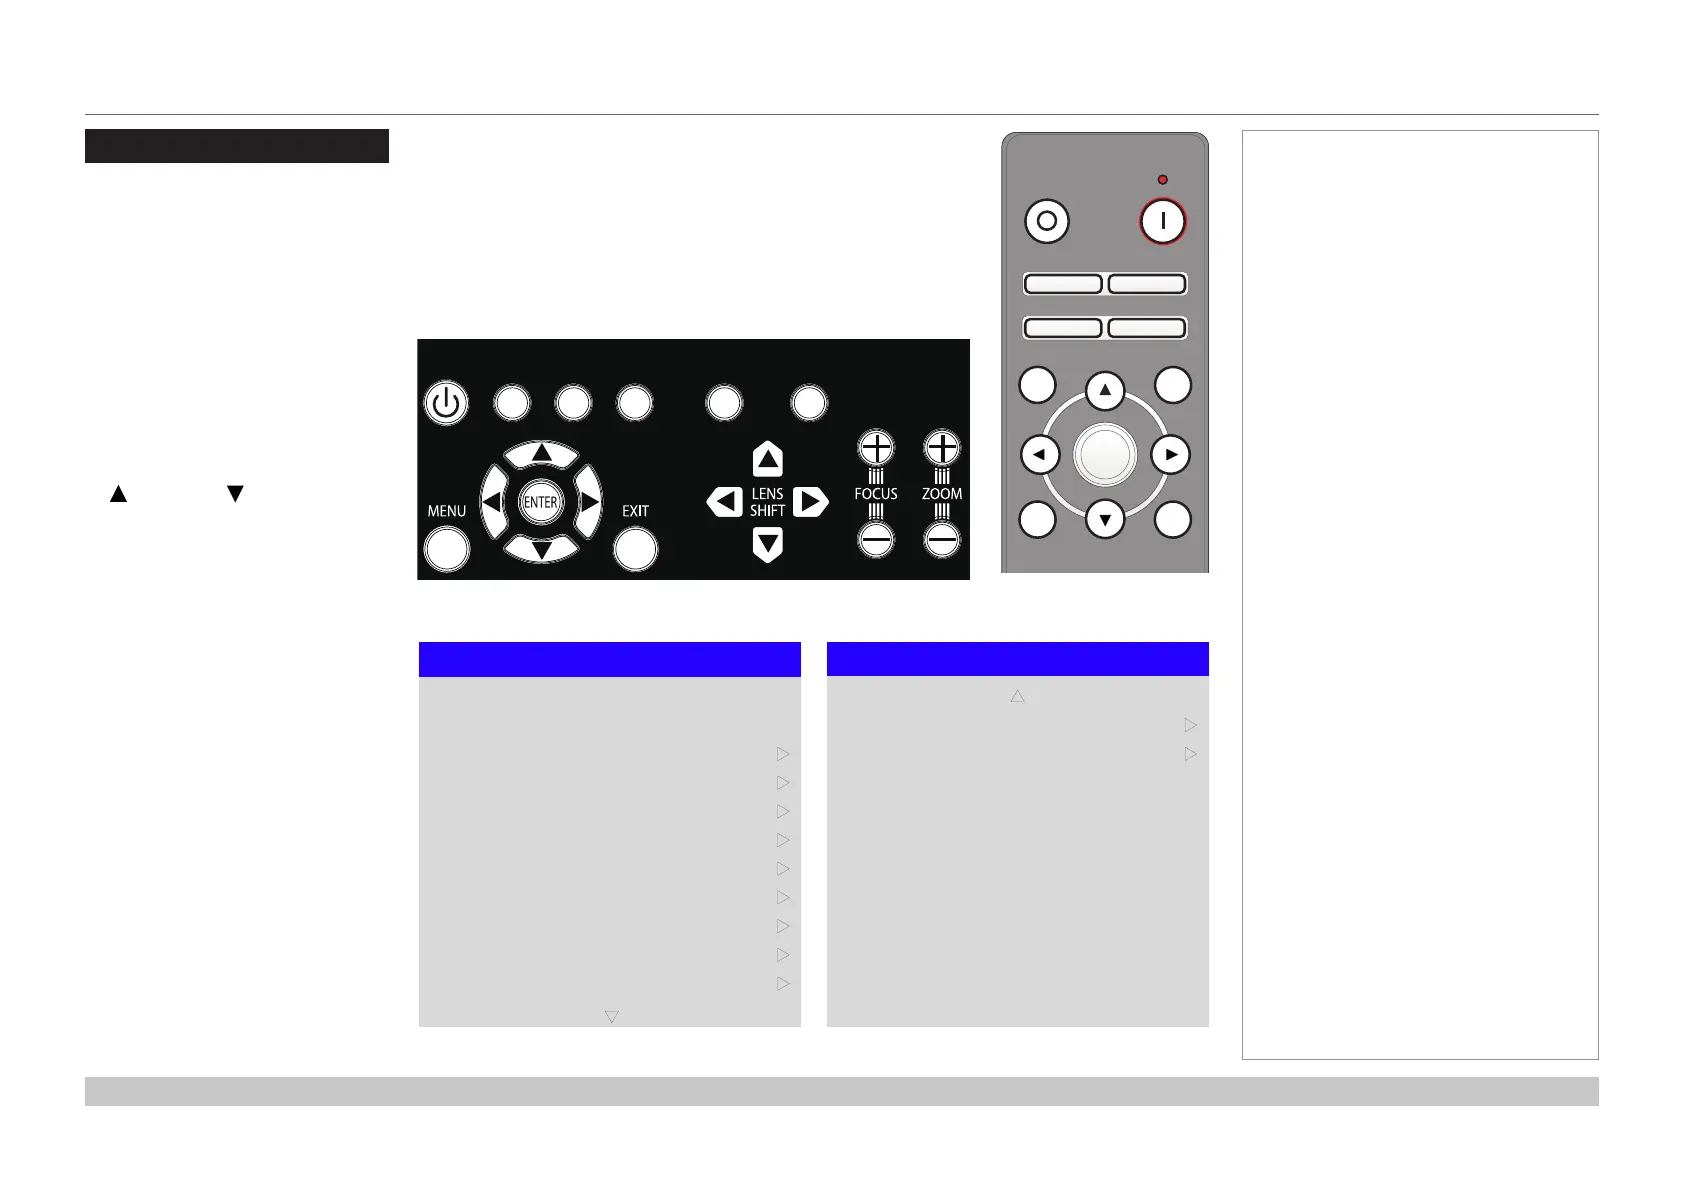
Using The Menus
Opening the OSD
Access the various menus using
either the projector control panel or
the remote control. On either device,
• press the MENU button.
The on-screen display (OSD) opens
showing the list of available menus.
Opening a menu
Move up and down the list using the
UP and DOWN arrow buttons.
To open a menu,
• press ENTER on the control
panel or OK on the remote
control.
This guide refers to the above two
buttons as ENTER/OK.
Exiting menus and
closing the OSD
To go back to the previous page,
• press EXIT.
When you reach the top level,
pressing EXIT will close the OSD.
To close the OSD from any page,
• press MENU.
Notes
POWER
INPUT
AUTO
SYNC
ASPECT
CENTER
LENS
PIC MUTE
Projector control panel
On-screen display (OSD): top level menus
Main Menu
Test Pattern
Lens
Input
Image
Geometry
Edge Blend
Color
3D
Setup
Network
Laser
q
u
HDMI 1
u
u
u
u
u
u
u
u
Main Menu
PIP
Information
p
u
u
Remote control
Pic Mute
OFF
ON
MENU
EXIT INFO
OK
OFF ON
ALT
LENS
FOCUS ZOOM
IN
OUT
IN
OUT
SHIFT
21 3
HDMI2 DVI
DISPLAYPORT
HD-T 3GSDI
VGA COMP1 COMP2
BRI
TEST
CON GAMMA
R G B ALL
3D EYE PIP SWAP
4 5 6
7 8 9 0
ALT
ADDR
OSD
OFF
ON
DEFAULT
FREEZE
RE-SYNC
A B C D
USER PRESET

 Loading...


