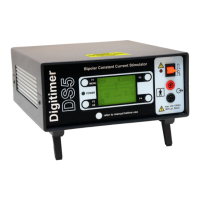
DS5 Isolated Bipolar Constant Current Stimulator DS5 Operator's Manual 5.0
3. Connect the mains power lead to the DS5 mains inlet and switch on at the wall socket.
4. Switch the power switch on the DS5 to the ON (
I
) position.
5. The front panel LCD screen should illuminate and the Green Power and Amber Warning LEDs should
light up.
6. After approximately 3 seconds the start-up screen should appear, displaying “Digitimer DS5”.
7. Shortly afterwards the DS5 will run a system test, validating the firmware, stabilizing and finally
executing a self-test. The lower half of the display should confirm that both the firmware and
hardware tests have been passed successfully, at which point the Warning LED should extinguish. If
any errors are reported during the above tests, please discontinue use of the DS5 and
contact your local Digitimer representative for further technical advice.
Figure 2.3 Initial Main Operating Screen Display
8. Once all tests have been successfully completed the Main Operating Screen (Fig 2.3) is displayed. In
the bottom left corner of the screen a flashing icon indicates that the DS5 is ready for auto-
zeroing using the front panel F2/AZ key.
9. We recommend that the DS5 is left switched ON for approximately one hour to “warm up” before
use. This allows any temperature sensitive components to equilibrate.
10. The DS5 is now ready to be configured for the particular hardware it is to be interfaced with.
Configuration should be carried out using the front panel Operator Interface, which is more
thoroughly discussed in Chapter 3 – Configuration and Operation.
Digitimer Ltd. 23 of 52 Copyright © 2009