3
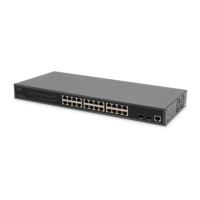
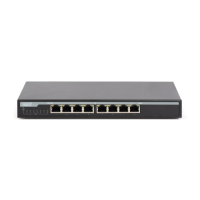
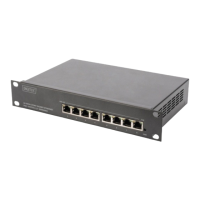
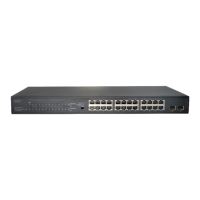
1.2. Real panel
Power input: Supports input voltages 100-240VAC, 50/60Hz.
Switch: turn on the switch after inserting the power cord, “I” means to turn on, “O” means closing.
Grounding: use specialized ground lead connect
2. Hardware installation
This chapter provides unpacking and installation information for the switch.
2.1. Open a seal
Open the shipping carton and carefully unpack its contents. Please consult the packing list located
in the User Manual to make sure all items are present and undamaged.
Switch 1pcs
AC power cord 1pcs
Console Cable 1pcs
Rubber feet 4pcs
Screws 6pcs
Mounting brackets 2pcs
User manual 1pcs
If any item is found missing or damaged, please contact the local reseller for replacement.
2.2. Switch installation
For safe switch installation and operation, it is recommended that you:
Visually inspect the power cord to see that it is secured fully to the AC power connector.
Make sure that there is proper heat dissipation and adequate ventilation around the switch.
Do not place heavy objects on the switch.