UltiMate 3000 Nano and Cap- System Installation and Application
46
To establish a zero dead volume fitting connection when installing the trap column, follow the
steps below. Both connecting tubings use a PEEK nut and ferrule at the trap column side, and
a one-piece PEEK fingertight is required to connect the trap column to the valve (see Fig. 24).
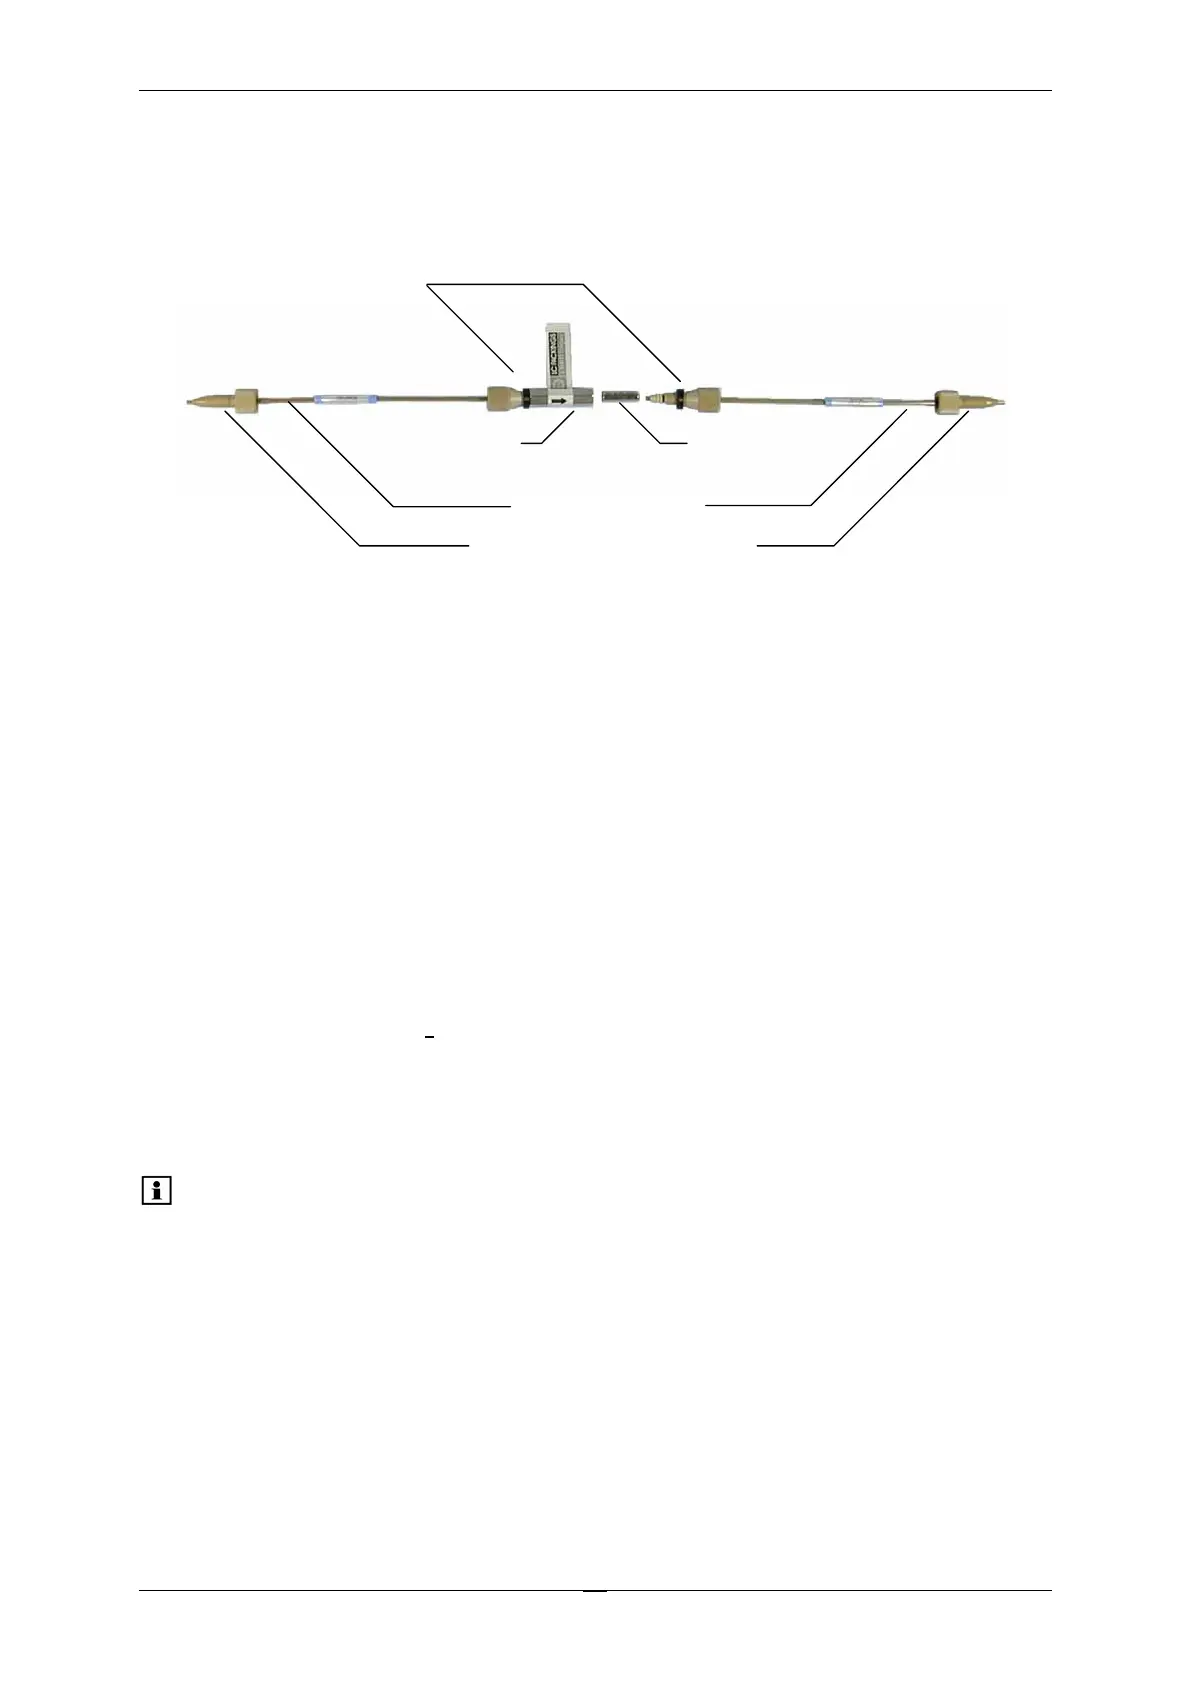
Holder
Trap column
cartridge
Connecting tubing
One-piece fingertight fitting
Fingertight fitting,
ferrule and o-ring
Fig. 24: The Trap Column System
To connect the trap column:
1. Insert a trap column cartridge in the holder.
2. Slide the ferrule of each (pre-assembled) connecting tubing approximately 3 mm
(0.1 inch) back on the tubing to extend the length of the tubing that enters the trap
column.
3. Install the connecting tubing in the holder and tighten both fingertight fittings
simultaneously. The ferrules will slide in place and no dead volume will be created in the
connections. The O-rings will help to center the holder.
4. Connect the other ends of the connecting tubing to the switching valve. Make sure that
the connection is also free of dead volume.
If the chromatogram indicates that dead volume is present, repeat the above process.
Please note: Make sure that all connections are leak-free and finger-tight.