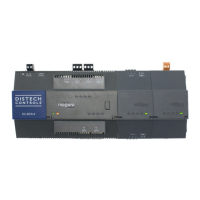
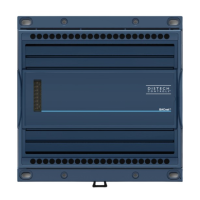
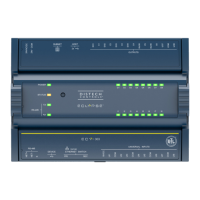
EC-BOS-9 Install and Startup Guide Chapter 1 Preparation
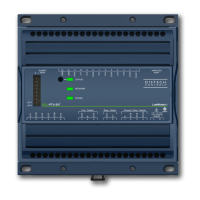
Step 3 Carefully slide the card shutter back over the card socket opening until it clicks securely into place.
When properly closed, the shutter should not protrude behind the mounting base.
Requirements
These instructions assume that you have a PC that is running a licensed copy of EC-NetEC-Net 4 Pro and that
the installation tool option was chosen and included as part of the EC-Net 4 Pro installation. This option
copies distribution files to the PC that are needed for commissioning various models of controllers.
Your PC must meet minimum hardware and operating system requirements. This includes a working Ethernet
adapter with TCP/IP support (browser capable). An Ethernet TCP/IP connection to the controller is required to
install EC-Net software and configure other properties.
For this initial Ethernet connection, you can use either:
• An Ethernet patch cable connected directly between your PC and the controller (if your PC Ethernet port is
not auto-sensing, you will need an Ethernet crossover cable), or
• A normal LAN connection, meaning that both your PC and the controller are physically connected to the
same Ethernet hub or switch.
Preparing to license without an Internet connection
The controller license is required during commissioning. Typically, the license file for the controller already re-
sides on the licensing server, where (if you have Internet connectivity) the Commissioning Wizard automatically
retrieves it during the licensing step. If your EC-Net 4 Pro PC will not have Internet connectivity when you are
commissioning the EC-BOS, you can still install the controller license during commissioning.
Prerequisites: A license for the controller (.lar file) was emailed to you.
Step 1 To make the file available to EC-Net 4 Pro, copy the file to your !security/licenses/inbox
folder
Step 2 Restart EC-Net 4 Pro.
Preparing to commission the controller
To commission a new controller requires a connection using an Ethernet patch cable and TCP/IP configuration.
Prerequisites: You have installed a version of EC-Net on the PC including its permanent license. The license
file for the controller is on the licensing server and you have Internet access or you received the license via
email and copied the file to the license inbox.
Step 1 Mount the controller on a rack or table in your office near your PC.
Please refer to the wiring details in the appropriate EC-BOS-9 (15885) Mounting and Wiring Guide for
information on temporary power wiring and Ethernet wiring connections.
CAUTION: The EC-BOS-9 is not compatible with a Power-Over-Ethernet (POE) network. Connecting
the controller on a network segment which carries power causes the unit to fail (lockup). In that event,
you must disconnect it from the POE network segment and cycle power to the unit.
Step 2 Attach one end of a standard category-5 Ethernet unshielded twisted pair (UTP) patch cable to the
RJ-45 Ethernet connector for LAN1 (labeled PRI) on the EC-BOS.
Step 3 Attach the other end of the patch cable to a network port or directly to an Ethernet hub.
Step 4 Power up the controller.
Step 5 Do one of the following:
• Record your PC’s current IP settings, then re-assign your PC’s IP address for its Ethernet NIC
(network interface card). If necessary, refer to Windows online Help for details on configuring
TCP/IP settings.
August 14, 2023 9