30
EN
Installation RV So Start Accessory
2. Route the compressor wire harness, ensuring it
passes over the existing wire ties.
3. Finish routing the compressor wire harness under
the foam, between the foam and the fan motor, by
pulling the compressor wire harness through to the
opposite side of the fan motor.
4. Using wire ties, gather and secure all the wires and
cables between the fan motor and the compressor.
5. Using the 5/16 in. deep well nut driver, replace the
compressor cap and compressor cap nut onto the
top of the compressor and tighten.
8.3.6 Mounting the device
qq
yy
uu
ww
ee
rr
tt
52 Placing the device on the fan motor
q
Fan motor
t
Fan motor
studs
w
Fan motor nuts
e
Fan motor washers
y
Base pan frame
r
Fan motor grommets
u
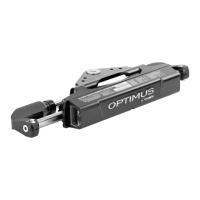
Device
1. Viewing the fan motor from directly above, identify
the gap between the fan motor and the mounting
flange on the condenser side of the coil.
2. Holding the device with the supply side of the device
towards the compressor, center the starter over the
fan motor.
3. Lower the hose clamp into the gap between the fan
motor and the mounting flange.
4. Place the device on the fan motor, ensuring the hose
clamp remains in the gap between the fan motor and
the mounting flange.
5. Avoiding any wires, route the hose clamp ends
around the fan motor so the ends meet.
6. Use the connected worm screw to hold the hose
clamp ends around the fan motor.
I
If the mounting bracket moved during the
previous step, reposition the mounting bracket
in the gap.
7. Using the 1/4-4 in. flat-head screwdriver, tighten the
worm screw on the hose clamp until snug and secure
the device to the fan motor.
8. Turn the worm screw an additional one-half turn.
qq
ww
53 Replacing the foam shroud
q
Foam shroud
w
Electrical box foam
9. Verify the replaced electrical box foam is in the
proper location.
10. Ensure the electrical box foam fits flush with the front
edge of the foam shroud or adjust into place.
11. Replace the internal foam shroud onto the AC unit.

 Loading...

