31
EN
RV So Start Accessory Installation
8.3.7 Connecting the harnesses to the
device
qq
ee
rr
tt
ww
54 Connecting the harnesses to the device
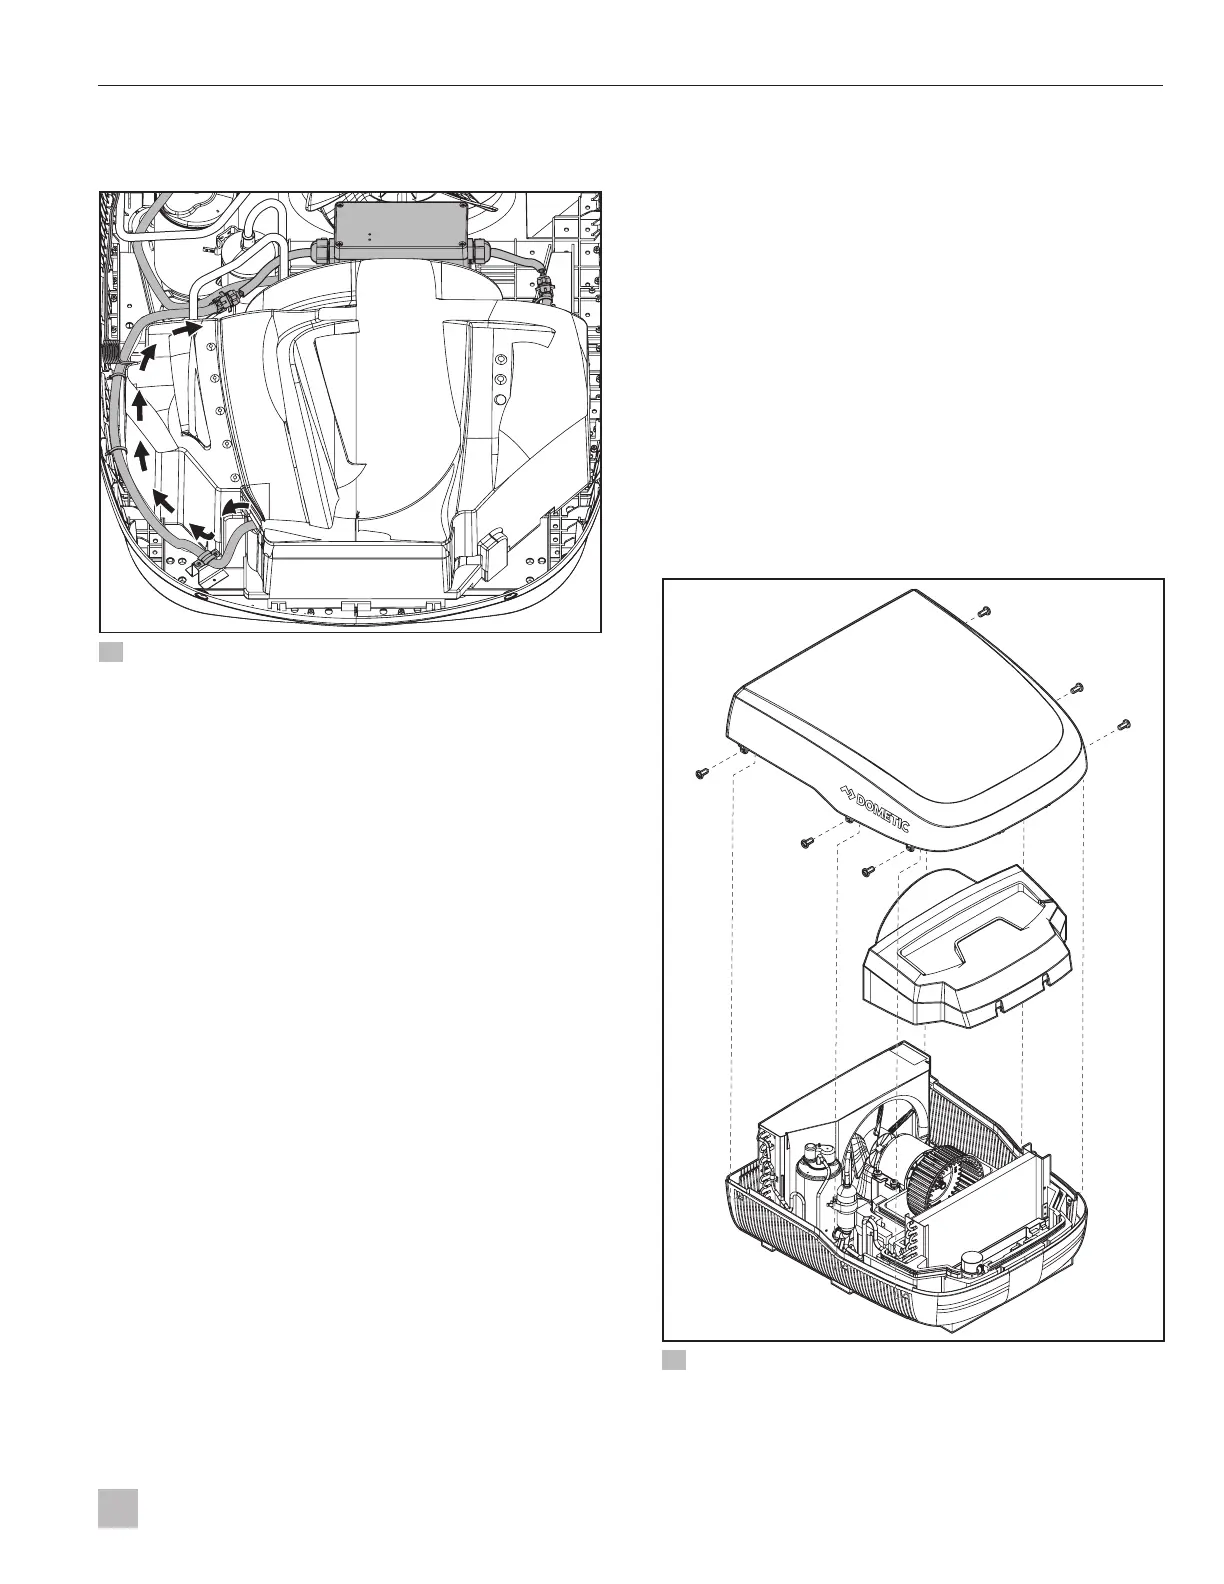
q
Foam shroud
r
Compressor harness
connector
w
Supply wire
harness path
t
Device
e
Capillary tube coil
1. Route the supply wire harness along the outer edge
of the existing factory supply wire harness.
2. Verify the supply wire harness routes under the
capillary tube coil.
3. Connect the compressor harness connector to the
compressor side of the device.
4. Connect the supply wire harness connector to the
supply side of the device.
8.3.8 Replacing the AC shroud
Using the #2 Phillips screwdriver, replace the nine AC
shroud screws and secure the AC shroud in place.
8.4 Installing the device - FreshJet 3
Series Mechanical
NOTICE: Do not force the AC shroud during removal.
Failure to follow this notice can damage or break the
screw holes and require an AC shroud replacement.
This section describes how to access the installation
area, disconnect the existing wiring, mount the device,
install and connect the new wiring, and close the unit
aer completing the installation.
8.4.1 Removing the covers
I
Turn the AC shroud upside down to store the
screws and other small parts removed during the
installation process.
qq
ww
ee
55 Removing the shroud
qq

 Loading...


