Operation – Part 1
20.08.2012 Page 20 of 42 Rev. 04
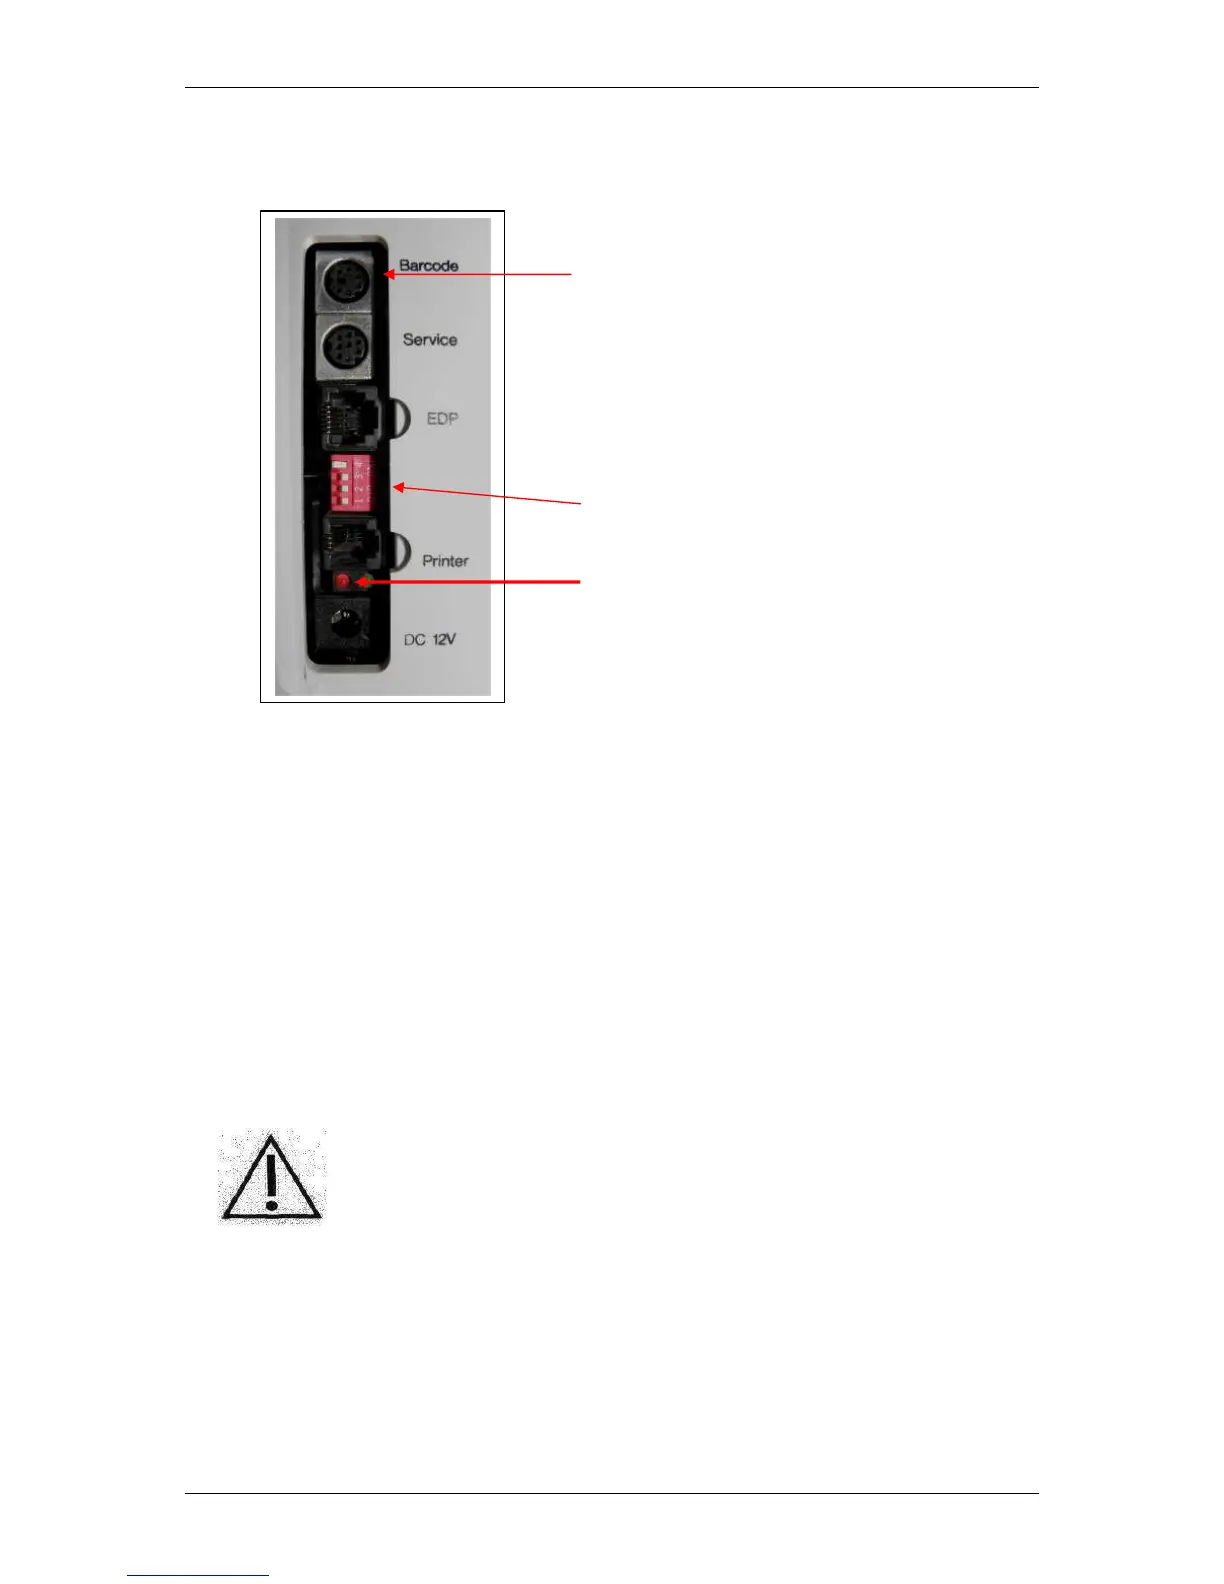
The following illustration shows the connections on the right side of the housing of
the SUPER GL easy / easy+:
also PS/2 – keyboard possible
DIL - switch
Control lamp for using battery device
Fig. 4.1 View of connector panel
4.4 Setting up the equipment
If the equipment has been installed as described above, the following steps must
be carried out so that the equipment can begin working:
1. install the sensor (chapter 6.3.2)
2. install the containerkit (chapter 6.3.3)
3. put on pump head (chapter 6.3.4)
4. insert operation card or a special card
5. select determination method and measuring unit using the DIP switch
This procedure completes the installation of the device.
Warning! To avoid loss of data, the device must not be
switched off unless in “STAND BY” mode or if required
by a corresponding error message.
Turn on the device by a short press at the MENUE key (sound “beep” will show
that device turns on).
 Loading...