CONTACT US AT www.DRpower.com or CALL TOLL FREE 1-800-DR-OWNER 41
have pressed in Bearings
for easy trans owing procedures will
explain the replacement pr
Tools Needed:
•
•
• Jack
1.
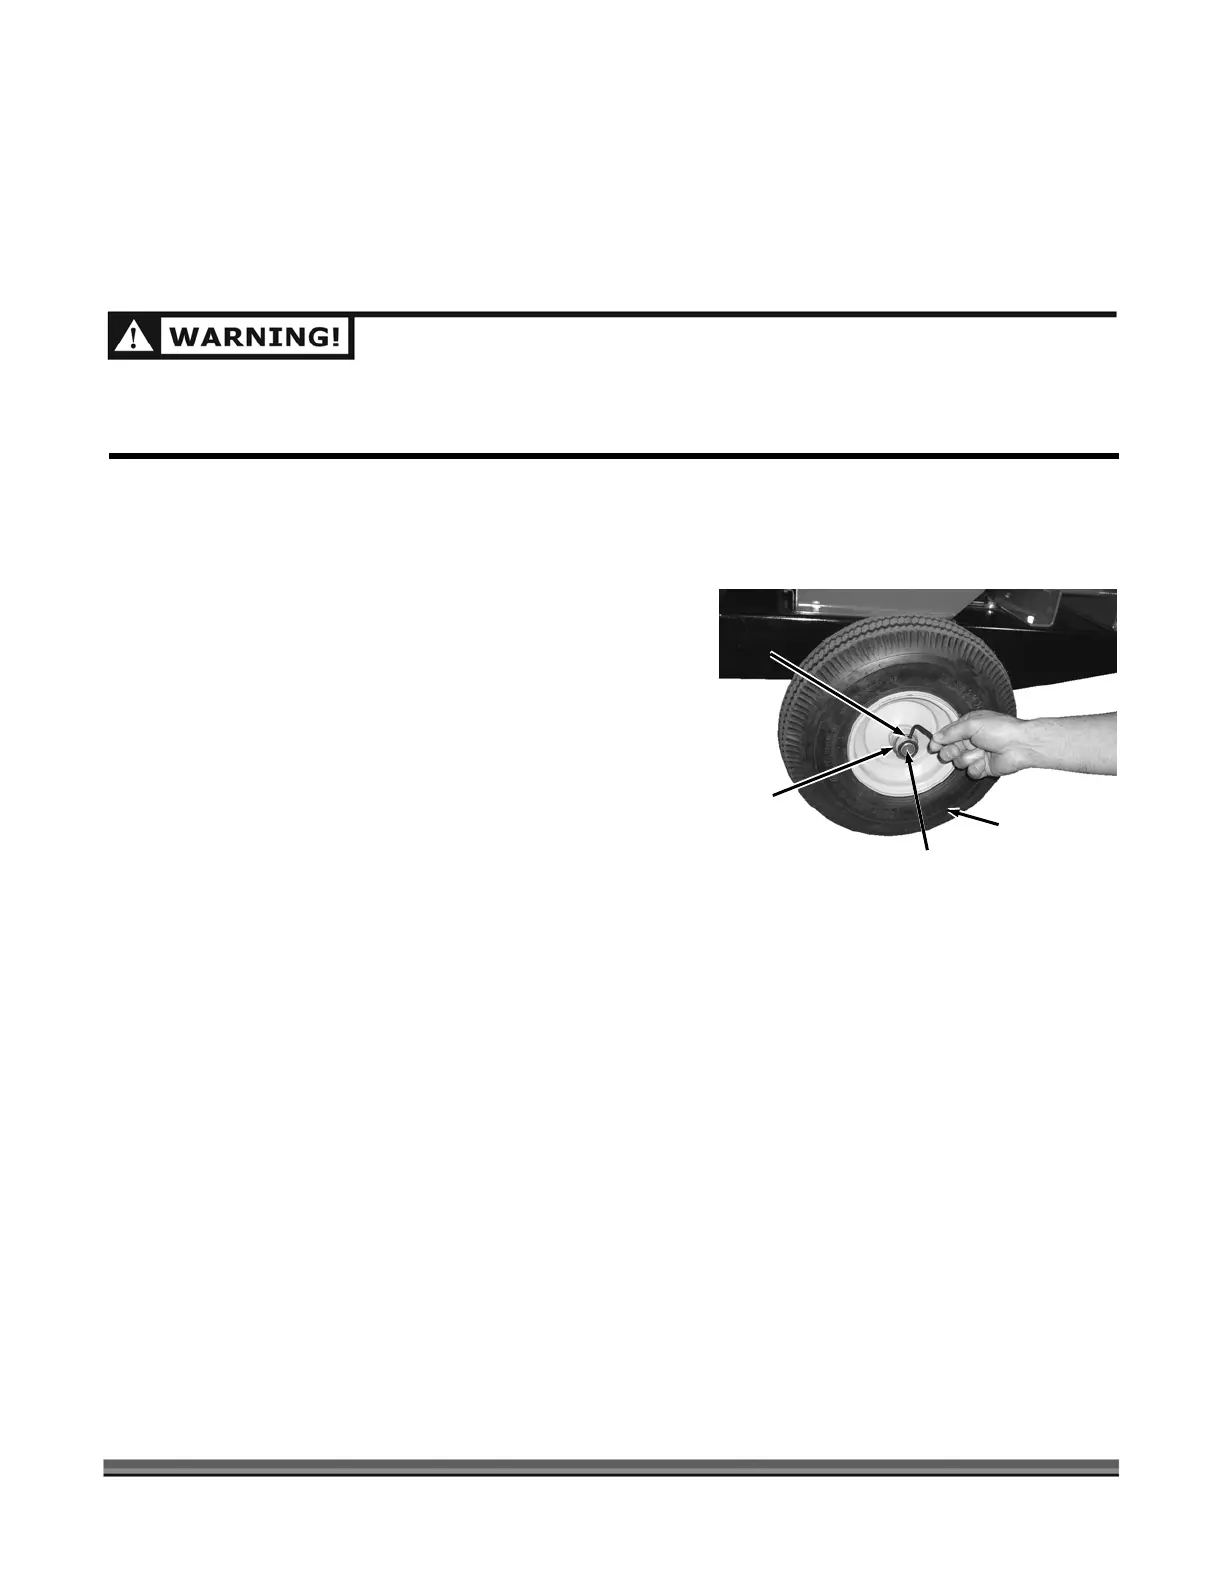
2. Loosen
remove the Locking Collar (Figure 45
NO
NO
4. matic Wheel onto the Axle and against
5. ten the Set Screw with a 5/32"
Allen Wrench.
6. Check the Pneumatic Wheels for proper air pressure of 38 psi maximum in each tire (see Chapter
3).
Removing and Replacing the Clutch
The design of the Clutch on your machine is for rugg it is important to
understand the limitations of a Clutch. The Clut e,
and slip er excessive g of the drive
Engine from damages such as broken crankshafts an
are normal wear items. If you notice decre
essary.
SHUT DOWN THE ENG OR ALL M RTS
REMOVE SPARK PLUG WIRE, DISCONNECT THE NEGATIVE BA
BEFORE PERFORMING ANY MAINTENANCE PROCEDURE OR INSPECTION ON THE CHIPPER.
Removing and Replacing the Wheels
The Wheels on the DR 16.50 FTP PRO Rapid Feed Chipper are pneumatic and
port. With use, tires or Bearings may need replacing. The foll
ocedures.
5/32" allen wrench
Fine Tooth File
Jack up the side of the Chipper just until the
Pneumatic Wheel is off the ground.
the Set Screw with a 5/32" allen wrench and
INE, WAIT F OVING PA TO COME TO A COMPLETE STOP,
TTERY CABLE, THEN WAIT 5 MINUTES
Pneumatic
Figure 45
Collar
Set Screw
).
3. Remove the Pneumatic Wheel from the Axle.
TE: There is a spacer behind the wheel that must remain
on the Axle when the Pneumatic Wheel is replaced.
TE: File off the Set Screw marks in the Axle if Wheel will
not slide on.
Install the Pneu
the Spacer with the Valve side out.
Install the Locking Collar onto the Axle against the Wheel and tigh
ed, dependable service; however,
ch design is to provide load free starting of the Engin
n application. These features help protect the page und overloadin
d starters. The Shoes and Springs on the Clutch
ased performance of the Clutch, check and replace it if
nec
Wheel
Locking
Axle
 Loading...

