1BHFt%3*45&&.7BQPSMPHJD*OTUBMMBUJPOBOE0QFSBUJPO.BOVBM
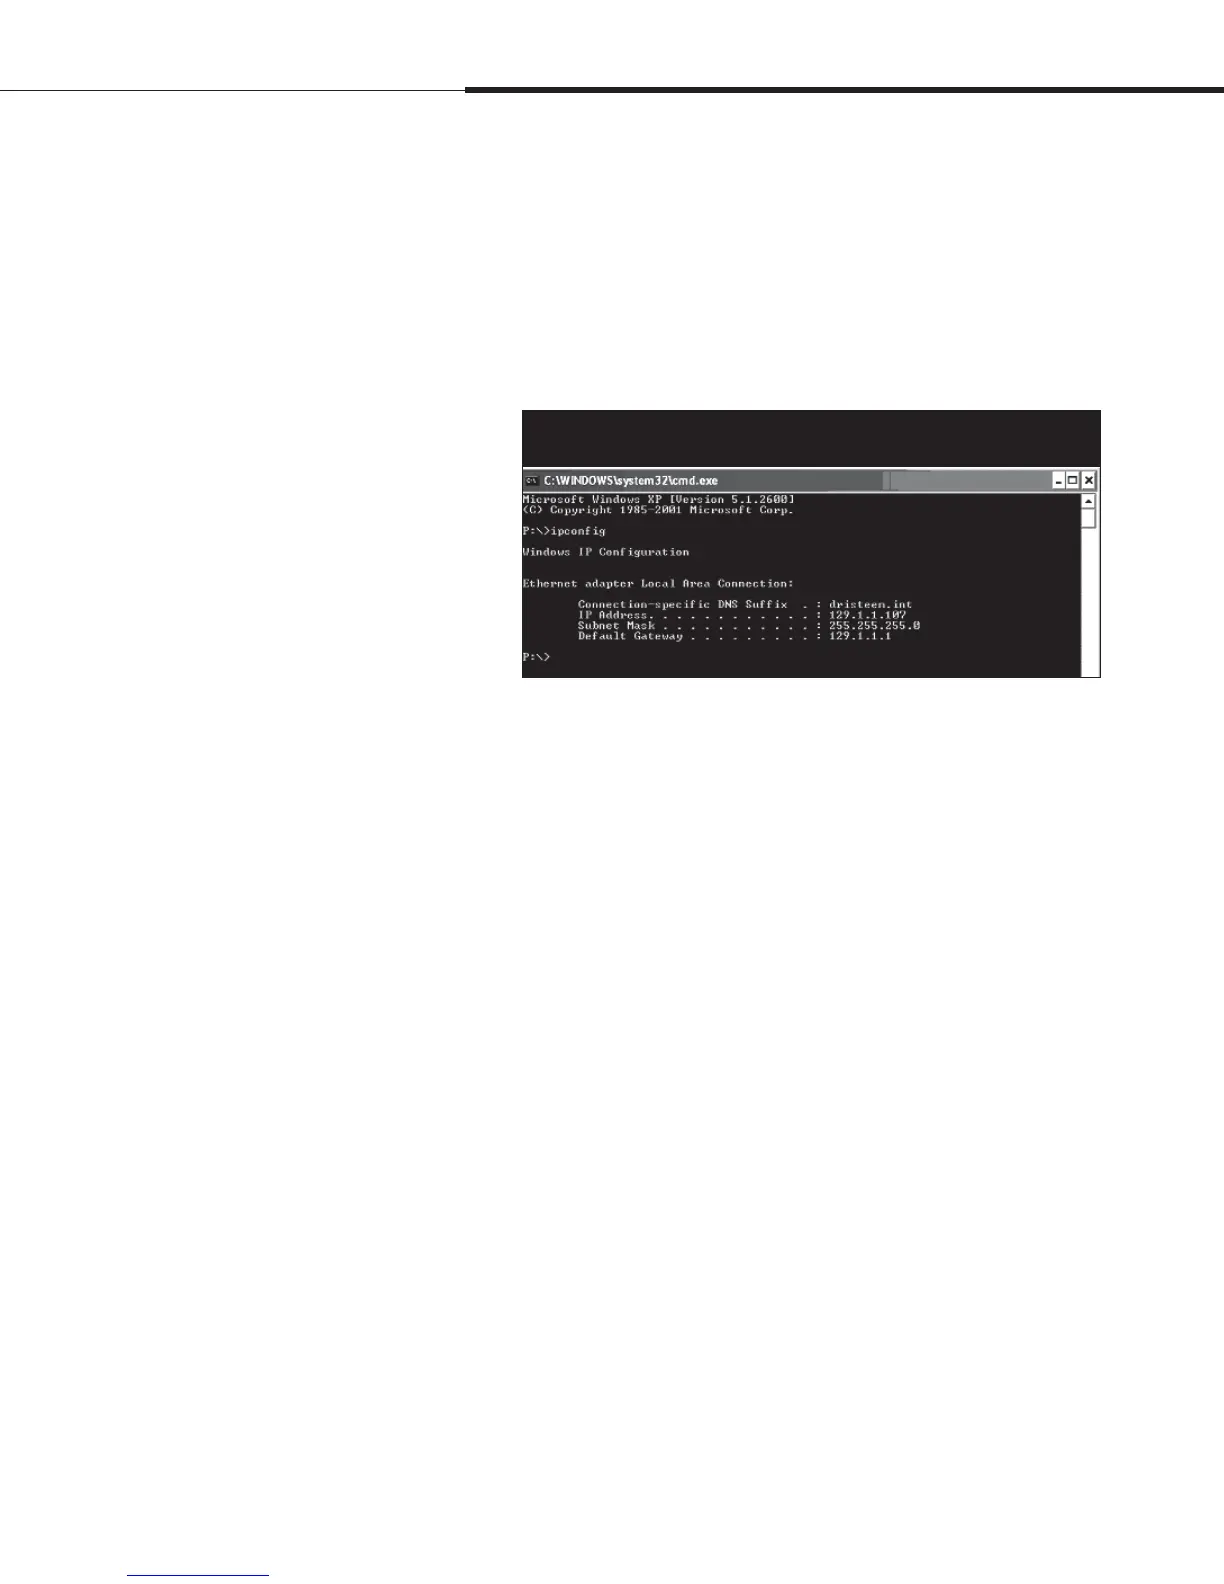
After a system prompt appears, type in ipconfig and then hit
Enter. The current IP address of the computer should appear.
If the first three segments of that IP address are different
than the first three segments of the humidifier’s default IP
(192.168.1.xxx), you must change either your computer or
Vapor-logic4’s IP address such that they match each other.
4UFQo'JFMEXJSJOH
$PNNVOJDBUJPODPOOFDUJPOT
3. Change the IP address of your humidifier or computer if
necessary.
a. Change the IP address of the humidifier to work with your
computer.
The most straightforward way to change the IP address
of the humidifier using Vapor-logic4 is to use the keypad/
display. Go to Setup/Communications/Network IP address
on the keypad/display and change the IP address such that
the first three segments of the computer’s settings match the
network address. Make sure the last digit of the IP address
is different between the humidifier and the computer. Cycle
power of Vapor-logic4 board for address change to take
effect.
b. Change the IP address of your computer to match the
humidifier.
Changing the IP address of the computer being used will
likely require administrative privileges for your company’s
network. Please consult your IT department for this task.
Figure 22-1:
Checking your IP address
Installation
 Loading...