- 17 -
Status
Keys
Description
1 key 10-digit module serial number needed to create the Alarm.com customer account.
2 key Module firmware version (e.g., 181a).
3 key
Initiate communication test.
Important: This test is required to correctly complete the installation.
4 key Use only when instructed by Alarm.com Technical Support.
5 key
Wireless signal strength level and module status or error, if any. The panel will display the signal level in
bars (0 to 5) and as a numerical value (0 to 31) followed by the connection mode (HSPA).
6 key
Battery voltage as read by the module, to two decimal places, and the AC power status. (e.g., Battery:
6.79v, AC Power OK).
7 key Use only when instructed by Alarm.com Technical Support.
8 key
HSPA frequency used by the module: "High" = 900MHz, 2100MHz; "Low" = 850 MHz. The panel will specify
either “3G” or “2G” depending on your coverage, but will always attempt to go to 3G coverage.
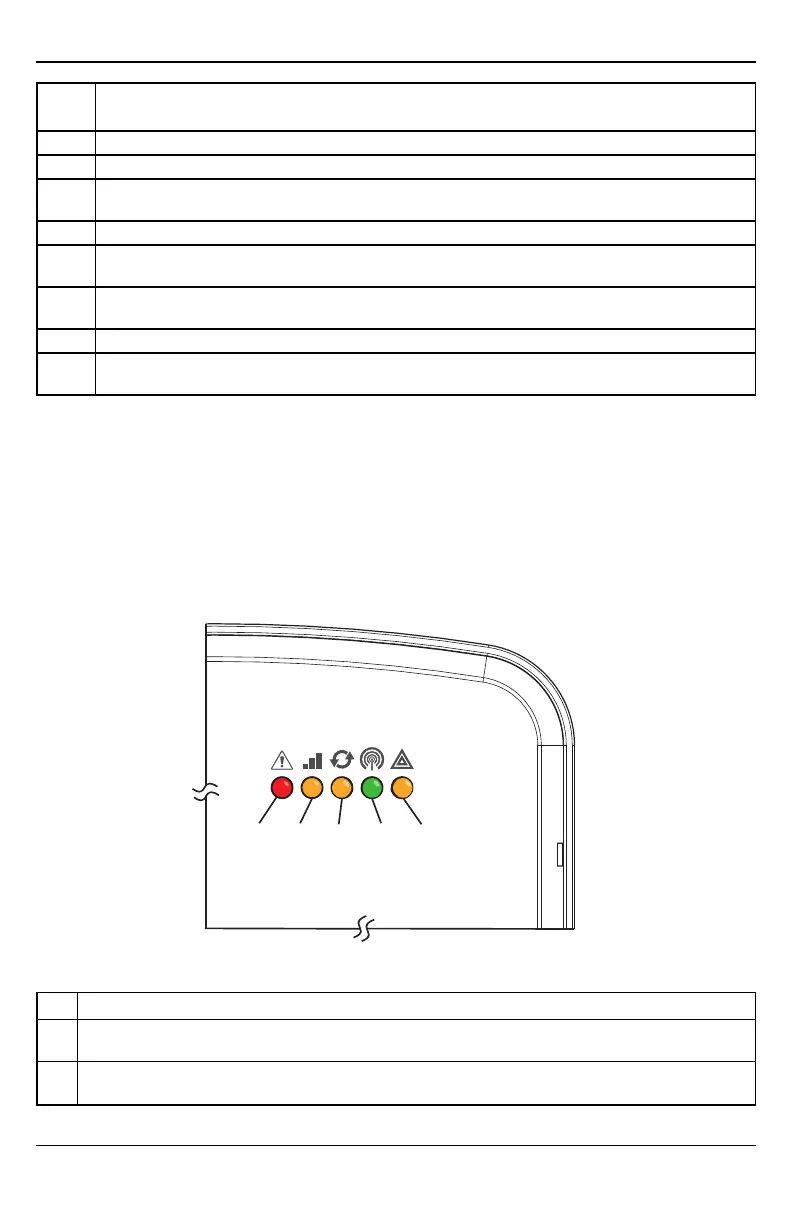
Troubleshooting LEDs
Status LEDs indicate network and module status. The following figure shows the location of the status LEDs
on the HSPA module.
Status LEDs
LED Functions
LED Function
L1
Error LED. Flashes 1 to 8 times in an 8-second interval to indicate specific error. See section "LED L1 (red)" for
errors and common fixes.
L2
Panel Communication and Z-Wave status messages. Flashes every time the module communicates with the
panel and flashes in patterns to indicate Z-Wave status.
 Loading...