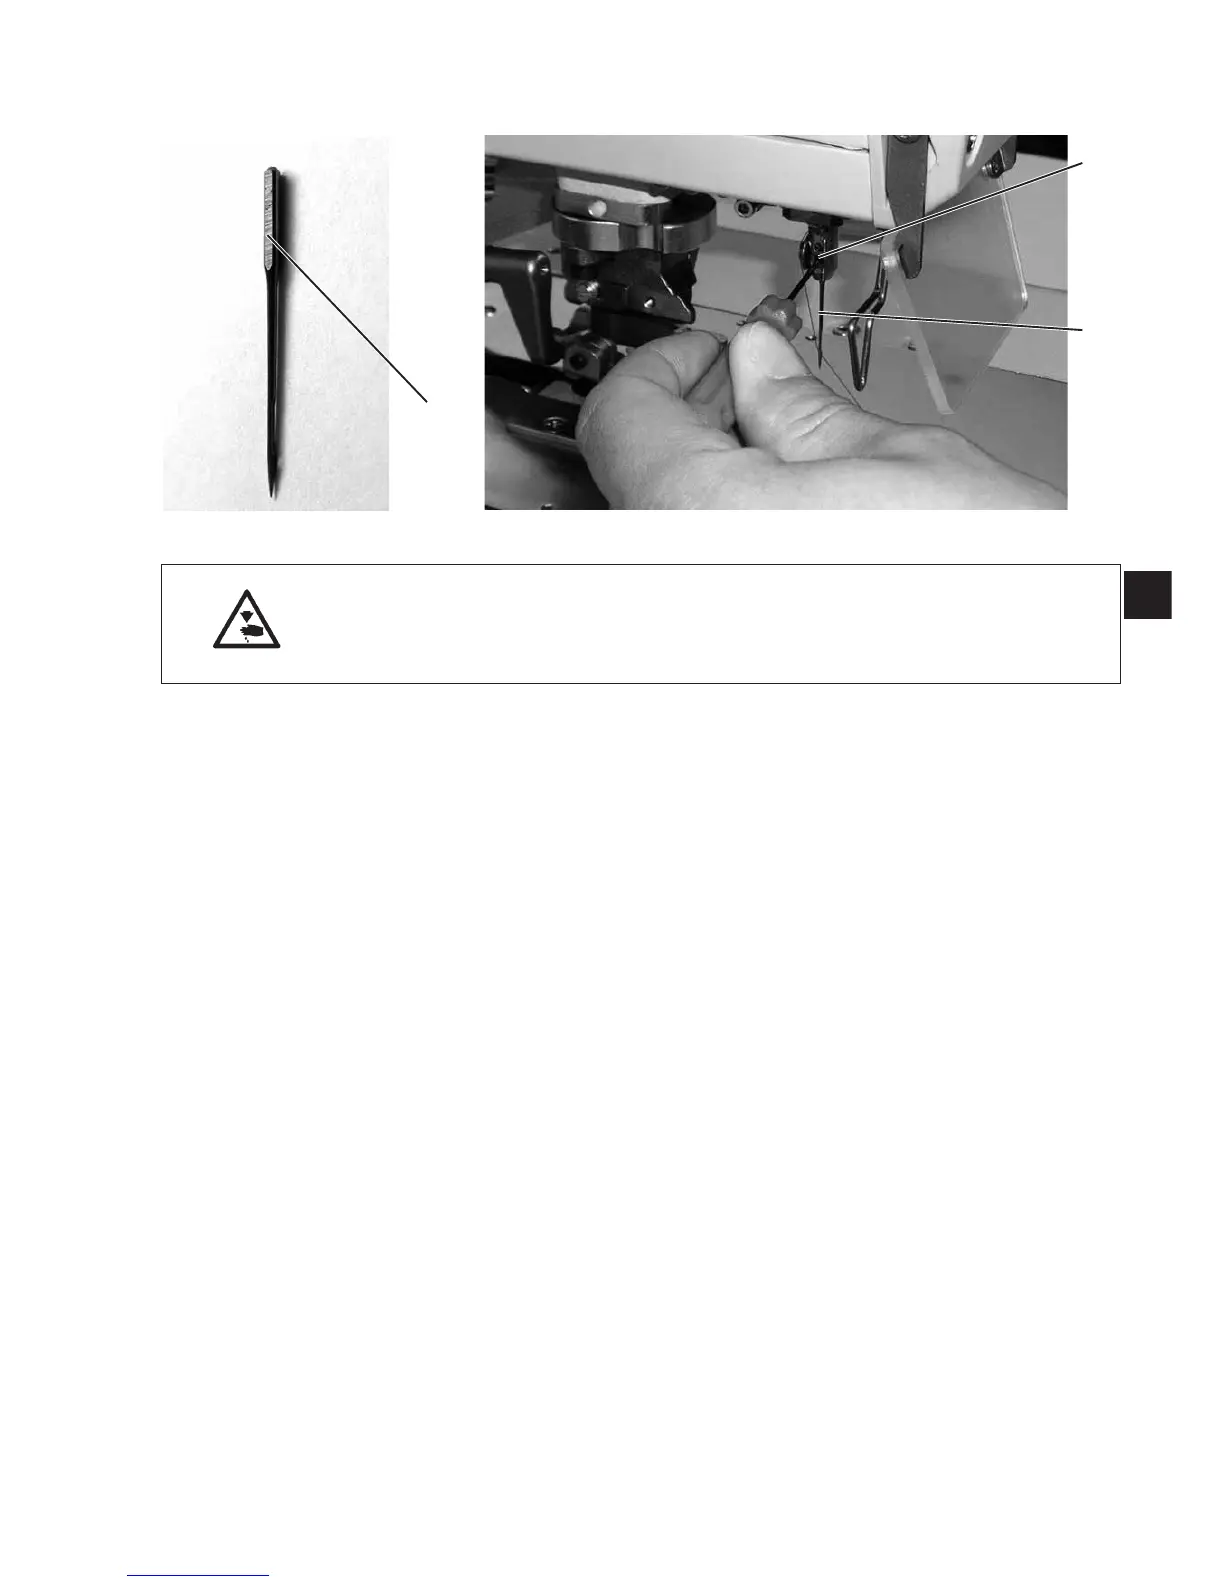
3.3 Needle change
Caution: Danger of injury !
The needle has to be changed with the sewing automat switched off or
in the position “Threading mode” (see chapter “Threading mode”).
–
Loosen screw 1 (Allen key in the accessories).
–
Pull needle 2 out of the needle bar.
–
Push the new needle into the hole of the needle bar as far as it will
go.
–
Align needle 2 in such a way that the hollow groove points to the
front and the flat 3 at the needle butt to the left (towards the
fastening screw 1). Only needle system 579 has got this flat 3 !
When using needle system 558 align the needle 2 in such a way
that the hollow groove points to the front.
–
Tighten screw 1.
1
11
1
2
3

 Loading...


