6.1.2 Threading the needle thread on machine with short thread cutter
Caution: danger of injury !
Tur n off the main switch.
The needle thread may only be threaded with the sewing machine
switched off.
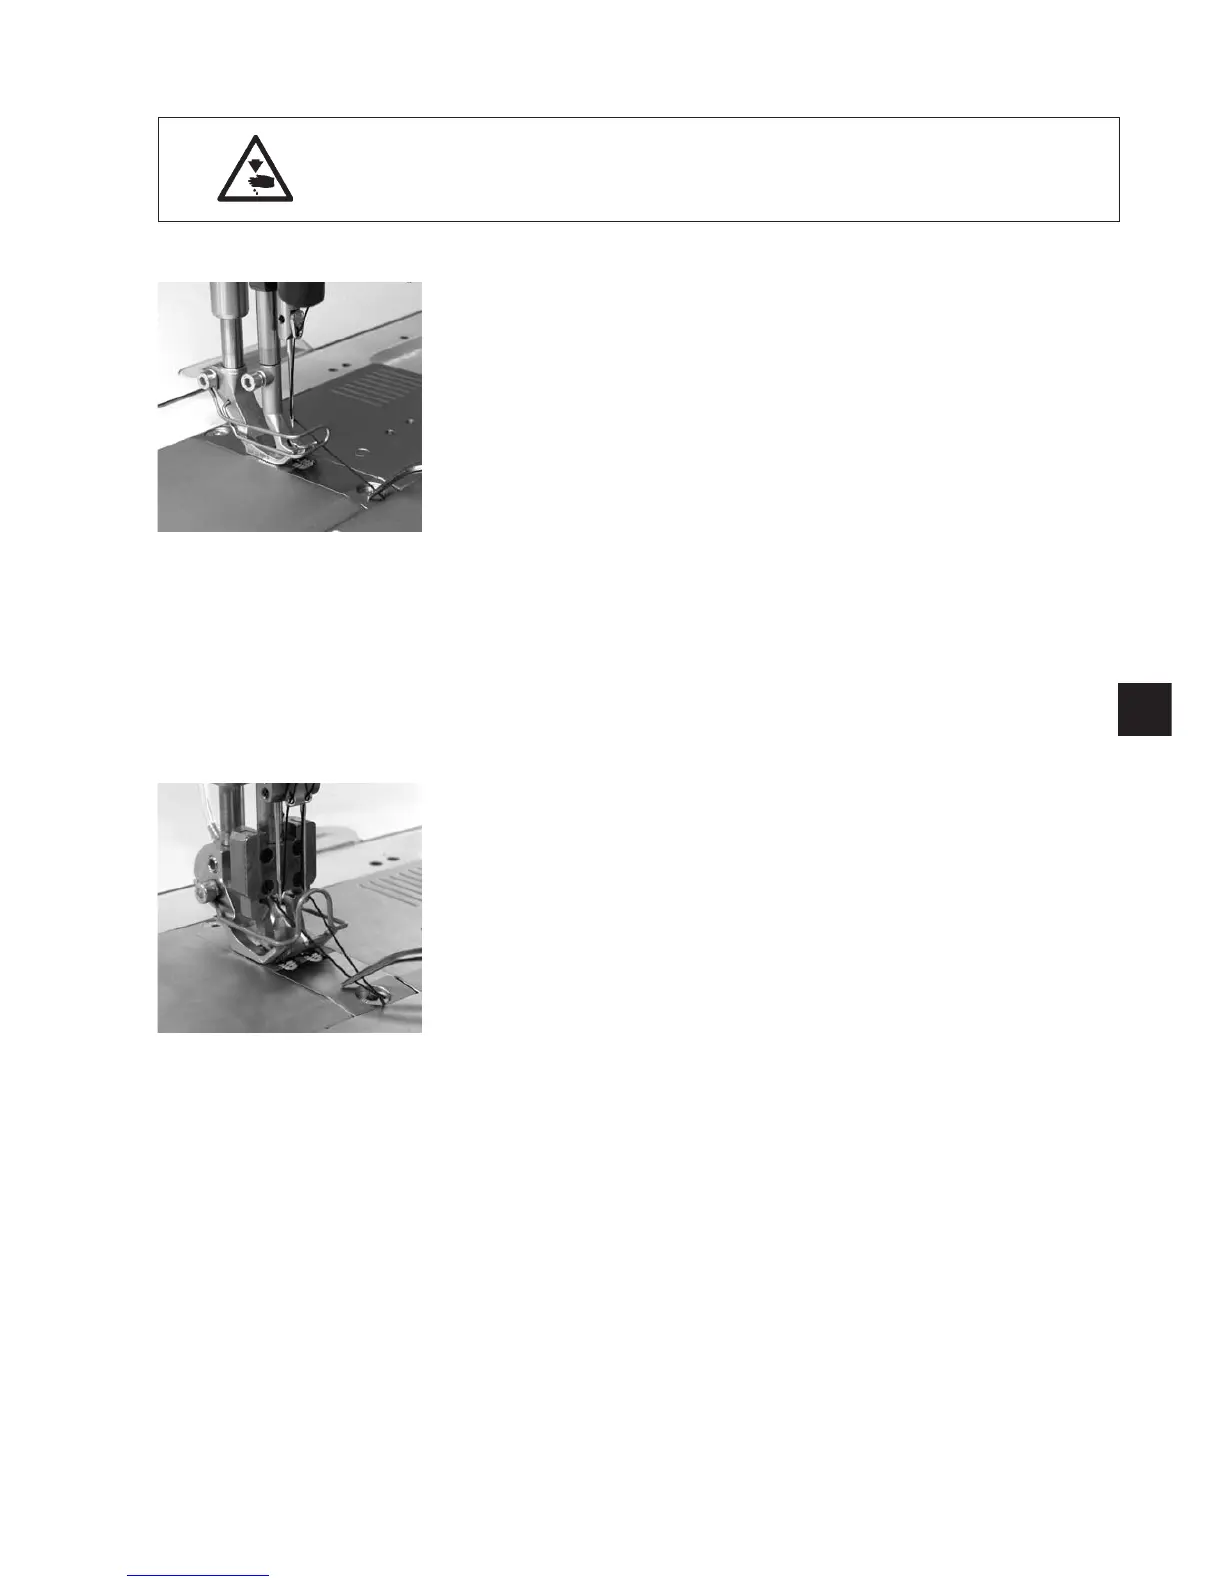
Threading in the needle thread with single-needle machines
–
Put the thread reel on the thread stand and lead the needle thread
through the unwinder arm.
The unwinder arm must be in vertical position above the thread reels.
–
Thread in the thread through threading guide 1 and 2.
–
Conduct the thread clockwise around the pre-tensioner wheel 3.
–
Conduct the thread counter-clockwise around the supplementary
tensioner wheel 4.
–
Conduct the thread clockwise around the main tensioner wheel 5.
–
Pull the thread underneath the thread take-up spring 8 and conduct it
through the thread regulator 10 to the thread lever 11.
–
Conduct the thread through the thread lever 11 and the threading
guides 9, 7 and 6 on the needle bar.
–
Thread the thread into the needle eye.
–
Check the length of the thread, without fail. See the picture on the
opposite to see the max. allowed length - thread lever at its UDC.
Threading in the needle thread with double-needle machines
–
Put the thread reels o n the thread stand and lead the needle thread
through the unwinder arm.
The unwinder arm must be in vertical position above the thread reels.
Thread for the left needle (as with single-needle machines)
–
Thread in the thread through threading guide 1 and 2.
–
Conduct the thread clockwise around the pre-tensioner 3.
–
Conduct the thread counter-clockwise around the supplementary
tensioner 4.
–
Conduct the thread clockwise around the main tensioner 5.
–
Pull the thread underneath the thread take-up spring 8 and conduct it
through the thread regulator 10 to the thread lever 11.
–
Conduct the thread through the thread lever 11 and the threading
guides 9, 7 and 6 on the needle bar.
–
Thread the thread into the needle eye.
–
Check the length of the thread, without fail. See the picture on the
opposite to see the max. allowed length - thread lever at its UDC.
Thread for the right needle
–
Thread in the thread through threading guide 14 and 15.
–
Conduct the thread clockwise around the pre-tensioner 16.
–
Conduct the thread counter-clockwise around the supplementary
tensioner 17.
–
Conduct the thread clockwise around the main tensioner 18.
–
Pull the thread underneath the thread take-up spring 23 and conduct
it through the thread regulator 25 to the thread lever 26.
–
Conduct the thread through the thread lever 26 and the threading
guides 21,20 and 19 on the needle bar.
–
Thread the thread into the eye of the right needle.
–
Check the length of the thread, without fail. See the picture on the
opposite to see the max. allowed length - thread lever at its UDC.
35
GB
Keystone Sewing Machine Company, Inc.

 Loading...


