2388-MANUL-V10.00.00-UTP2 Operating Manual
Page 45 of 74
3.17.2 Wi-Fi Connection
1. Go to Main Menu, Settings, Wireless Settings and enable Wi-Fi.
2. Select Network Connect, choose your network from the list and connect.
3. Once connected, go to Network Status and make a note of the IP address.
4. Enter this IP address in a web browser address bar, such as Google Chrome, Mozilla Firefox or Microsoft
Edge/Internet Explorer.
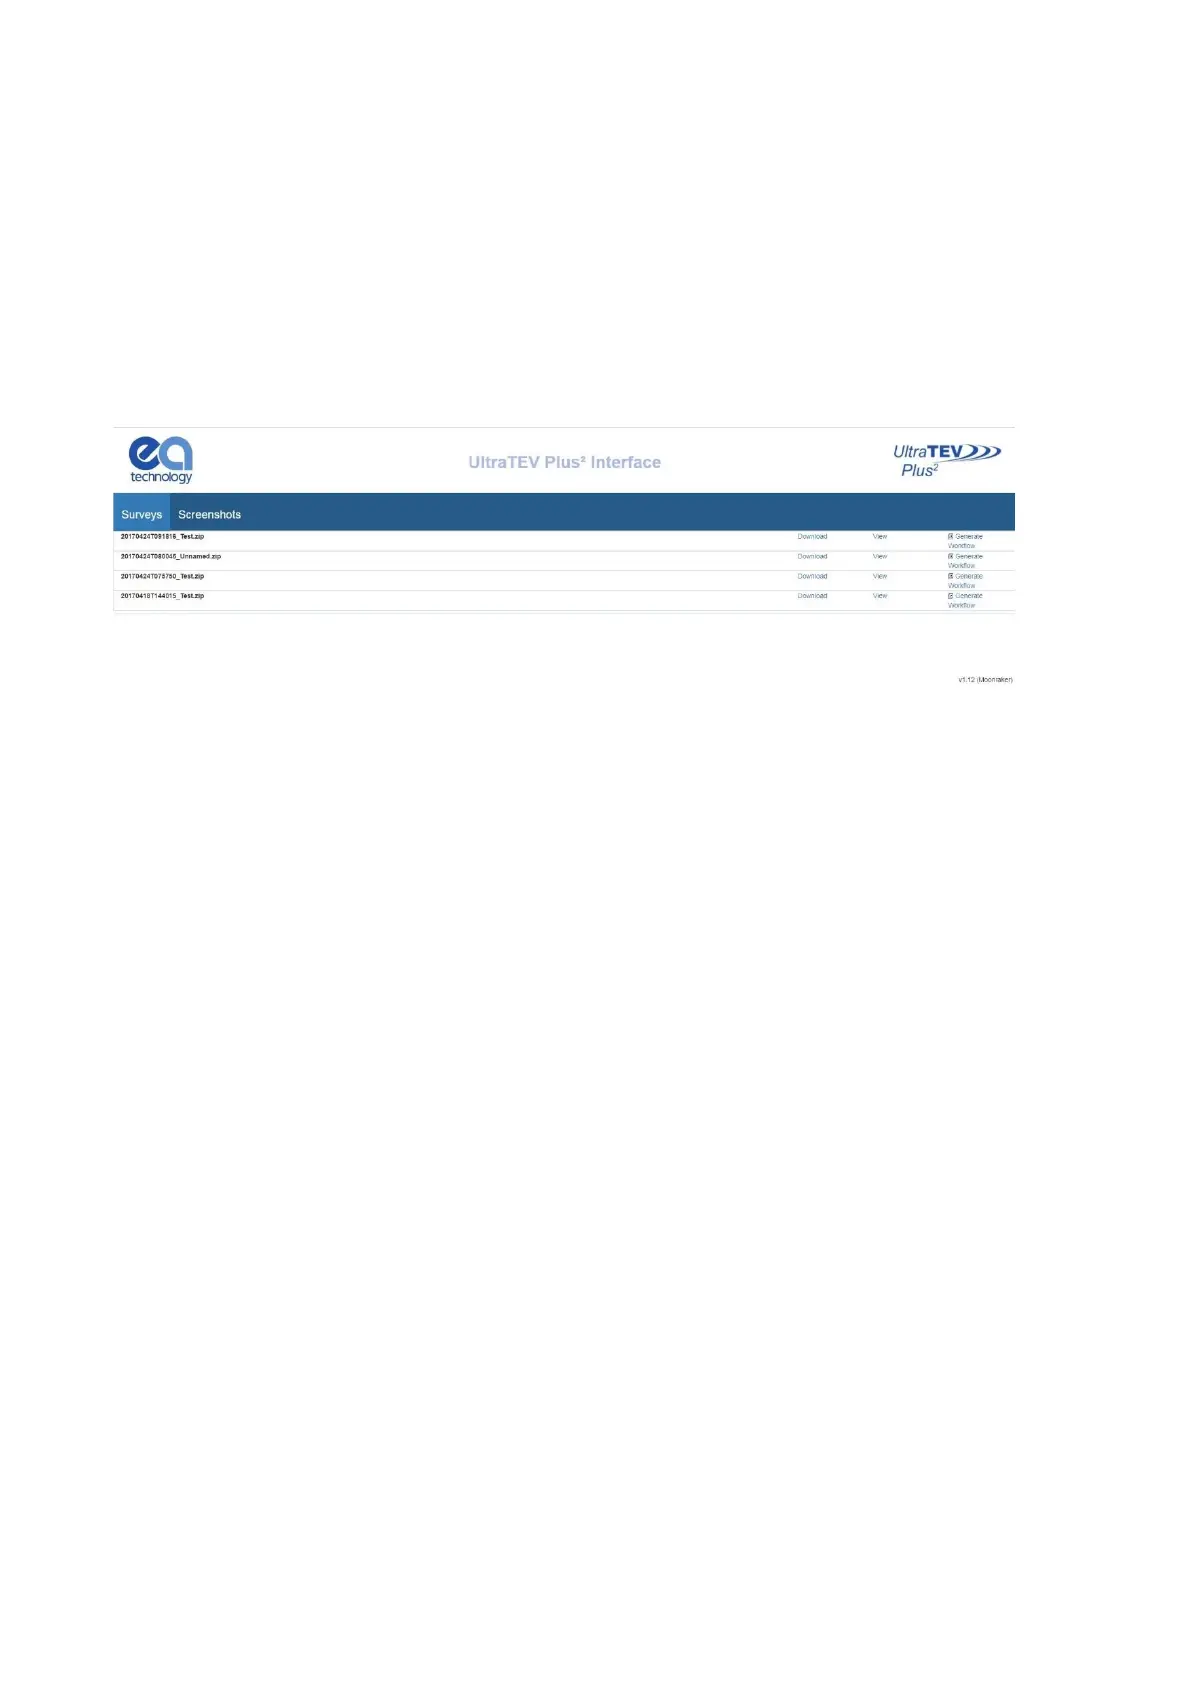
The home page, shown below displays a list of all surveys and screenshots stored on the UTP2 MicroSD Card.
3.17.3 USB Connection (Windows PC only)
Connect the UTP2 via the USB port using the supplied cable. The UTP2 should install as an Ethernet Gadget.
If the drivers do not install automatically, you can install them as follows:
Go to device manager and select the instrument from the network adaptors list, it will have a yellow triangle by
it, then right click this and update driver software:
• Browse my computer for driver
• Let me pick from list of drivers on my computer
• Network adaptors
• Microsoft Corporation
• Remote NDIS based internet sharing device, next install
Note: The user needs to have administrator rights for the computer.
Once connected, enter the IP address 192.168.10.1 in a web browser such as Google Chrome, Mozilla Firefox
or Microsoft Edge/Internet Explorer.
The index of surveys on the UTP2 can be used to quickly identify the site of interest allowing the user to navigate
either directly to the data analysis (view button) or to download a zip file (compressed folder) containing the
raw data (download button).
Clicking the view button takes the user to the data analysis screens.
3.17.4 MicroSD Card & Data Zip Files
An alternative method of viewing the data held on the UTP2 is by direct file access. This can either be from a
previously downloaded data zip as above or by accessing the MicroSD card directly.
To directly access the MicroSD card ensure the UTP2 is powered down, then locate the MicroSD card at the
base of the instrument and gently push on the card to eject it.